

Opt out Management
Unsubscribe/suppression list management
Overview
Webex Campaign allows the Administrator to manage multiple Opt-out or Suppression lists, on multiple levels, to filter out contacts from Target Groups before deploying a deployment. Most commonly, this is used to manage contacts who have unsubscribed from specific channels or programs of communication.
There are 4 types of Opt-out lists:
| Type | Description | How it is populated | How it is applied |
|---|---|---|---|
| Tenant | This serves as the master list for the entire tenant, excluding contacts from all communications originating from the tenant. | No default population. You can choose to push customers into this list manually or via API. | Based on the config set in the 'Additional Options' node during deployment creation. (Default is enabled) Creating an Email Deployment - Additional Options Node ) |
| Channel | You can manage your opt-out lists for specific channels e.g. allowing customers to opt-out separately for Email vs SMS vs MMS | When a customer, clicks on the channel 'content' unsubscribe link generated by the email replacement parameter "$(EMAILCHANNELUNSUBLINK)$" and confirms their unsubscribe request, they will be added to the Email Channel opt-out list. (How to setup channel-level unsubscribe management for email ) | Based on the channel of the deployment and the config set in the 'Additional Options' node during deployment creation. (Default is enabled) (Creating an Email Deployment - Additional Options Node ) |
| Category | You can manage your opt-out lists separately for different programmes or groups of communication. It could be as simple as having a "Marketing" category or your marketing programme may have multiple subscription categories that you want customers to be able to opt-in and out of. | When a customer, clicks on a category 'content' unsubscribe link generated by the email replacement parameter "$(CAMPAIGNUNSUBLINK#CATEGORYNAME)$" and confirms their unsubscribe request, they will be added to the corresponding Category-level opt-out list. (How to setup category-level unsubscribe management for email | Based on the selection made from the 'Opt-out Category' dropdown in the Deployment Meta-tags when saving a deployment (How to apply opt-out categories to your deployment) |
| Email Sender ID | This feature is in Beta. When you create a new email sender-ID, the corresponding opt-out list for that sender-ID will be automatically created by the system. This feature is useful for those clients who have configured multiple email-sender-IDs within Webex Campaign, perhaps for sending marketing messages vs service messages; or for sending communications from different brands within your company. | When a customer clicks on the 'List-Unsubscribe' link presented by the email inbox providers e.g. Gmail, Yahoo, Apple Mail etc. (See more about List-Unsubscribe) | Based on the selection made in the Unsubscribe section of the Email Content node. (Default is enabled) (How to use Email Sender ID opt-out list in an Email Deployment) |
All of these lists can also be populated manually by uploading a list or individual ID in Administration >> Tenant Management >> Opt-Out Management, or by calling the opt-out APIs.
Apart from the above 4 lists, there is a backend Global platform-level list to manage email hard bounces. Contacts whose delivery reports from the ESPs indicate a hard bounce are automatically added to this list the following day. Although the list is not accessible on the UI, all email deployments are scrubbed against this Global list during the target group preparation.

Although the 'Opt-out Counts' on this screen are updated after 4-6 hours, communications will be immediately suppressed for the contacts added to the out-out lists.
Create an Opt-out list
Follow these steps to create an Opt-out list:
-
Navigate to Administration >> Tenant management and click Opt-out management’.
-
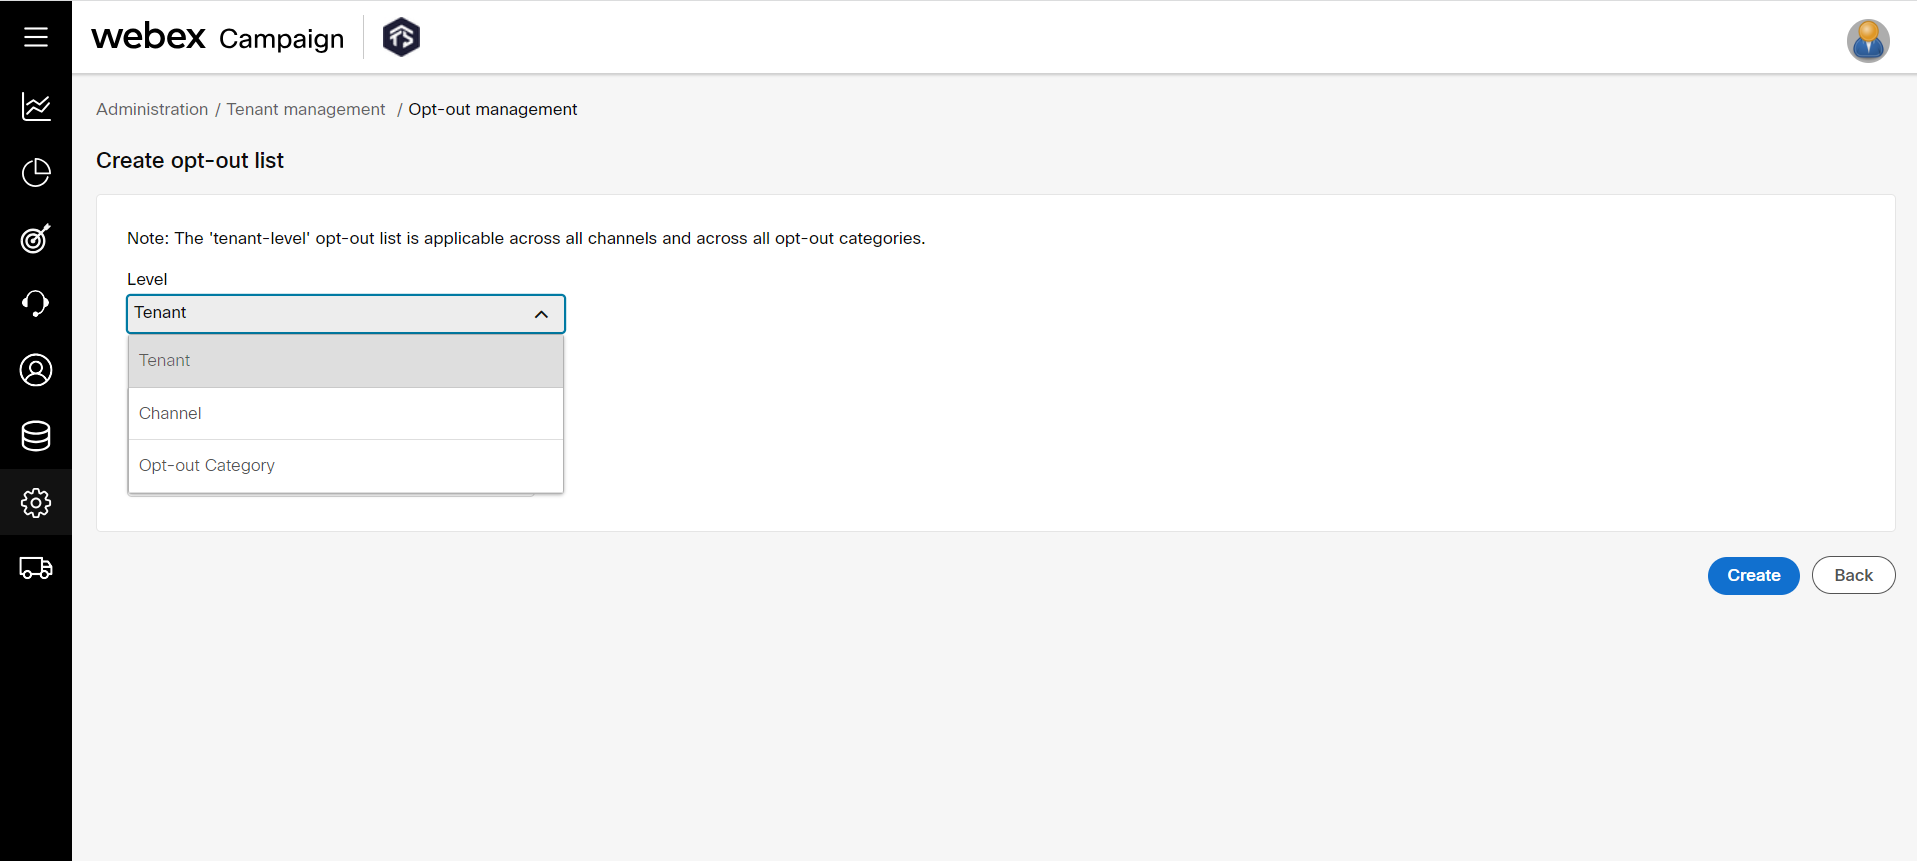
Click Add New Opt-out list. You can create an Opt-out List at 3 levels:
- Tenant level
- Channel level
- Opt-out Category level
When a new tenant is created, by default, the Tenant level and Channel level opt-out lists are created. You can create only one opt-out list per channel. For example, only one opt-out List for the Email channel and only one opt-out List for the SMS channel, etc.
You can created up to 30 ‘Category-level’ opt-out lists.
- For Category level, define a category name.

- Click Create.
Manage an Opt-out List
You can manually add or delete the opted-out MSISDN or Email.
- Click the Opt-out list Name in the Opt-out management screen.
Search for an MSISDN or Email Address:
- Enter the contact information in the search field and click the Search button.
- Webex Campaign indicates if the contact is in the store or not.

Add a single MSISDN or Email Address:
- Enter the contact information in the search field and click the Add button.
Delete a single MSISDN or Email Address:
- Enter the contact information in the search field and click the Delete button.
Bulk Add contacts:
- Click the Browse button to upload the required contacts in .txt format.
- Select whether the new file appends to or overwrites the current contacts in the store.
- Click the Add button.
Bulk Delete contacts:
- Click the Browse button to upload the required Opt-out contacts list (.txt format).
- Click the Delete button.
- On the confirmation screen, click the Confirmbutton to delete the contacts.
Download an Opt-out List
- On the Opt-out list screen, click on the Opt-out count of the required Opt-out store.
- A .txt file with the Opt-out contact details will be downloaded.
Delete an Opt-out List
- On the Opt-out Management screen., click the ellipses icon of the Opt-out list that you want to delete.

- Click Delete . The Opt-out list gets deleted.
You can use other methods like our APIs to add or remove mobile numbers or emails from any specific Opt-out List.
Updated over 1 year ago