

Create a New Target Group from SFTP
Before creating a Target Group, we recommend you to read the Target Group Requirements and Constraints.
- Navigate to Campaign management > Target data > Target Group List screen and click + Add new.

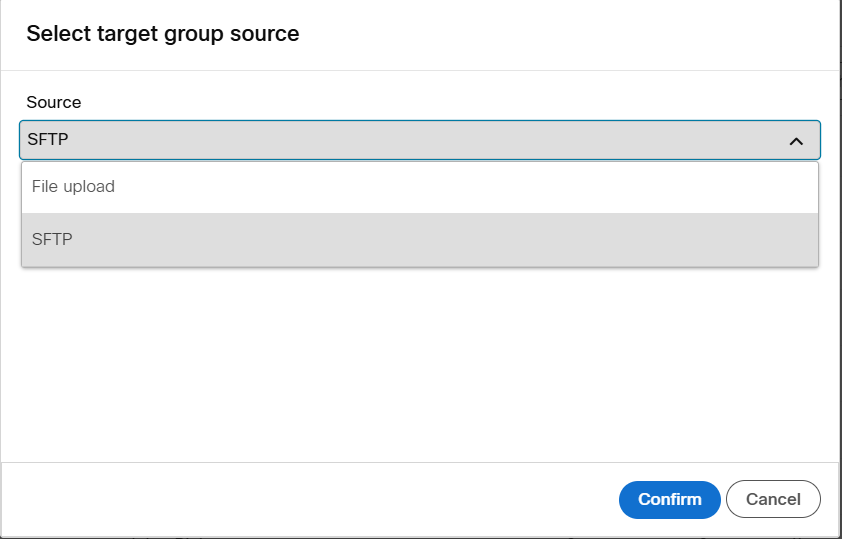
- The Select target group source screen appears. Select SFTP from the drop-down and click Confirm.
-
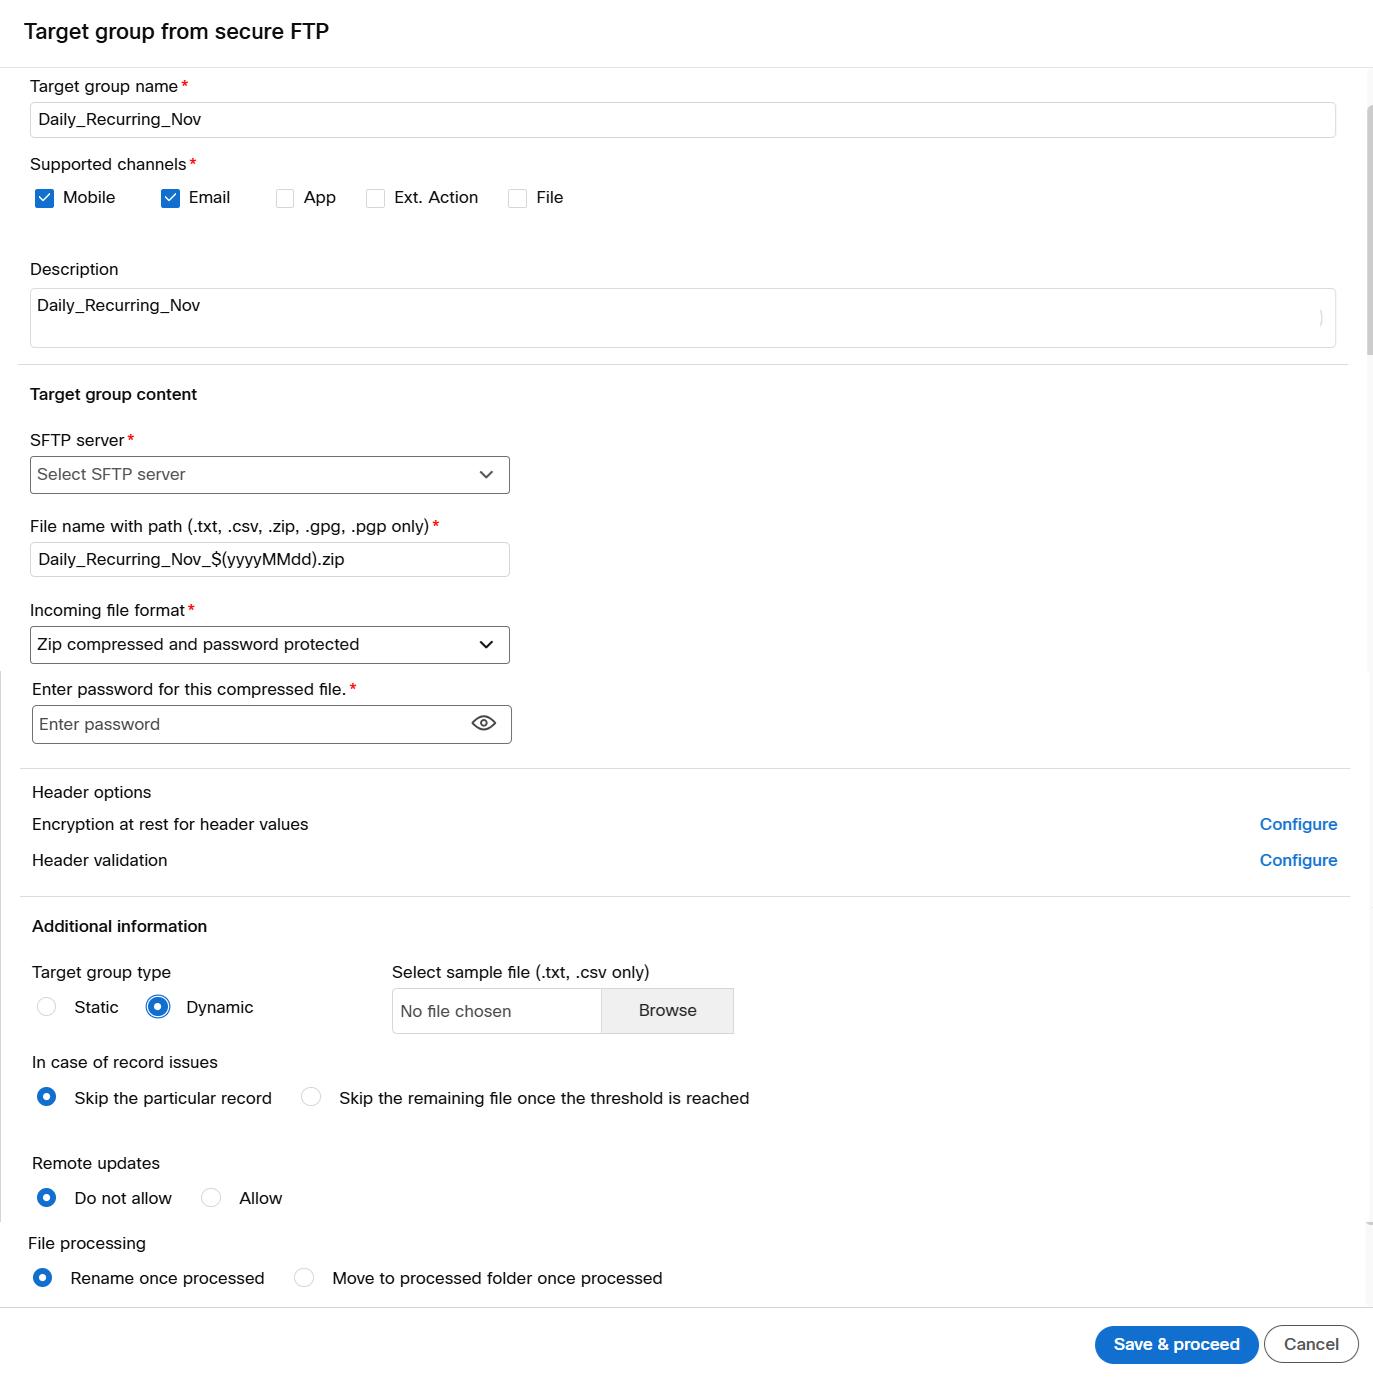
Enter details for the following fields on the screen that appears:
-
Target group name: Enter a name for the Target Group.
-
Supported channels: Select the channels the target group should be supported for.
-
Description: Enter a description for the target group.
-
SFTP server: Select the SFTP server from the drop-down.
-
File name with path (.txt, .csv, .zip, .gpg, .pgp only): Select the path of the input file.
-
Incoming file format: Select the incoming file format. The options are:
- No encrypted/compressed: Select this option if the input file is non-compressed or encrypted.
- Encrypted: Select this option if the input file is either a .PGP or .GPG encryption. If you select this option, then the system will check whether a specific type of encryption (either GPG or PGP format) has been already configured for your tenant by your IT team. If such configuration has not yet been set up, then you will see an error message as shown below: “Your organization has not yet set up the procedure to upload encrypted files to Webex Campaign. Please contact your IT team to initiate the set-up.” The original file (before encryption) must be of either pipe-delimited .txt or of .csv format.
- Zip compressed and password protected: Select this option if the input file is compressed and password protected. The zipped file should contain a single file, i.e. it should not contain multiple files zipped together. The zipped file should not contain a file inside a folder. The password of the zip-compressed file must not contain any characters apart from the following: a-z, A-Z, 0-9, @, #, $.
- Enter password for this compressed file: If you select the input file as compressed and password protected, enter the password to unzip.
-
Configure header encryption: To enable encryption for headers, click Configure option available for Headers Encryption. When the source is selected, the headers from the target group are displayed. You can enable or disable the encryption of the headers as required. The PII data headers like EMAIL, MSISDN, and CUSTOMERID are encrypted by default.
If a header is decrypted in a Target Group, it will remain decrypted for all future Target Groups that you will upload. If you wish to encrypt a specific header, kindly reach out to the support team at [email protected]. Once your request has been processed by the support team, that header will be encrypted for all subsequent Target Group creations. Once a header has been configured for encryption/decryption, it will remain permanently in that state, and this decision cannot be reversed.
-
Configure header validation: To mark headers of the data as mandatory, click the Configure option available for Headers validation. This feature is applicable for outbound promotion deployments whose TGs source is either File upload or SFTP. In the example screenshot below, the channels applicable for this TG are Email. Therefore, the EMAIL header is automatically marked as mandatory. In addition to the default-mandatory header, you can specify any other headers within the file as mandatory.
-

-
Configure Additional Information.
- Target group type. The options are:
- Static: A .txt file with complete records will be picked up for creating the Target Group.
- Dynamic: Click Browse and select a sample file. You can enter the format of the file as below:
- Add a * wildcard to capture any file that meets the convention. For example, samplefile_*.txt picks up samplefile_01152022.txt as well as samplefile_02162022.txt if both are present in the SFTP folder.
- Add a date format expression such as $(yyyyMMdd).txt to only pick up a file that has year-month-and-date format. For example, samplefile_$(yyyyMMdd).txt will pick up samplefile_20220815.txt.
- Target group type. The options are:
We support the following file formats:
| Filename | Format |
|---|---|
| samplefile_20220815.txt | samplefile_$(yyyyMMdd).txt |
| samplefile_15082022.txt | samplefile_$(ddMMyyyy).txt |
| samplefile_081522.txt | samplefile_$(MMddyy).txt |
| samplefile_15-08-22.txt | samplefile_$(dd-MM-yy).txt |
| samplefile_22-15-08.txt | samplefile_$(yy-dd-MM).txt |
| samplefile_20220815 123946.txt | samplefile_$(yyyyMMdd HHmmss).txt |
| samplefile_20220815123946.txt | samplefile_$(yyyyMMddHHmmss).txt |
To upload a data file, it should be a .csv (the .csv format is available starting V6.4) or pipe delimited .txt file format. MSISDN should always be present as the first column for mobile communications and EMAIL should always be present for email communications.
-
Configure In case of an issue with a record. The options are:
- Skip particular record: Select this option to skip the record that has an issue.
- Skip the file once the threshold is reached: Select this option and enter a threshold to skip the file if the threshold is reached. You can enter the threshold value in absolute records or in the percentage of the records in the file.
-
Configure Skip the remaining file once the threshold is reached. The options are:
- Threshold: Select the Absolute or Percentage.
- Value: Enter the value.
-
Configure Remote updates. The options are:
- Do not Allow
- Allow
-
Configure File processing. The options are:
- Rename once processed: Select this option to rename the file once processed. Once the file is renamed, it will be named as {input file}_done.
- Move to processed folder once processed: Select this option to move to Processed folder once the file is processed. A folder with the name processed will be created if not created already.

- Click Save & proceed.
Updated over 1 year ago