

Navigating Webex Campaign
Upon successful login authentication, the welcome screen appears. The welcome screen is a configurable screen that can be different for users based on the roles they were assigned. For example, a user with a dashboard and reports role will only be allowed to view the dashboard and reports. For such users, the dashboard will be configured as the welcome screen.
You can also toggle the arrow icon to view the text of the modules or just the icons.

- Dashboard: To view campaign performance in near real-time with graphical presentation formats.
- Reports: To view and export reports.
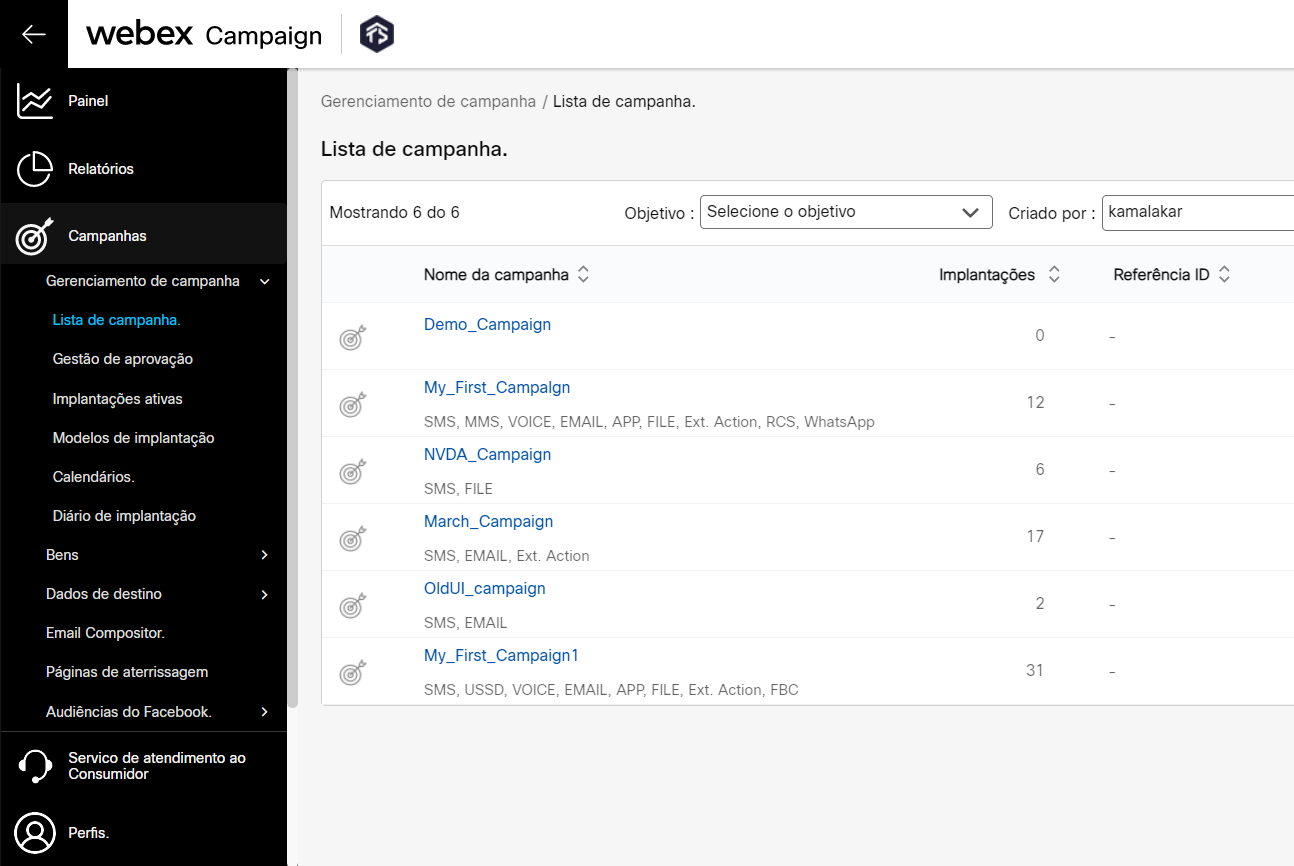
- Campaigns: To create and run campaigns and manage assets.
- Customer care: To view and manage detailed transactions of the contacts.
- Profiles: To add and view profiles of targeted contacts.
- Data management: To import data from a local or AWS S3 and consume it for campaigns.
- Administration: To create and manage assets and users of the tenant.
User Profile Menu
Click on the user profile menu to perform the following functions:

- Profile: To view and edit basic user profile, language and change password.
- Switch user group: This option helps you to switch user groups. When users are associated with multiple groups, they can switch from one group to the other group using the Switch User Group option. When this option is clicked, a popup appears with a list of groups a user can switch to. Select the required group and click Submit.
- Help: This option helps you to access the knowledge base.
- Product version: This option helps you to know the current version of the product.
- Logout: This option helps you to log out from the application.
Changing the language of Webex Campaign
Currently, Webex Campaign supports English and Portuguese languages. You can change the default language from English to Portuguese or vice versa. When a user is created with English as a default language, that user can change the language from English to Portuguese using the profile menu.
To change the language:
- Navigate to Profile menu and click Profile icon.

- Select the view language drop-down and select the required language.
- Click Save.

The screen will get refreshed and the language will be updated to Portuguese.

Changing the password of Webex Campaign
You can change the your Webex Campaign login password using the 2 following options:
- Option1: Change the password before login into the tenant
- Option2: Change the password after login into the tenant
Option1: Change the password before login into the tenant
Follow these steps to change your password:
- On the login screen, enter your login email id and click Next.

- Click Change password.

- Enter your (existing) Old password, New password and re-enter the password on the Confirm new password field. Click Change password.

- Click Return to sign in and login with your email id and newly created password.
Option2 : Change the password after login into the tenant
You can also change the password after you login into the tenant. If you change your password using this option, you have to login again using the new password.
To change the password:
- Navigate to Profile menu and click Profile icon.

- Click the password checkbox and enter the following fields:
- Current Password: Enter the current password.
- New Password: Enter the new password.
- Confirm New Password: Re-enter the new password.

- Click Save.
You must login using the new password.
Get a new password if you forget your login Password
If you forget your login password, follow these steps to reset your password:
- On the login screen, enter your login email id and click Next.
- Click Forgot Password.

- Enter your login email id and click Next. You will receive an OTP (One Time Password) on your email id.

- Click Return to sign in and enter your login email id and click Next.

- Click Change Password.
- Enter the OTP that you received on your email and Enter new password and re-enter the password on the Confirm new password field. Click Change password.

Click Return to sign in and login with your email id and newly created password.
Updated 8 months ago