Add New Profile
Follow these steps to add a new profile:
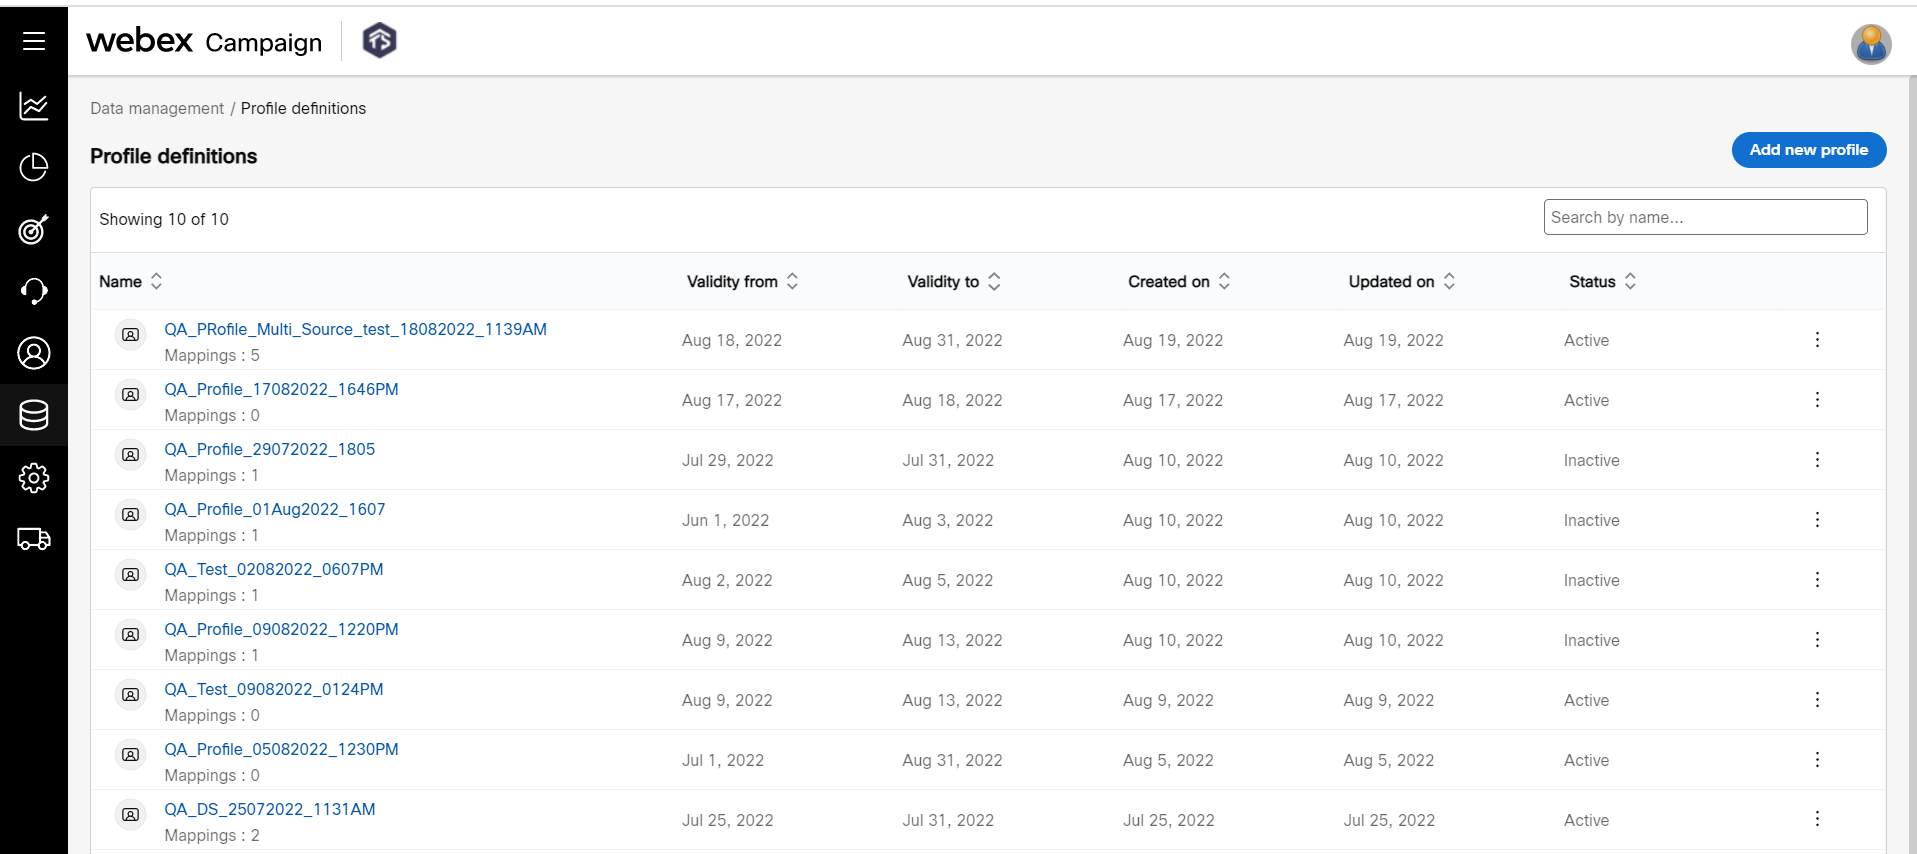
- On the Data management > Profile definitions list screen, click Add new profile. The Add profile screen appears.

- Enter the details for the following fields:
- Name: Enter a name for the profile.
- Description: Enter a description for the profile.
- Validity from and Validity to: Select the date range during which the profile will be in use for updates.
- Active: Select this option to make the profile active.

Defining Attributes
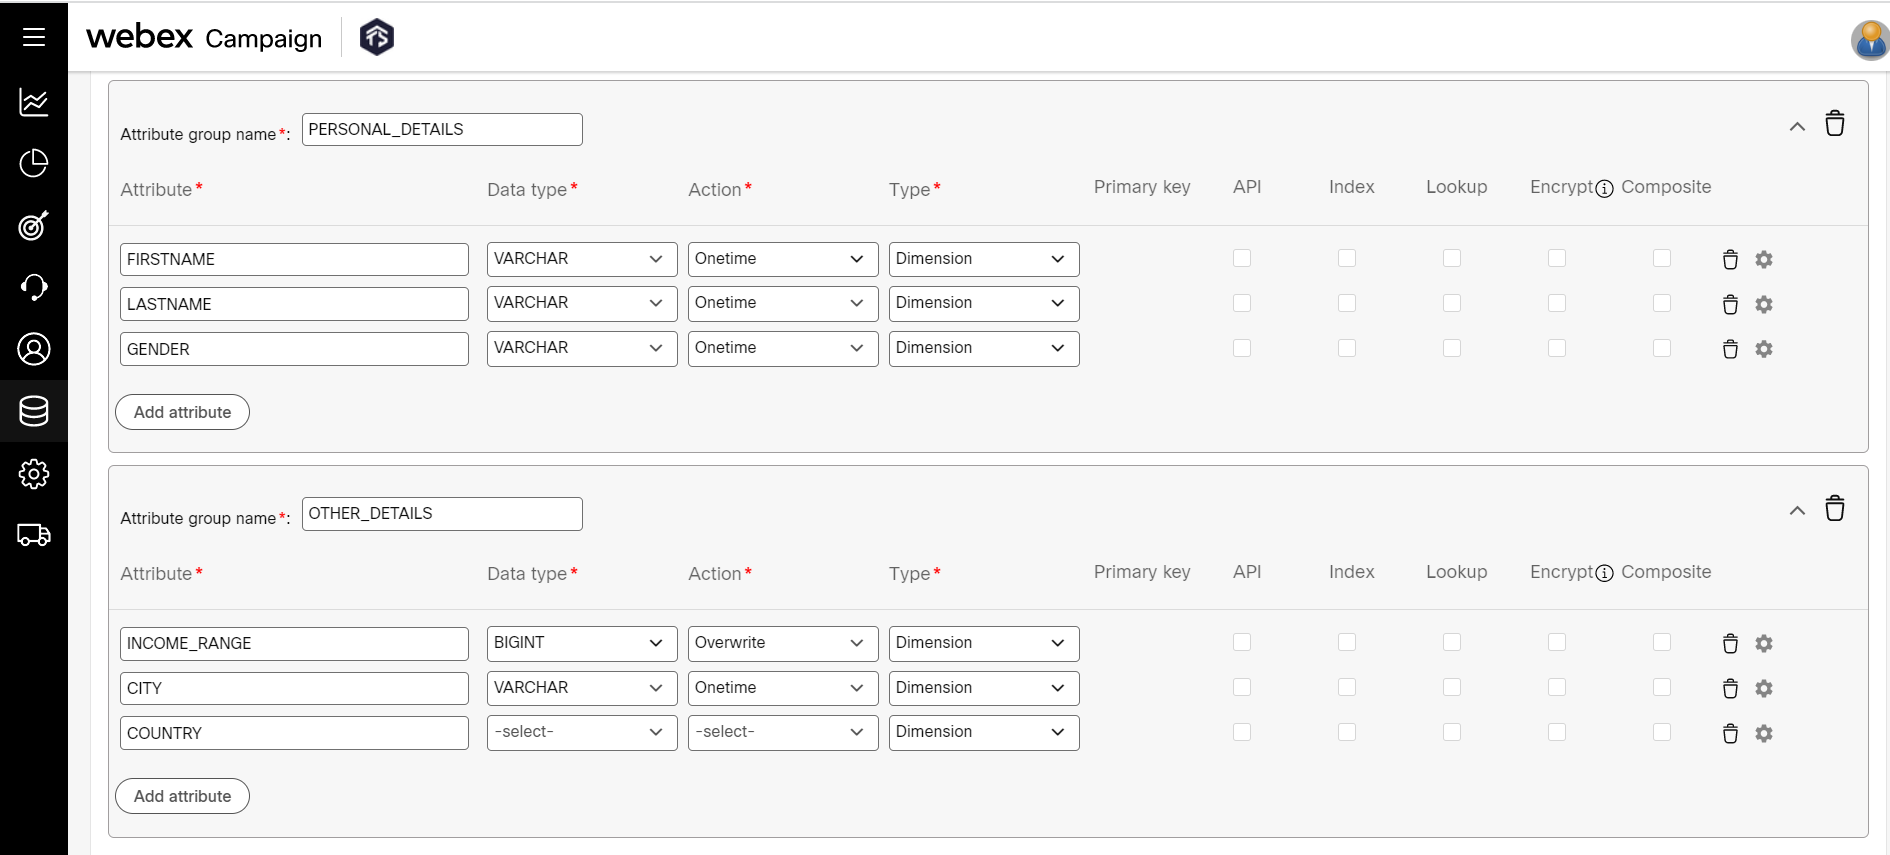
- Define the attribute, Data type, Action, and Type. The below matrix shows the data types and the applicable actions.

-
Attribute: Enter the profile attribute.
-
Data type: Select the required data type from the drop-down.
-
Action: Configure the required action based on the header.
-
Increment: To increment the count by 1 number and store it in the database. For example, if you get a daily feed of some customer's transactions data, and the intention is to offer a particular coupon/voucher code on doing more than 5 transactions, then the header that is configured with increment will be updated whenever a contact does the transaction. When the value becomes 5 then the contact can be informed to avail of the offer.
-
Decrement: To decrease the count by 1 number and store it in the database. For example, if you get a daily feed of some customers transactions data, and the intention is to restrict the usage of a particular coupon/voucher code not more than 5 times, then the header that is configured with decrement will get updated whenever a contact uses the coupon/voucher code. If the code has been used by more than 5 times, then further use of this code can be restricted.
-
Max value: To store the maximum value from the file received. For example, if you get a daily feed of some customers transactions data, and the intention is to store the highest transaction value done by the contact, then the header that is configured with max value will get updated only when the new data value is bigger than the currently stored value.
-
Min value: To store the minimum value from the file received. For example, if you get a daily feed of some customer's transactions data, and the intention is to store the lowest transaction value done by contact, then the header that is configured with min value will get updated only when the new data value is lesser than the currently stored value.
-
Add to existing value: To add newly received value to the existing value. For example, if the existing value is x, then the new value Y is added to X.
-
Subtract from existing value: To remove the newly received value from the existing value. For example, if the existing value is X, then the new value Y is subtracted from X.
-
Overwrite: To overwrite the old value with the newly received value. For example, any data that you want to overwrite with new data.
-
Onetime: To store a one-time value. For example, a unique customer id. This may not change once created.
-
Unique- Increment: To increment the count by 1 value and store it in the database. For example, if you want to increment a header value combination counter unless the new header value is not the same as the current value.
-
List of values: To store a list of values. For example, the value of the last 3 transactions done by a contact.
-
List of values overwrite: To overwrite the existing list of values with the newly received values.
-
-
Type: Define the attribute type. The options are:
- Measure: Set this option to an attribute if it is a measurable attribute. For example, age.
- Dimensions: Set this option to an attribute to specify its dimension. For example, the city name.
-
Primary key: Select the checkbox to set a primary key to the attribute. Generally, a primary key is set to MSISDN. One one attribute can be made as a primary key in a profile.
-
API: Select the API checkbox to update the attribute from an API call.
-
Index: Select the index checkbox, to set the index for the attribute. This will help to optimize the query run time in segmentation.
-
Lookup: When this option is enabled to a column, then under segment creation the values of the column will be displayed while defining the filter conditions. The selected lookup column will be indexed automatically. Below is a screenshot from Create segment > Segmentation query > Define filter conditions.

- Encrypt: To enable / disable data encryption for profile attribute. Once a profile is saved, the “Encrypt” flag cannot be disabled.
- Composite: Enable the checkbox to add a group of attributes. When the checkbox is enabled, a new row is added to define the profile attributes.
Adding the Profile attributes details
-
Click the Settings icon to configure the profile attributes details.
- Default value: Enter a default name for the attribute.
- Alias name: Enter an alias name for the attribute.
- Attribute type: Select the attribute type. The options are:
◘ APPDEVICEID
◘ EMAIL
◘ MSISDN
◘ OTHER
-
Description: Enter a description for the attribute.
-
Click Save.
- Click Add attributes to add more attributes.
- (Optional) Click Delete icon of the respective attribute to delete an attribute.
- (Optional) A default group is mandatory for creating a profile. If you do not create a group, the profile attributes will be created under a default group. Click Add new group to define additional groups for defining attributes.

- Click Save to save the profile.
Once the profile is ready, you can Map the datastores to the profile. Once the data is loaded you can View profile load report. The loading status of the profile (success/failure) during the selected dates will be displayed.
Updated 12 months ago