Email Composer Basics
Follow these steps to create an email template:
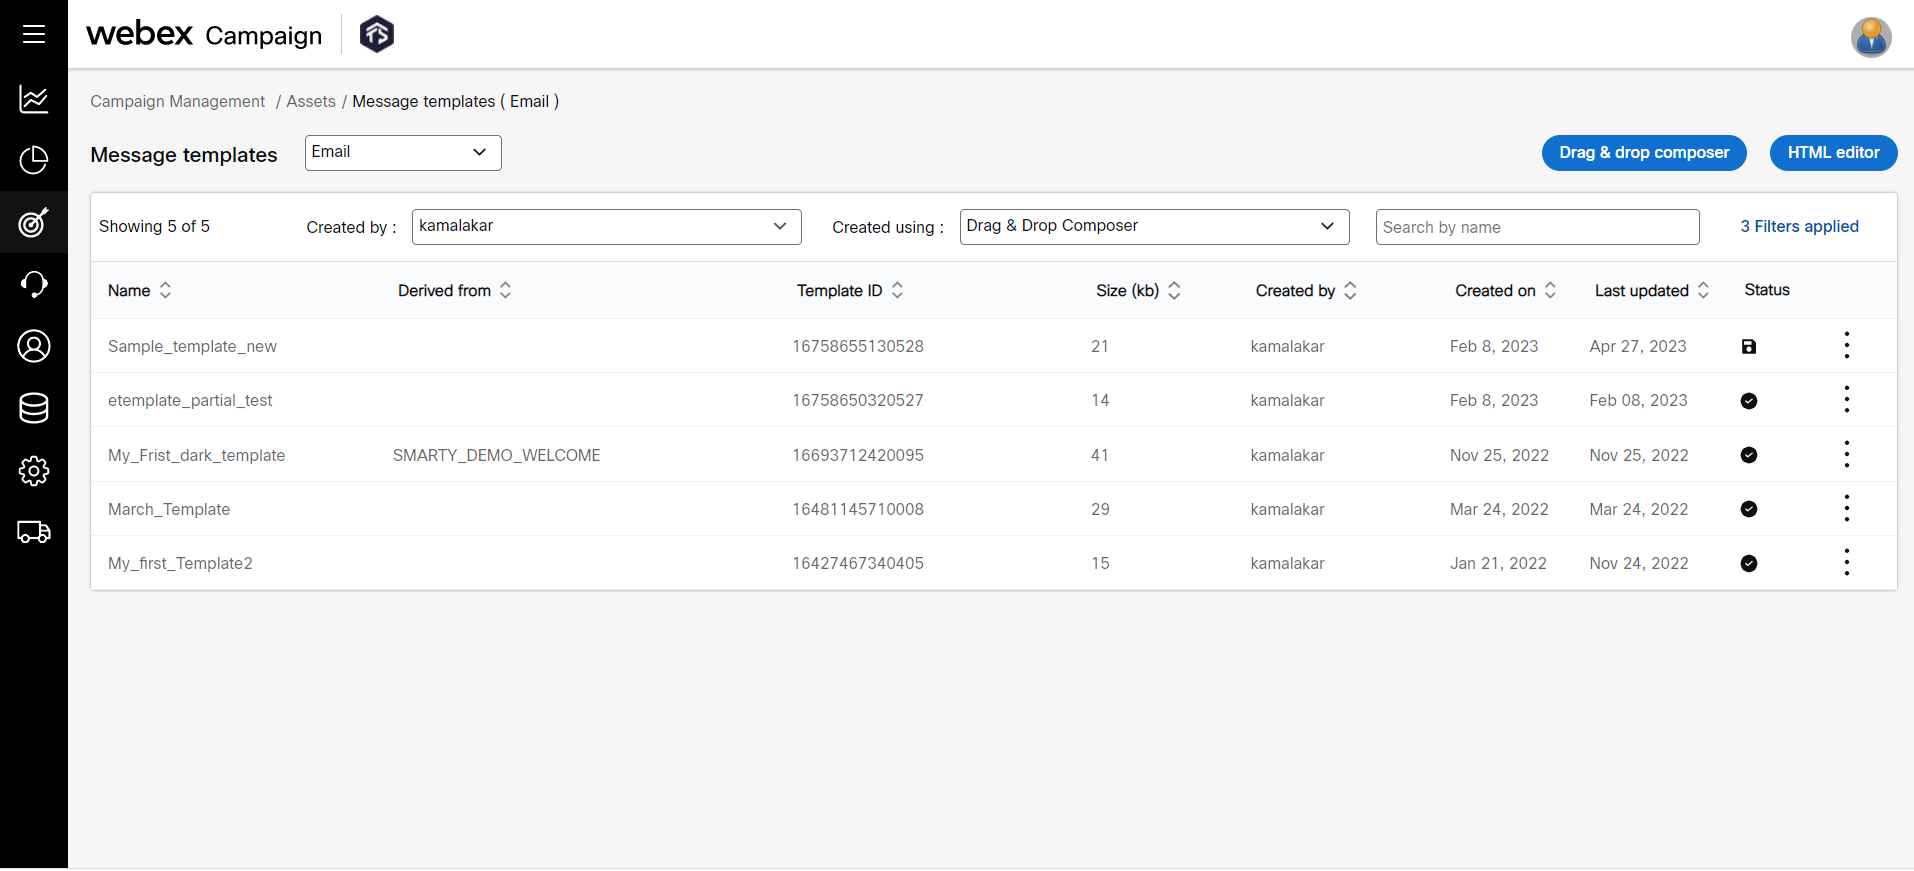
- Navigate to Campaign Management > Email Composer. The Message Templates list screen appears. Click Drag & drop composer.
- On the Create template screen enter details for the following fields:
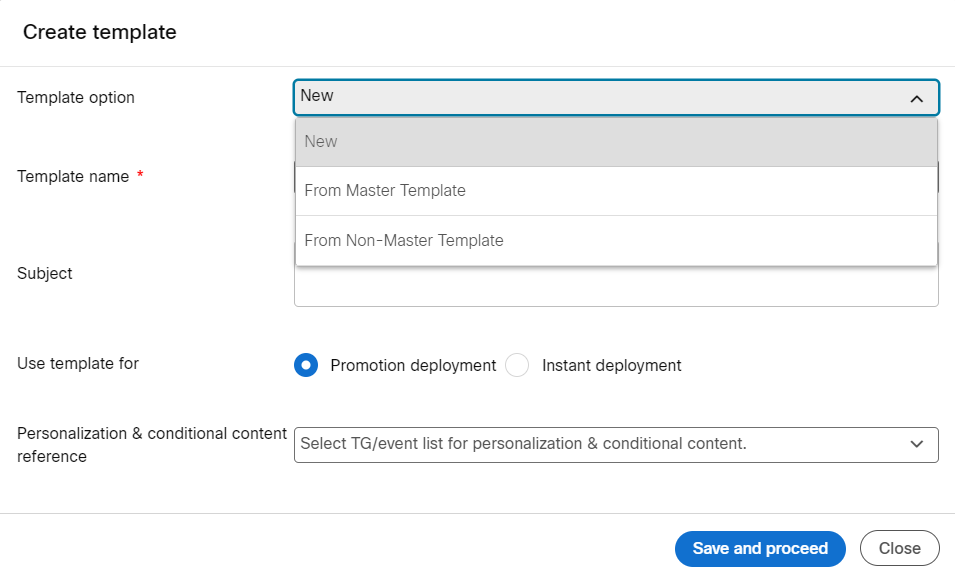
- Template option: Select the New option to create a new template.
- Template name: Enter a name for the template. Enter only alphabets, numbers, and underscore (_) for the template name and start with an alphabet or a number. You can enter a maximum of 59 characters.
- Subject: This is an optional field. Enter a subject for the Email template. You can also add personalization parameters in the subject line. For example,
Hi $(TG_FIRSTNAME), here is your offer code. You can also add Emojis in the subject line. For more information on adding Emojis, click here. - Use template for: Select the type of deployment in which the template is used. You can also select Event parameters for Personalization and adding Conditional content in Email Composer.

- Personalization reference: This is an optional field. Select a target group from the drop-down list box to use the target group headers for personalization and to create conditional content in the template.
When editing a template, if you change the Target Group using Personalization Reference drop-down, make sure the newly selected TG has the same headers as the previous one else the conditions may not work as expected.
- Click Save and proceed. The Email Composer screen appears.

| Feature | Description |
|---|---|
| 1. HTML Code View | To view the HTML code of the composed email template. |
| 2. Mobile View | To view how the composed email template will look on a mobile device. |
| 3. Desktop View | To view how the composed email template will look on a desktop device. |
| 4. Grids | To view the outline of the building blocks. |
| 5. Download | To download the composed email template in HTML format. |
| 6. Save & Exit | To save the email template design and close the composer screen. |
| 7. Building Blocks | It contains all the building blocks to design a template. |
| 8. Style Palette | It contains all the style elements that can be used to change the text style and assign properties to blocks. |
| 9. Design Canvas | It is the work area that holds the design of the email template. |
- On the Style Palette, click on the Global tab. Set the required colors to apply background color for a page and a default background color for all Building Blocks.

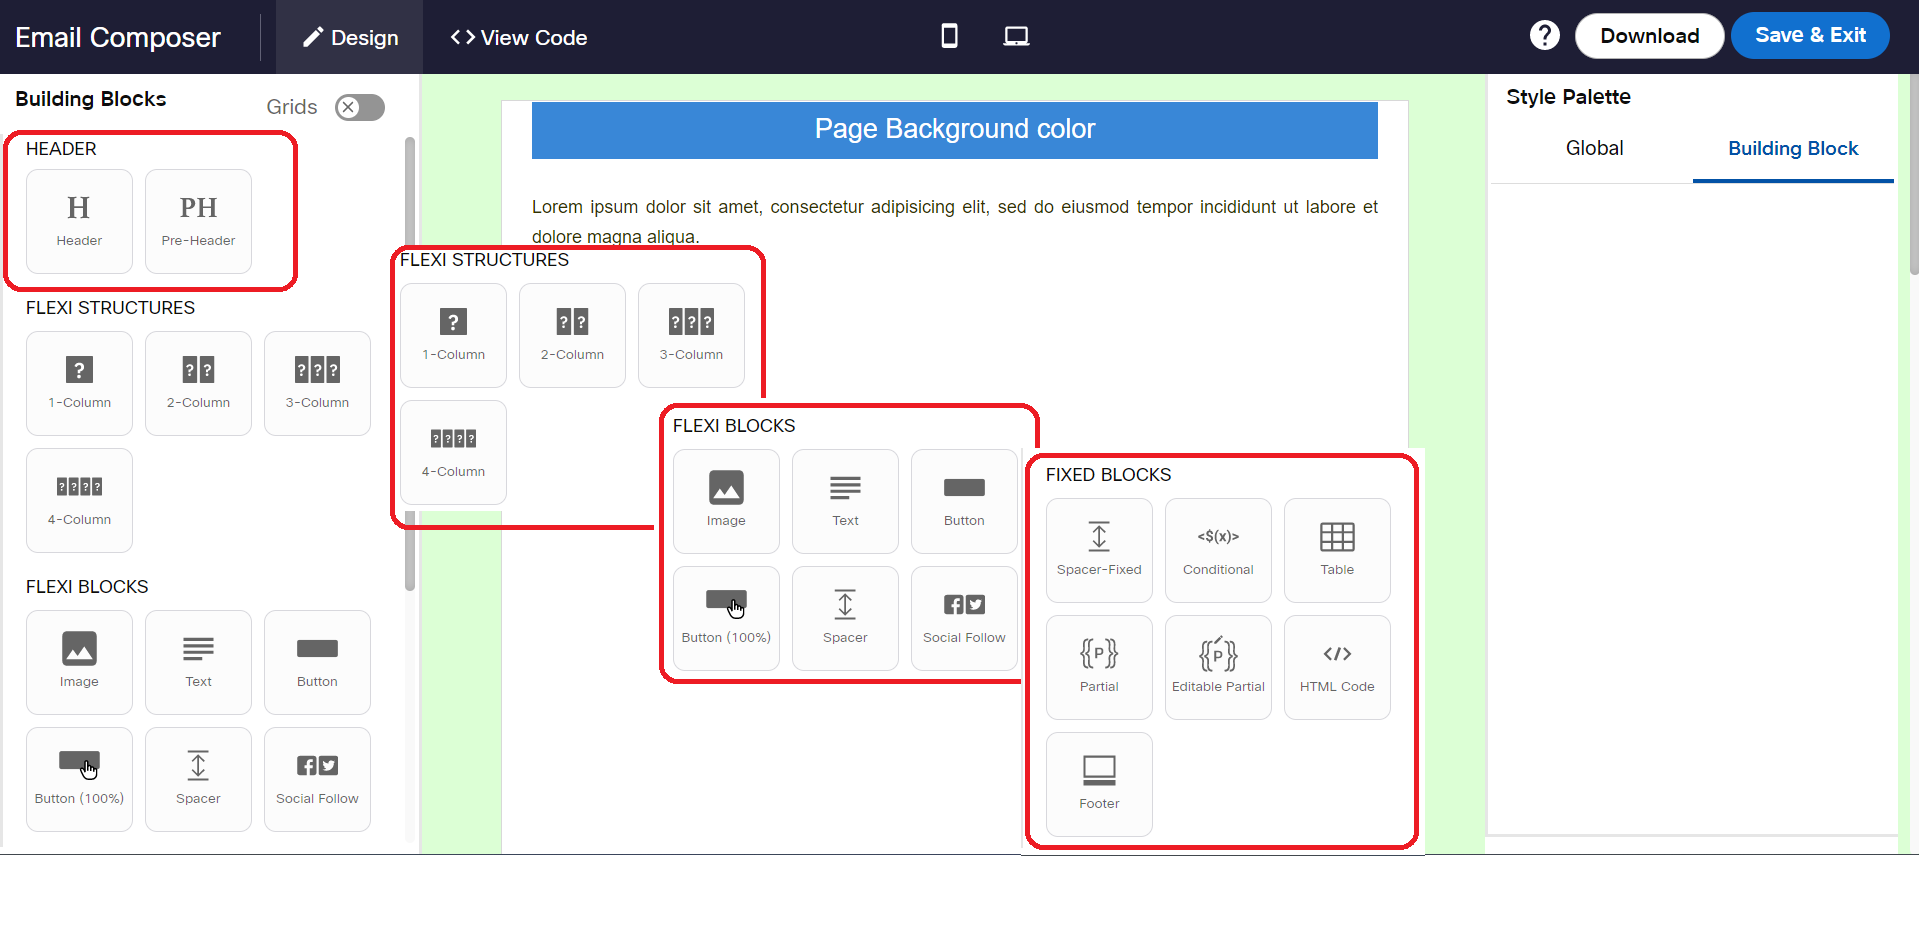
- From the Building Blocks palette, drag-&-drop the required block on the workspace. For more information, see Building Blocks section.
-
On the Style Palette, click on Global tab and apply colors for page background. Click on Building Block tab to apply styles to selected individual building block.
- Background: Use this option to set a background color for the page.
- Foreground: Use this option to set a default color for all building blocks. When a new block is added on the workspace, the selected background color will be applied automatically.
- Page Title: Use this option to enter a meaningful text that is displayed on the browser tab when an email is viewed on a desktop browser.
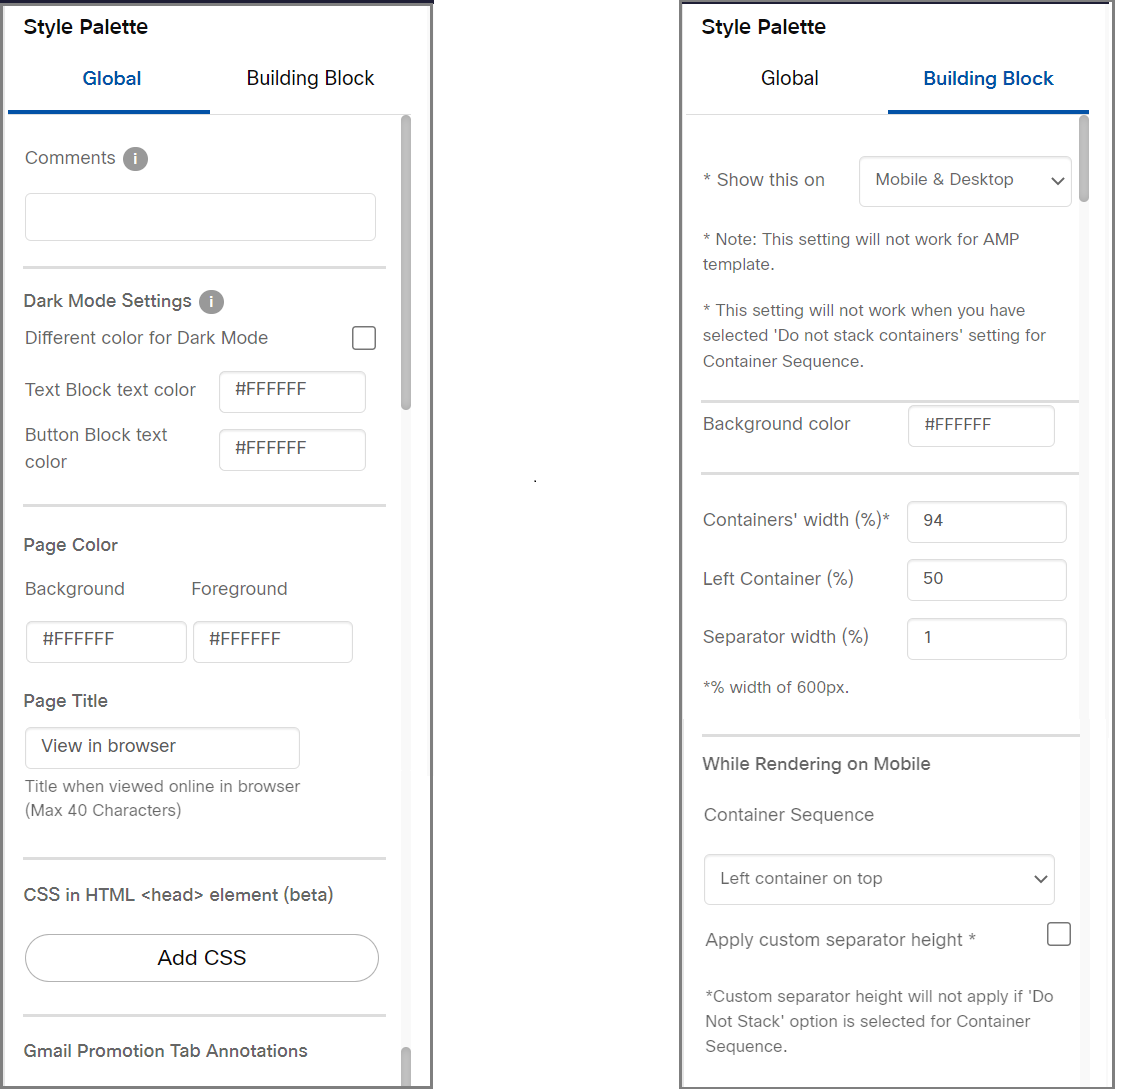
The text of the Page Title will be displayed on the browser tab.

- When a text is selected in any building block, a toolbar is displayed to apply font type, text size, text color, text alignment, text height and so on. You can also add a URL to a highlighted text.

-
Click Save & Exit to save and close the email composer screen. The system autosave the content.
-
If you want to close the template without saving the changes, click on x. When you open the template again, the system will give you the option to retrieve the unsaved changes or open the template in its last saved version.
Building Block Options
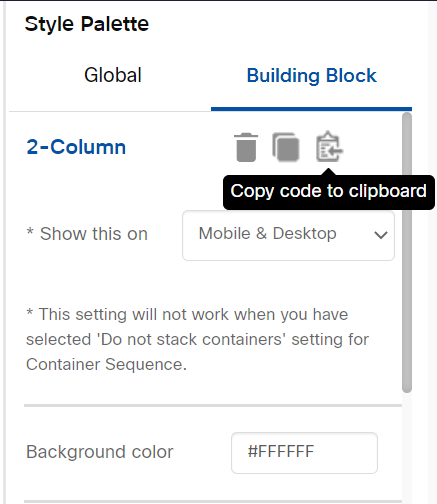
The building blocks are grouped based on their similarity under different accordions. Every block has a copy, copy code to clipboard, move, and delete options.
| Option | Description |
|---|---|
 | Use this option to rearrange a block. |
 | Use this option to delete a block. |
 | Use this option to copy a block or structure. |
 | Use this option to copy code to clipboard. |
You can copy a building block code to the clipboard that can be used to create a partial. All blocks except Conditional, Partial, and HTML blocks will have Copy code to clipboard option. Do not paste the code copied using Copy code to clipboard into an HTML block. The blocks within all Flexi Structures will not have an option to Copy code to clipboard.
To create a reusable Partial from the code copied to clipboard:
- On your email composer screen, select the required block and click on the Copy code to clipboard. The code gets copied.
- Navigate to Campaign Management > Assets > Email Partial.
- Click Drag & Drop Composer and enter a name for the partial.
- Click HTML code view and paste the code.
- Click Save & Exit.
Now the Partial is ready to be used in Partial or Editable Partial building blocks.
Code copied using the option Copy code to clipboard should be pasted in the source code of “Partial Composer” or drag and drop composer. It should not be used directly in HTML, as an extra bit of code to handle responsiveness is added by the drag-&-drop composer when a template is used in WHAT tab or when HTML is downloaded.
Updated 3 months ago