Map Datastores to Profile
This screen allows you to view all the profiles available in Webex Campaign and map datastores to your customer profile. If a profile is created with one or more datastores then the Mapping details will display the datastores count. You can also create a profile and save it without mapping a datastore. If a datastore is not mapped, the Mappings details will display '0' for that profile.
Follow these steps to map a datastore:
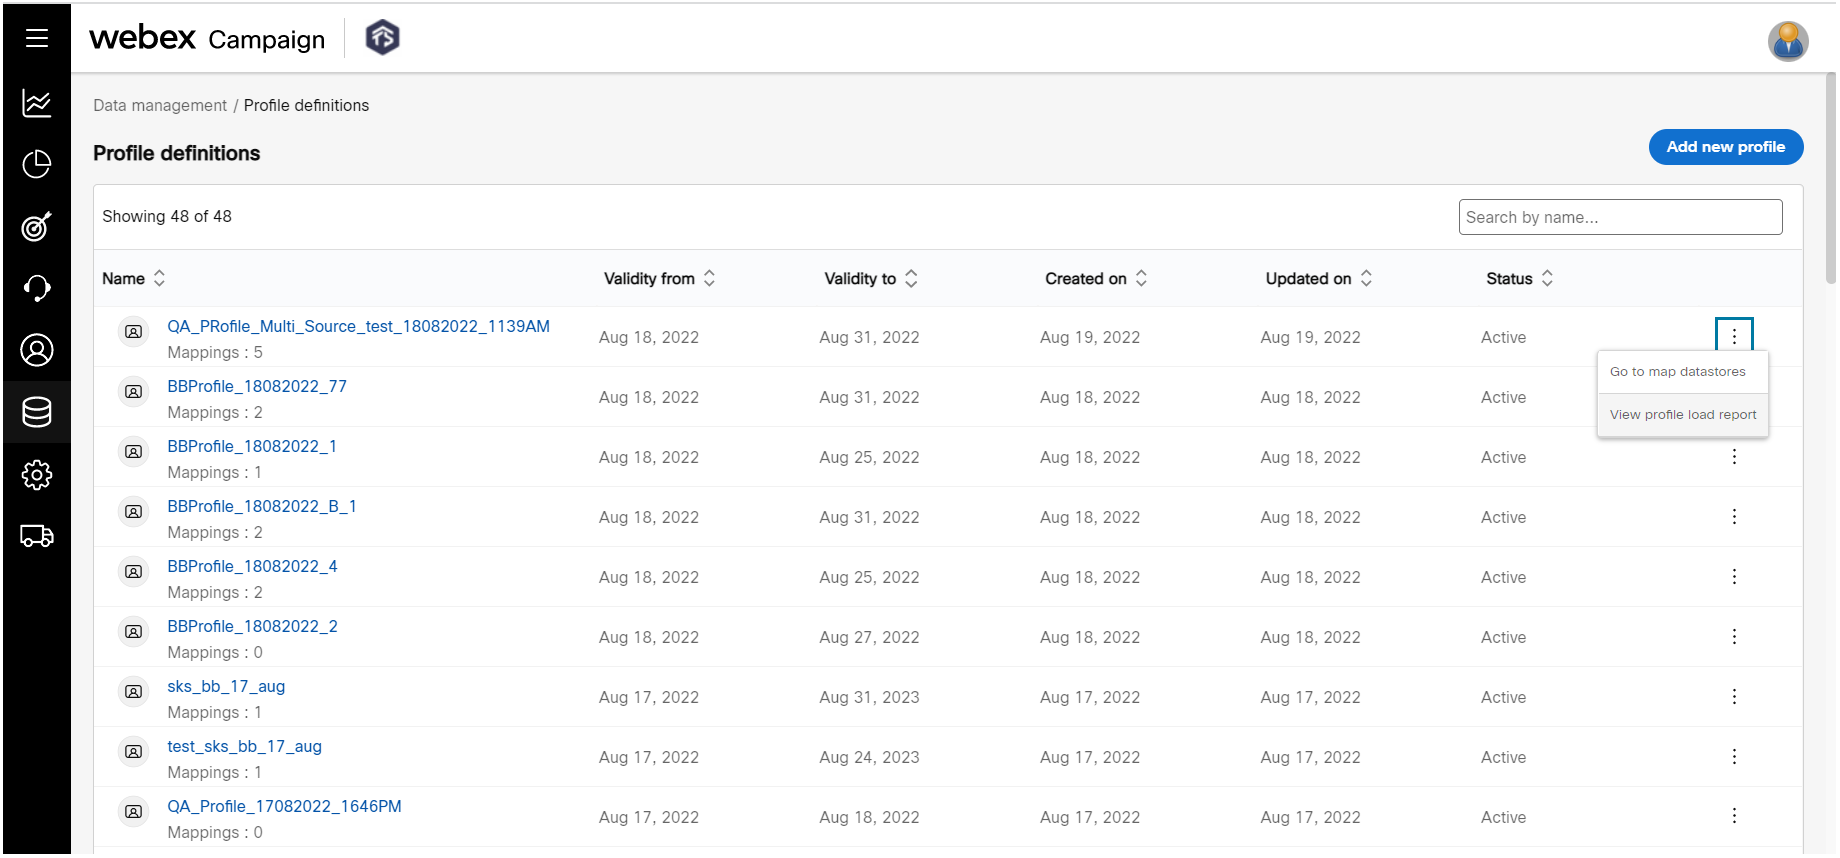
- Navigate to Profile management > Profile definitions list screen, click the ellipses icon of the required profile and click Go to map dataStores.

-
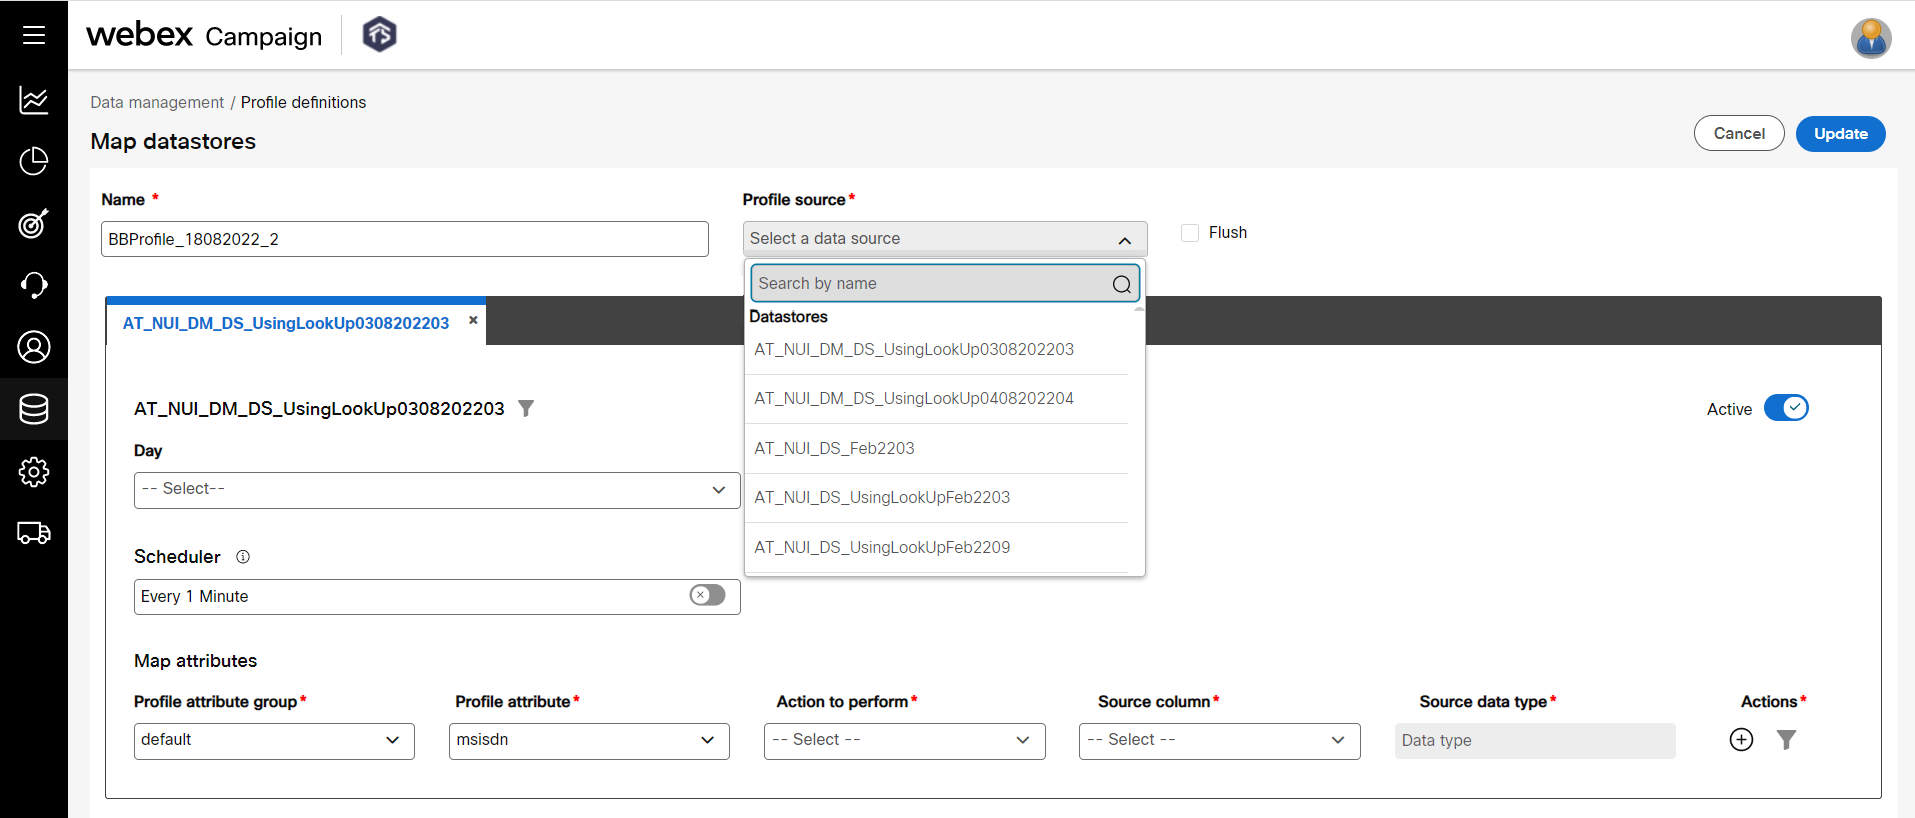
Enter the details for the following fields:
- Profile source: Select the profile source from the drop-down. You can also select multiple sources.
- Flush: Select this option to remove the existing data before loading new data.
- Day: Select an attribute from the drop-down list box.
- Active: Enable the toggle to make the mapped profile source active.
- Scheduler: Enable the toggle switch and configure the schedule using a cron expression. For example, the value 0/8 in the hour's field indicates that the data must be loaded in every 8 hours (0, 8, 16 hours of the day). For information, click Cron Expression to know how to define a schedule.
- Map attributes: Select the attributes from the drop-down list box. You can use the filter icon to apply a filter on the attribute.

- Click Update.
Updated 12 months ago