

Step 4: Creating an External Action
Follow these steps to create an External Action:
- Navigate to Administration > External action list screen, click + Add new external action.

- The Create external action screen appears. You can choose to create a new action or select an action which is saved as a template earlier. Select New to create a new action and click Proceed.

-
On the Action settings screen, enter details for the following fields:
-
Action name: Enter a name for the action.
-
Target system: Select a target system associated with the user from which an action is to be retrieved. When a network event is triggered, the application connects to the system to fetch and performs the corresponding configured action dynamically in real-time.
-
Action type: Select the action type associated with the target system.
-
Max TPS: Enter the maximum TPS.
-
This TPS is shared between Webex Campaign and use-cases deployed in Webex Connect. Please ensure that this TPS is unused in Webex Connect, during the campaign deployment schedule.
-
-
Response type: Select the data transfer method as Synchronous. When an action is received from the target system then it is processed in real-time.
-
Raise an alert if more than: Enter the percentage of actions that result in failure within an hour to raise an alert.
-
Description: Enter a meaningful description for the action.
-

-
Click Mode accordion and select configure the following:
- Mode: Select the mode as Webex Connect Workflow from the drop-down.
- Webex connect service: Select the Webex Connect service in which the WhatsApp flow was created.
- Webex connect flow: Select the WhatsApp flow from the drop-down.
- Flow webhook URL: The webhook URL will be populated automatically.
- Method type: Select the method type as POST from the drop-down.
- Action timeout: Maximum period the system should wait to receive an action response before logging it as failed. The default value is 2000 milliseconds (2 seconds).

-
Do not select anything in the Authorization type.
-
Click Headers accordion and click +Add new and enter header details as shown below:
| Name | Description | Applicable to | Options | Datatype/value | Display type |
|---|---|---|---|---|---|
| Key | Key | Action | Mandatory | Plain Text | |
| Content-Type | Content-Type | Action | Mandatory | application/json | Plain Text |

-
Do not enter anything in the URL parameters.
-
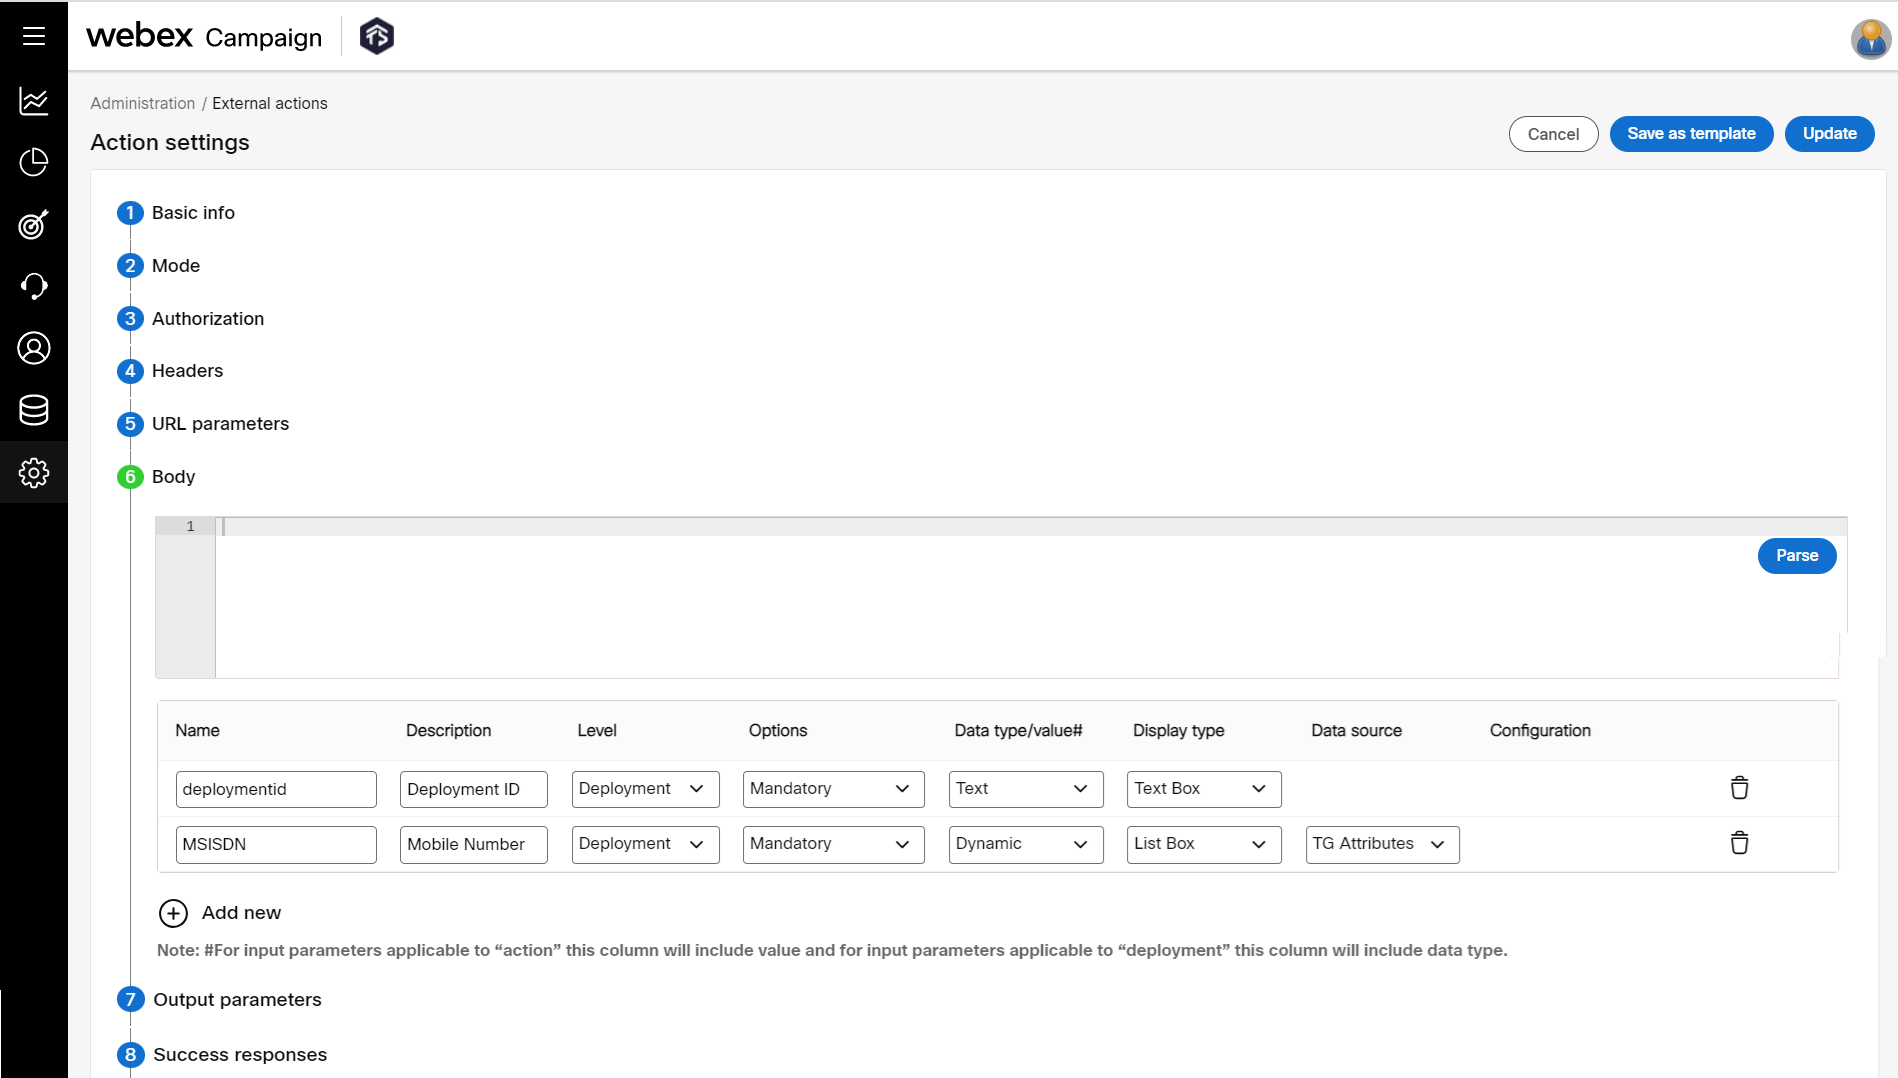
Enter the body parameters as shown below.
| Name | Description | Level | Options | Data type/value | Display type | Data source |
|---|---|---|---|---|---|---|
| deploymentId | deployment id | Deployment | Mandatory | Text | Text Box | not applicable |
| MSISDN | MSISDN | Deployment | Mandatory | Dynamic | List Box | TG Attributes |
| Enter Personalization header (optional) | some description | Deployment | Mandatory | Dynamic | List Box | TG Attributes |
If you want to personalize a message, make sure the header is available in the TG that is selected in the WhatsApp deployment, added in the WhatsApp message in Webex Connect and an entry of the header under body parameters. The values of the personalization header will be same as MSISDN header.
- Do not enter anything in the Output parameters.
- Enter the response code and description under Success responses as shown below:
| Response code | Description | Definition |
|---|---|---|
| 1002 | Success | Returned when the request is accepted by Webex Connect. |
- Enter the response codes and descriptions under Failure responses as shown below:
| Response Code | Description | Definition |
|---|---|---|
| 7000 | Invalid JSON | Returned when an invalid JSON request is sent. |
| 7001 | Authentication failed | Returned when an invalid service key or profile key is provided in the request. |
| 7002 | Service Key Missing | Service key is missing in the inbound webhook request. |
| 7005 | Internal error occurred | Returned when there is an issue with Webex Connect. |
| 7007 | Service inactive | The service does not exist or is deleted. |
| 7008 | Request received on an invalid or unsaved event endpoint | The inbound webhook endpoint does not exist. |
| 7010 | Source IP is not allow listed | Source IP is not in the allow list of IPs. |
| 7020 | You have reached maximum transaction limit | Returned when you have reached the transaction limit. |
| 7027 | Invalid XML | Returned when an invalid XML request is sent. |

- Click Save.
Updated almost 2 years ago