

Create a segment
A segment can also be created from the Segment Node on the Deployment Builder screen. It will launch the same segment creation screen as described below:
Follow these steps to create a new Segment:
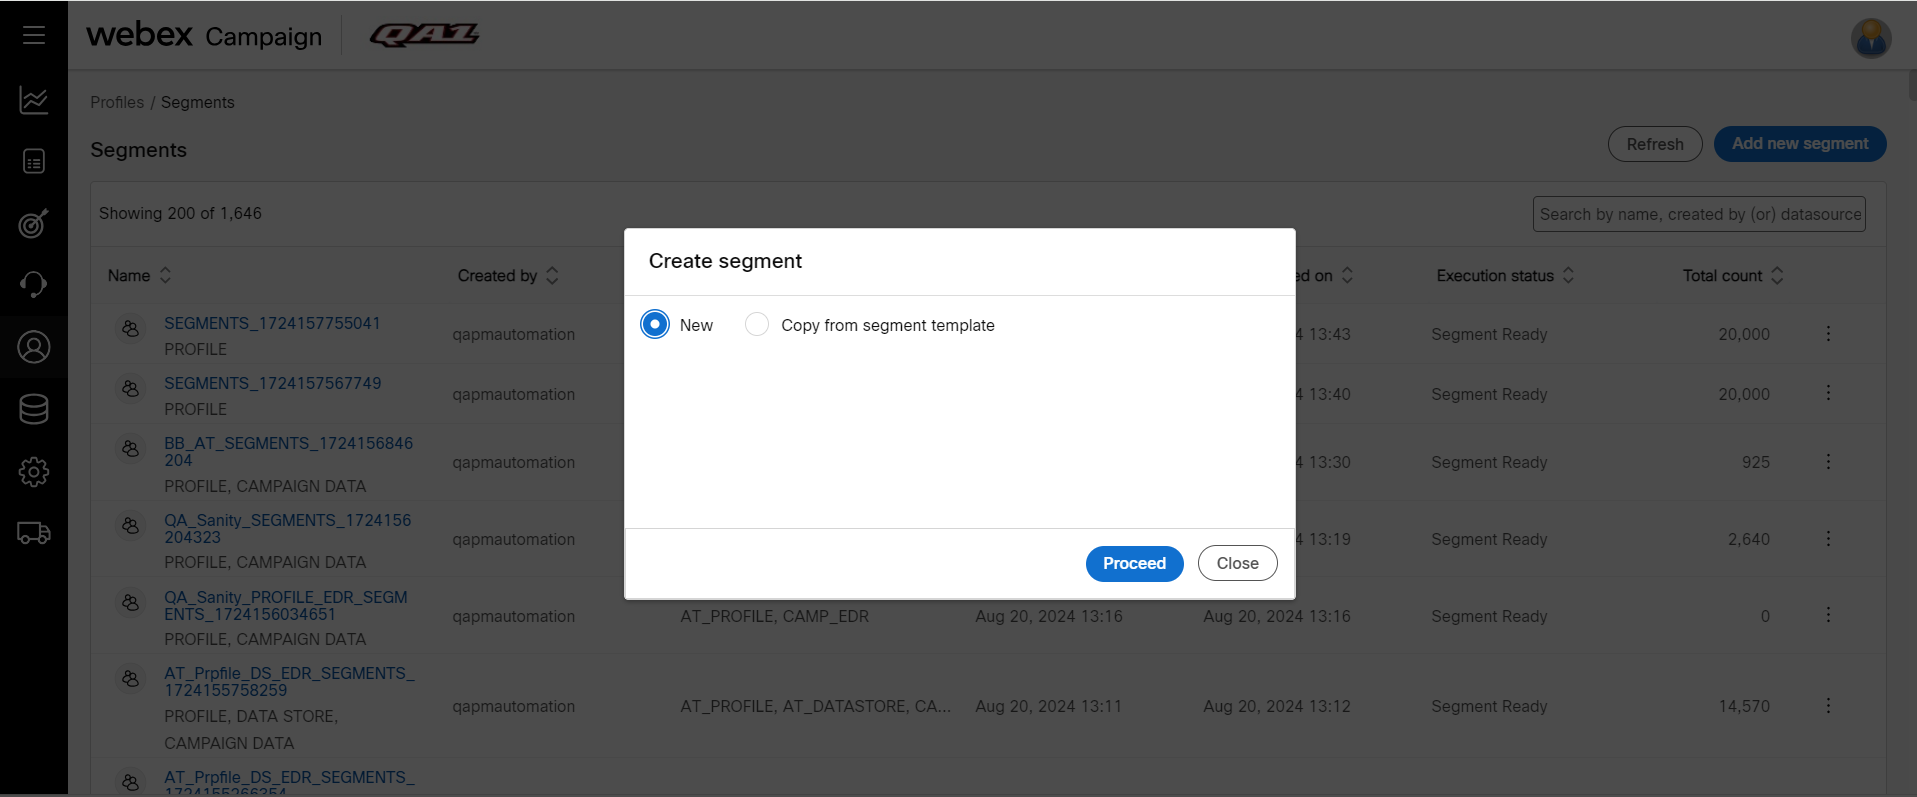
- Navigate to Profiles > Segments list screen and click Add new segment. On the Create segment screen, select New and click Proceed.
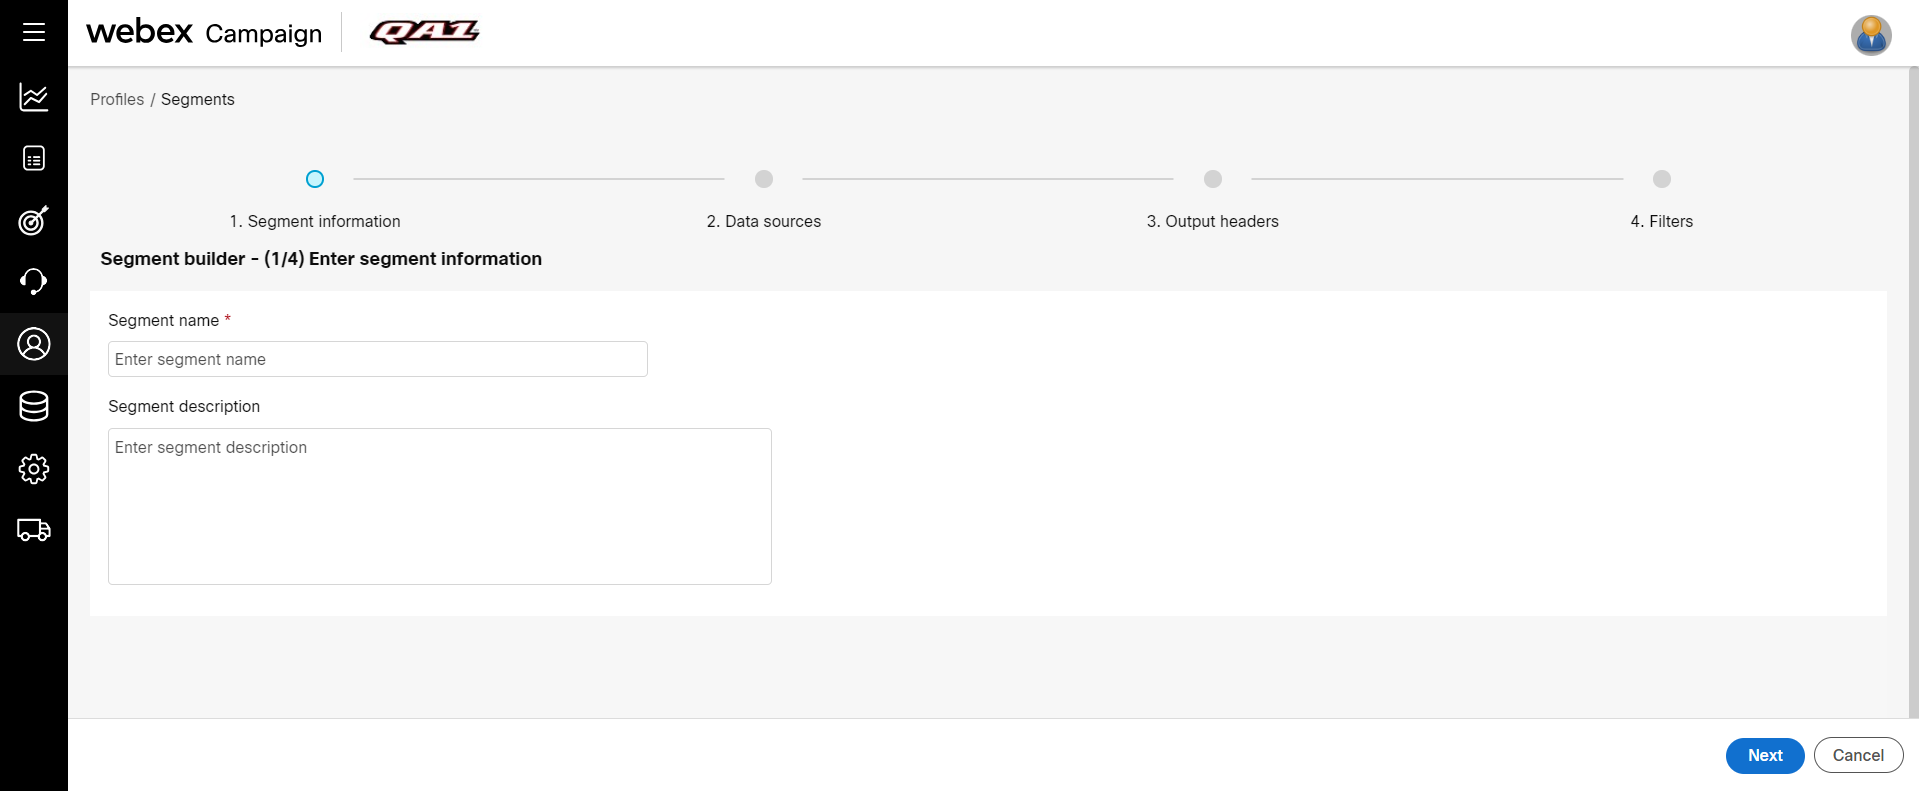
- Enter Segment name and Segment description . Click Next.
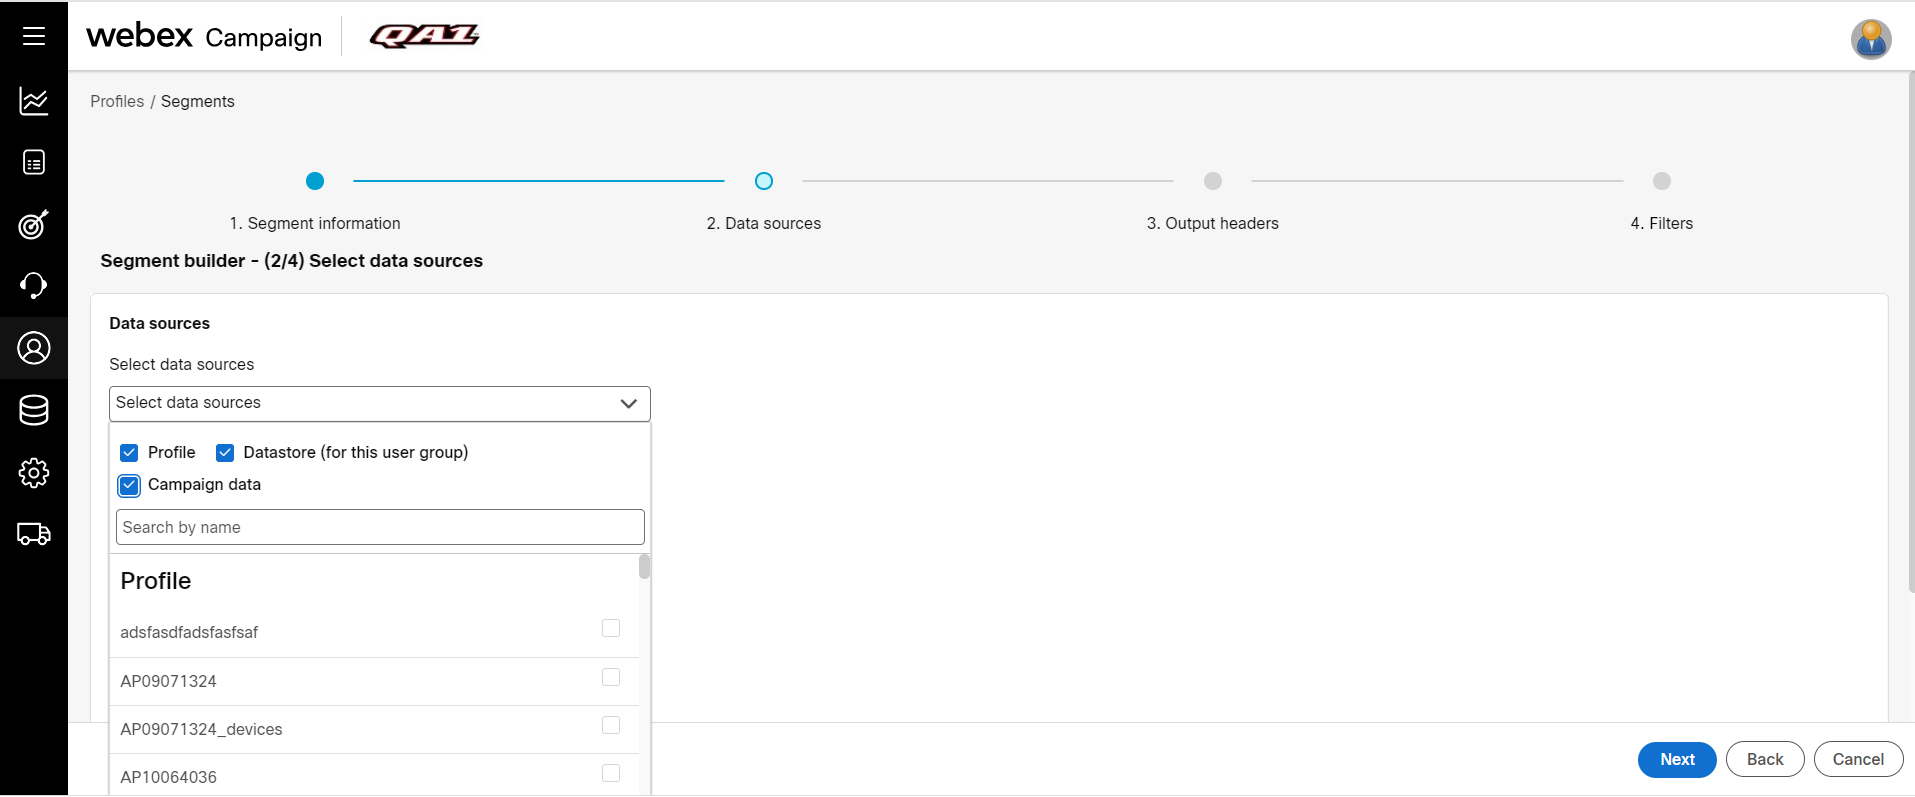
- Select profiles from the listed Data sources. You can toggle the data sources to turn off or turn them on to filter the profiles. For example, if you select only Profile as the source, then the list will display only profiles. The other source's profiles will be turned off. This will help you select the required profile quickly. Click Next.
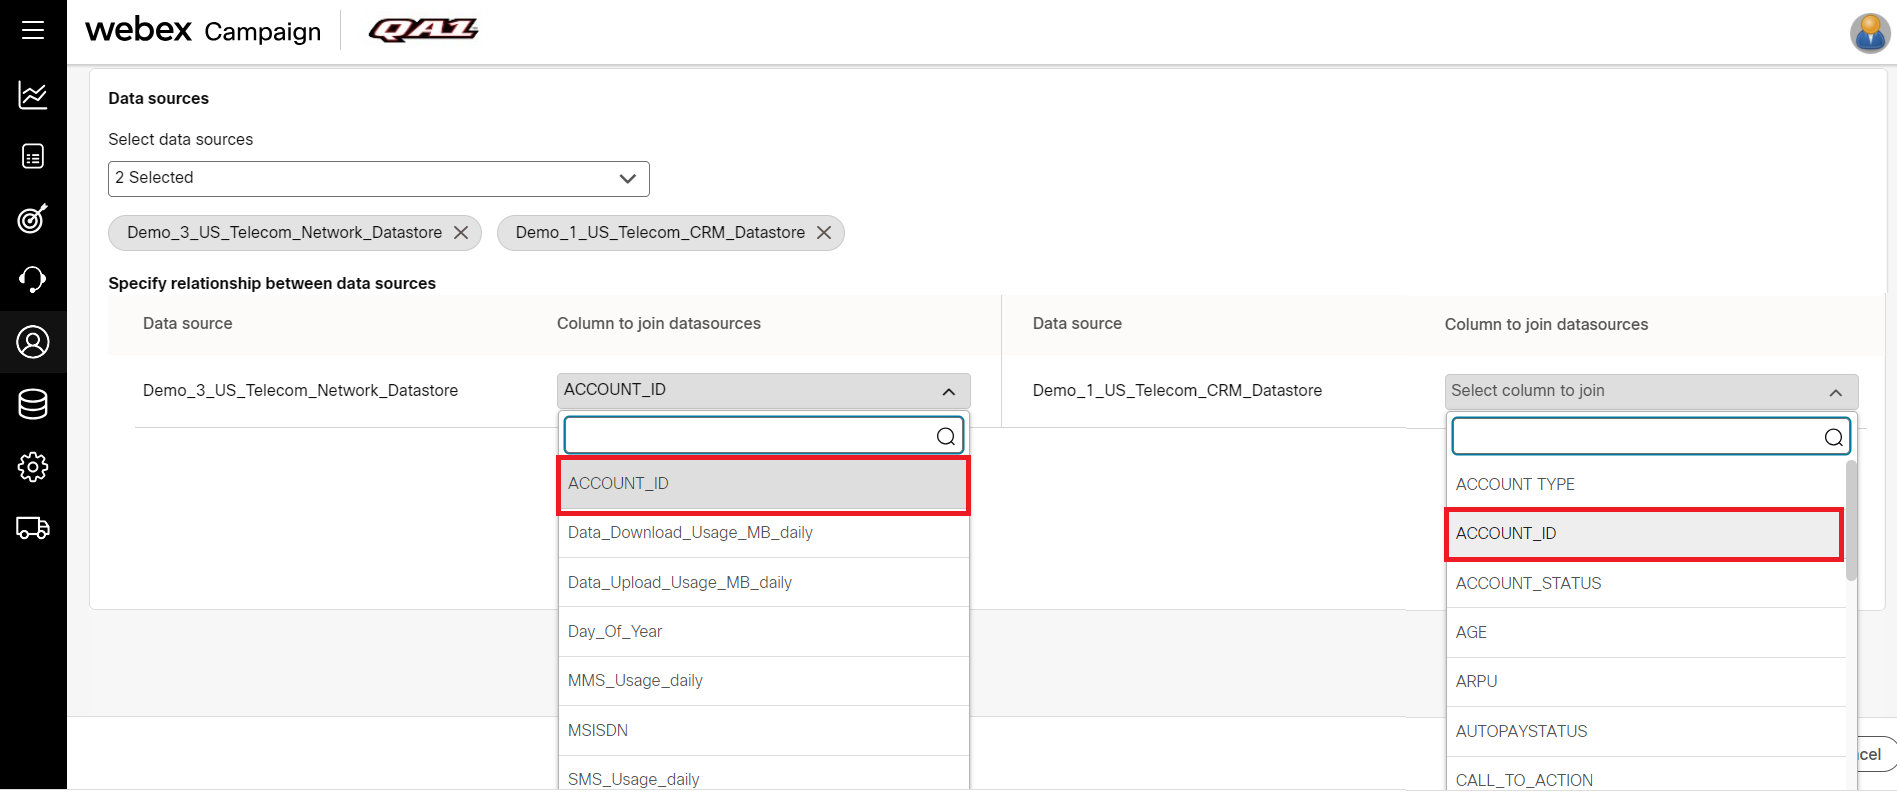
- A segment can be created from 1 or more profiles. If you select more than 1 profile, then the data sources should be joined by selecting a column from each source. You won't be able to join if the columns' data types are different or if one of them is encrypted. In the below picture, 2 profiles were selected and created a relationship by the MSISDN header.
To remove a selected source click the x icon of the respective data source.
The headers prefixed with (i) indicates that the header is indexed and the header prefixed with (pk) indicates that the header is a primary key.
-
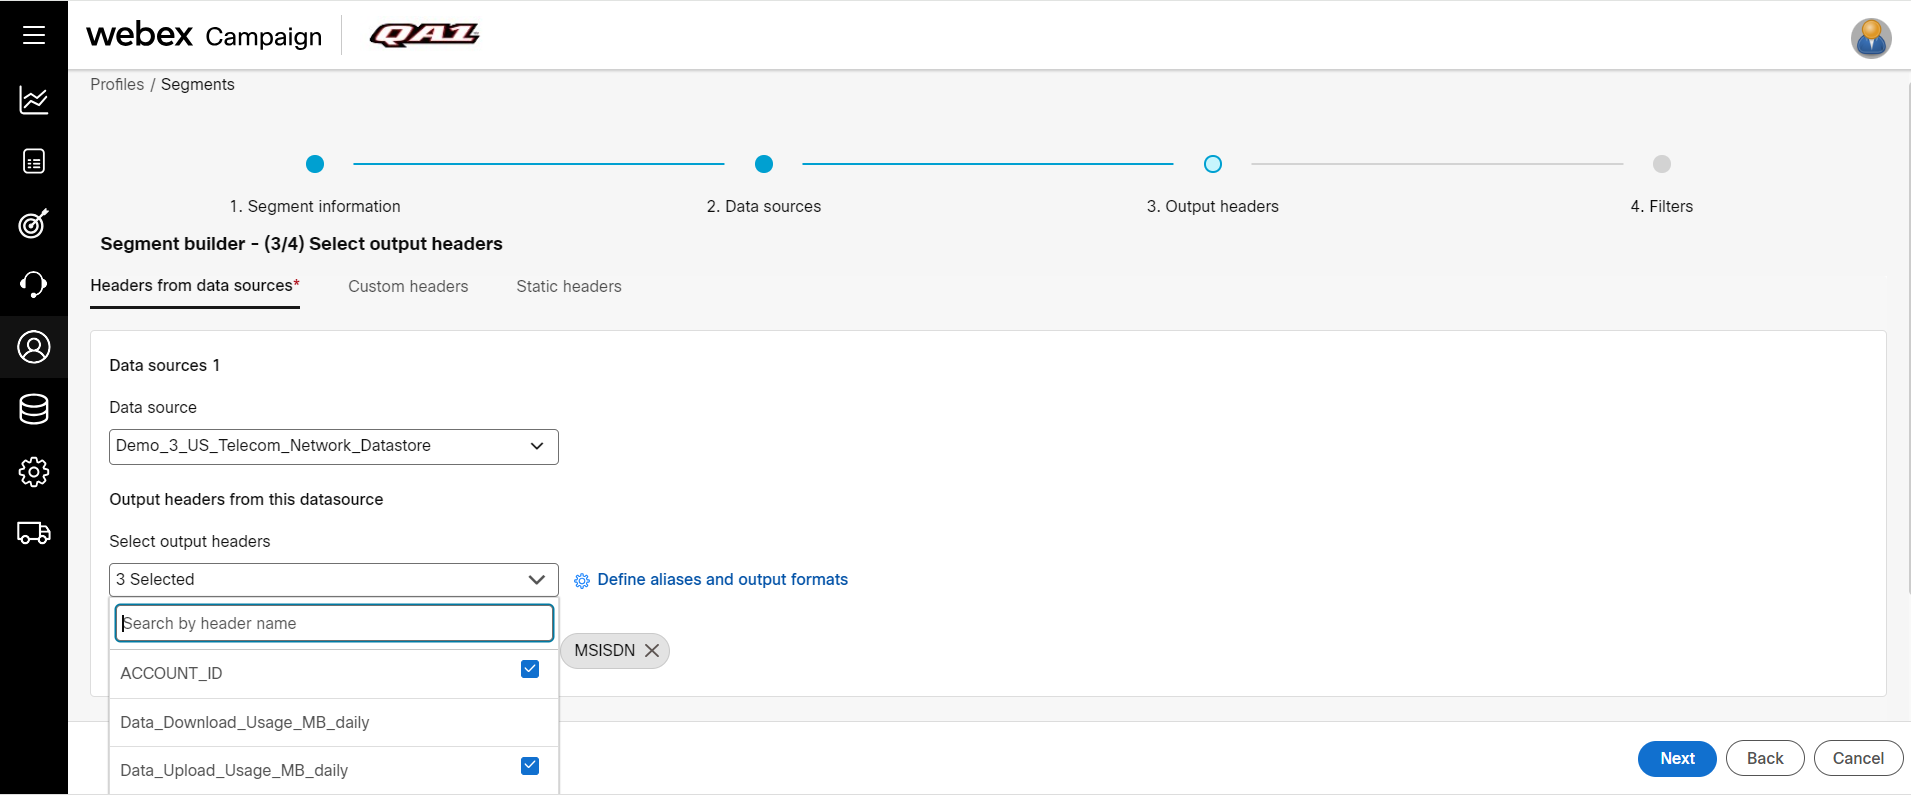
From the Data source drop-down select the data source. From the Output headers drop-down select the required headers.
-
(Optional) If you want to copy this segment definition to a dynamic TG, and if the Output headers do not have a message destination header (such as MSISDN, EMAIL, APPDEVICEID, etc.), then the system will show an error to define an alias or select any appropriate message destination header.
To define an alias, for a header, click Define Aliases and Export Formats.
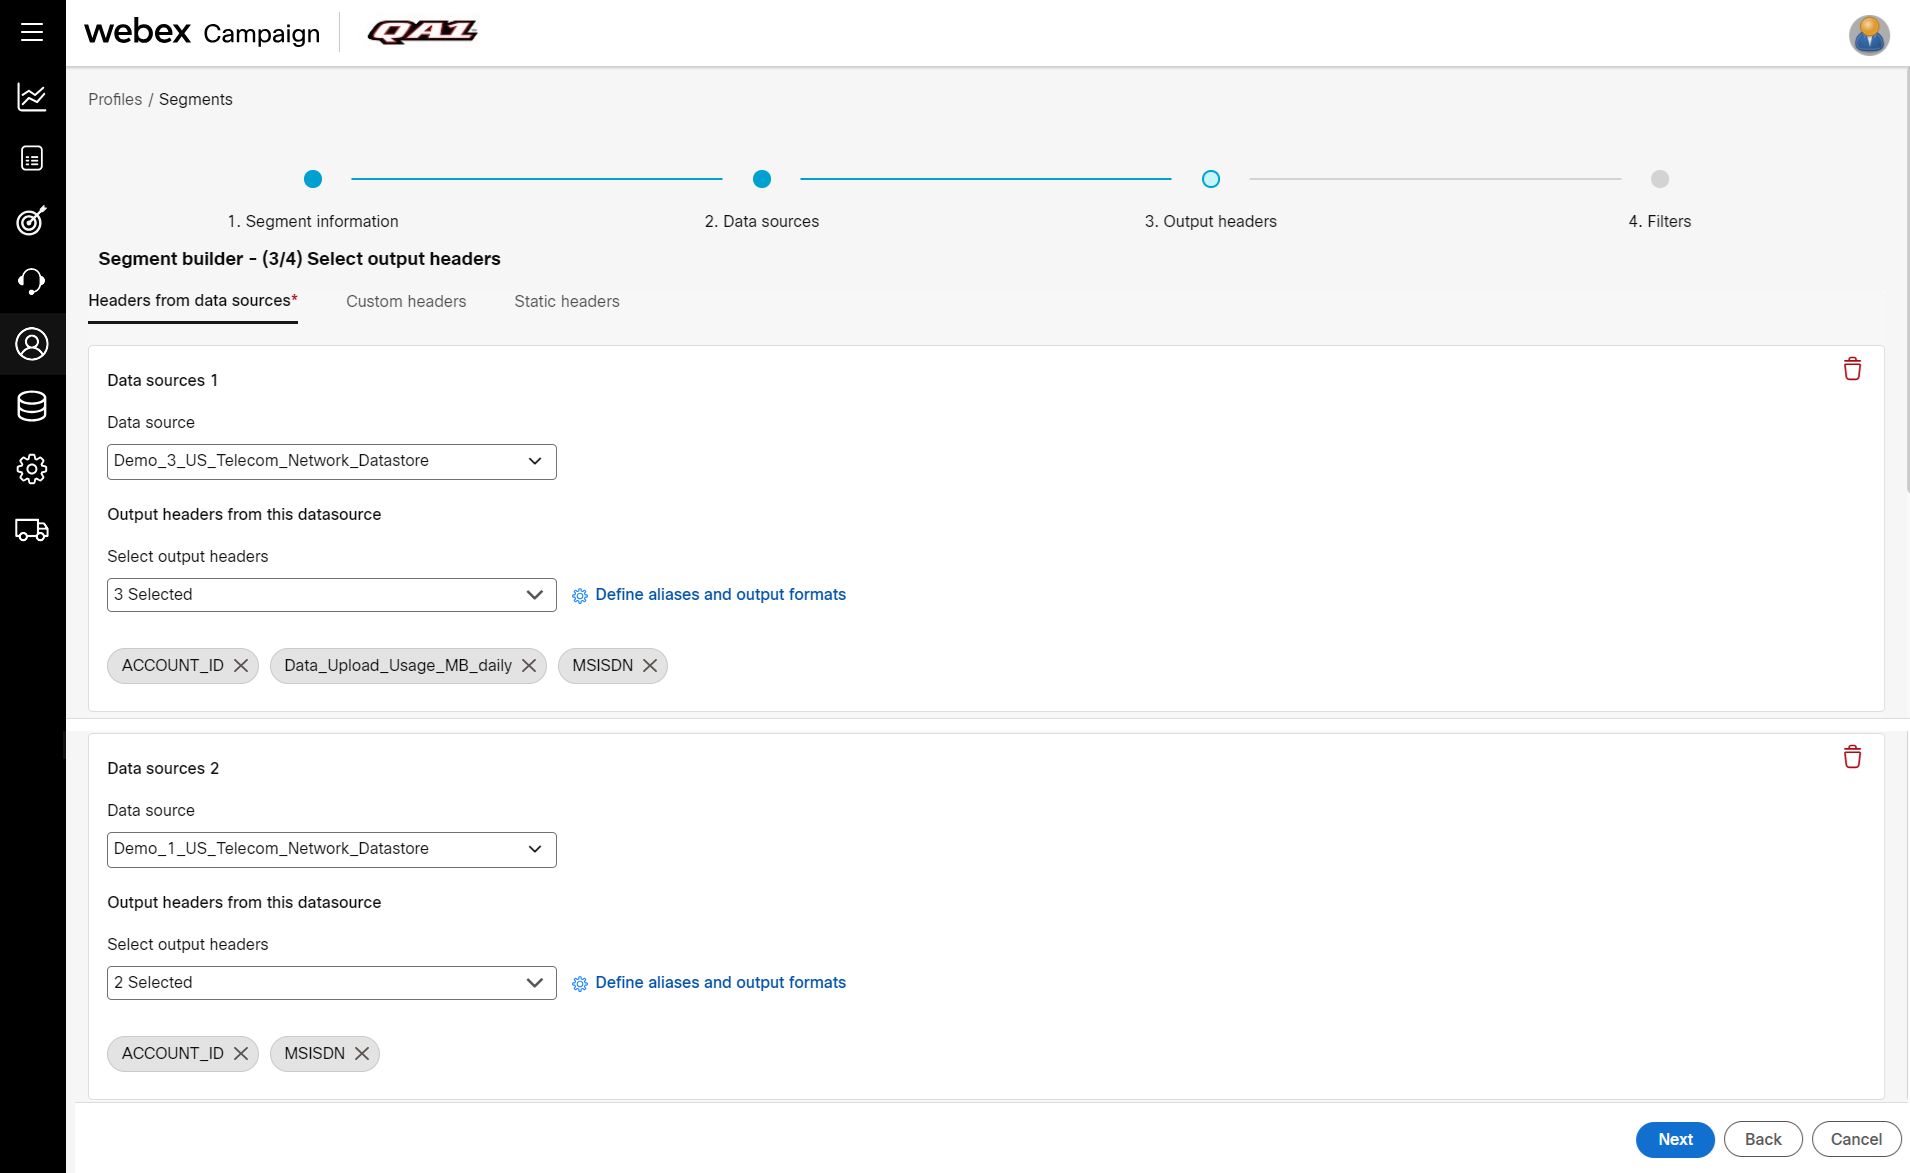
- (Optional) You can skip this step if you select only 1 Data Source. Click +Add from another data source to select output headers from the previously selected data sources.
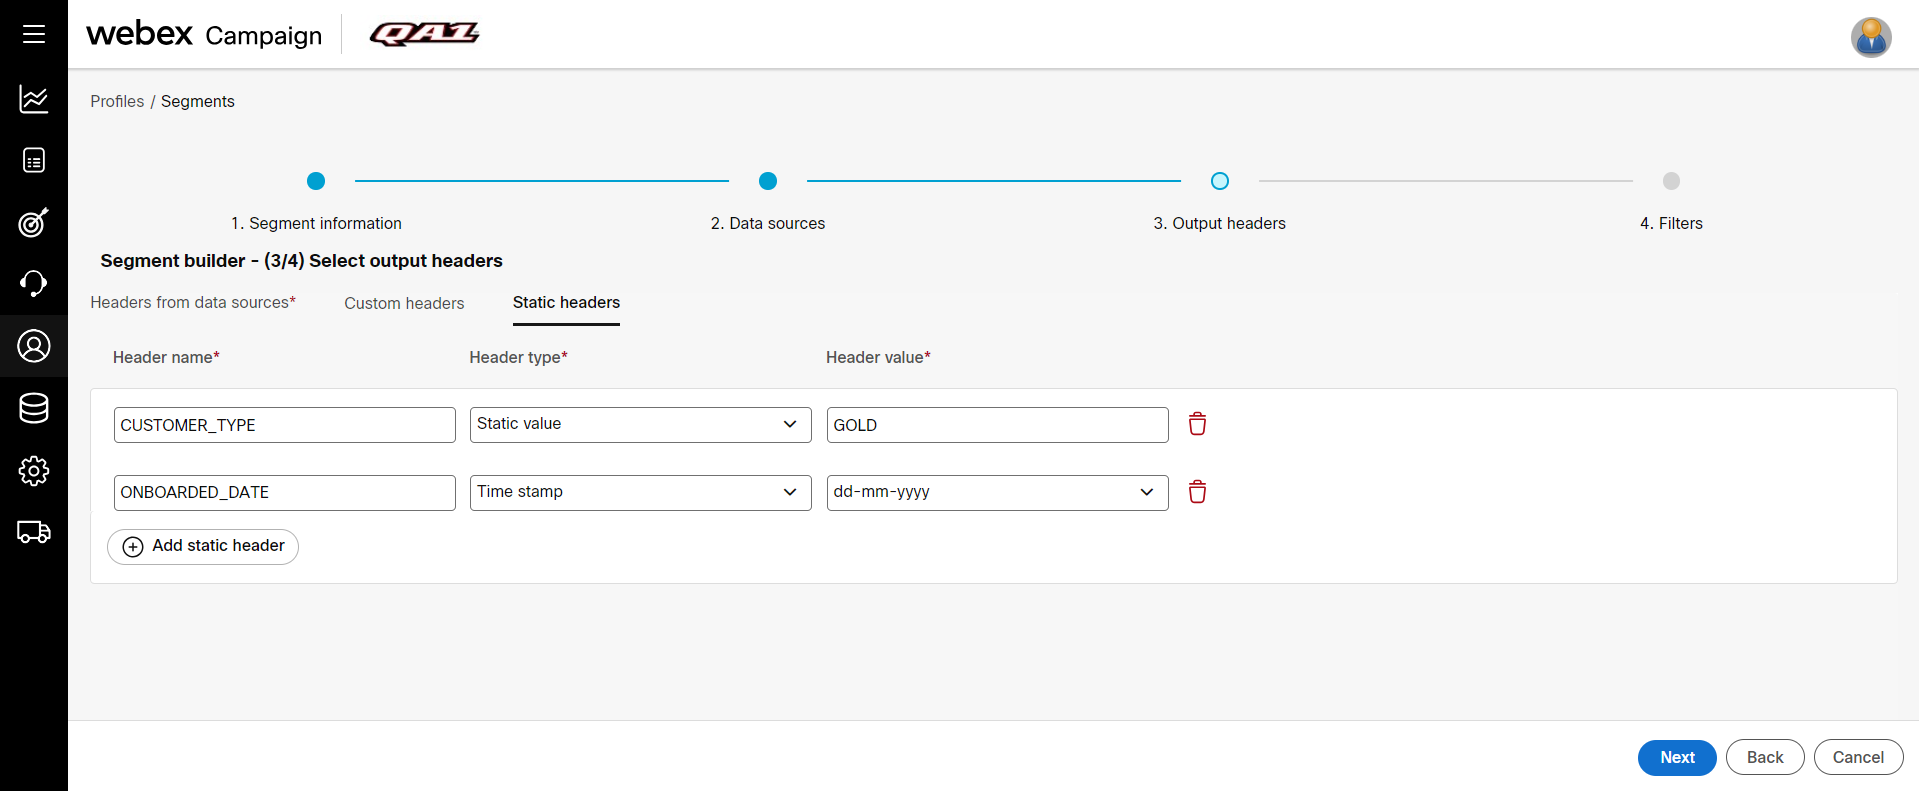
- (Optional) You can add a static header by clicking the Static header tab. Enter the following details:
- Header name: Enter a header name.
- Header type : Select Header type from the drop-down.
- Static value: Select this option to specify a static value for all the rows of the header. Enter the text value in the displayed text box.
- Time stamp: Select this option to add a timestamp to all the rows for the header. Select the timestamp format from the format drop-down.
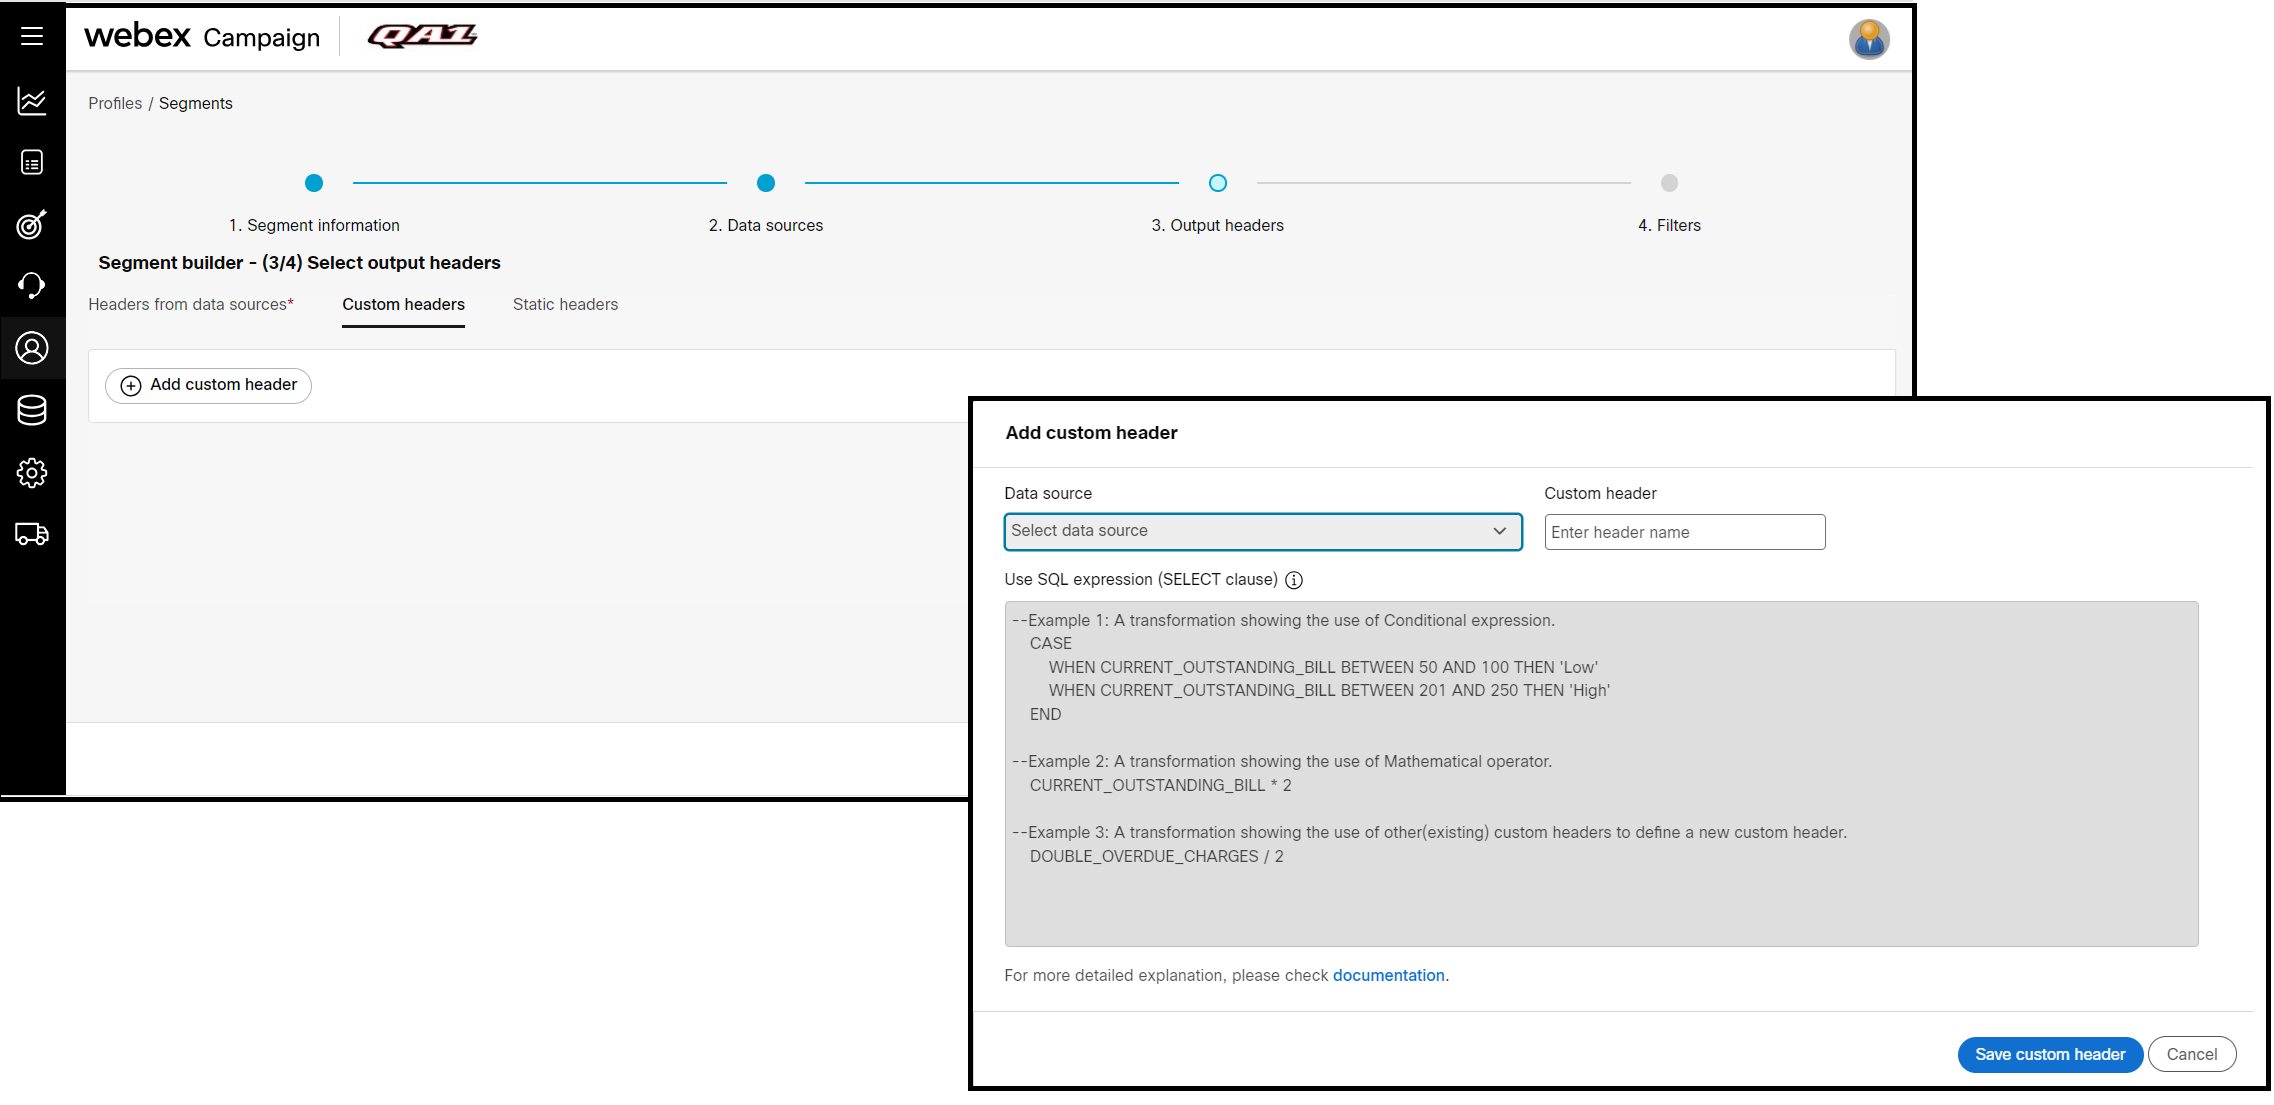
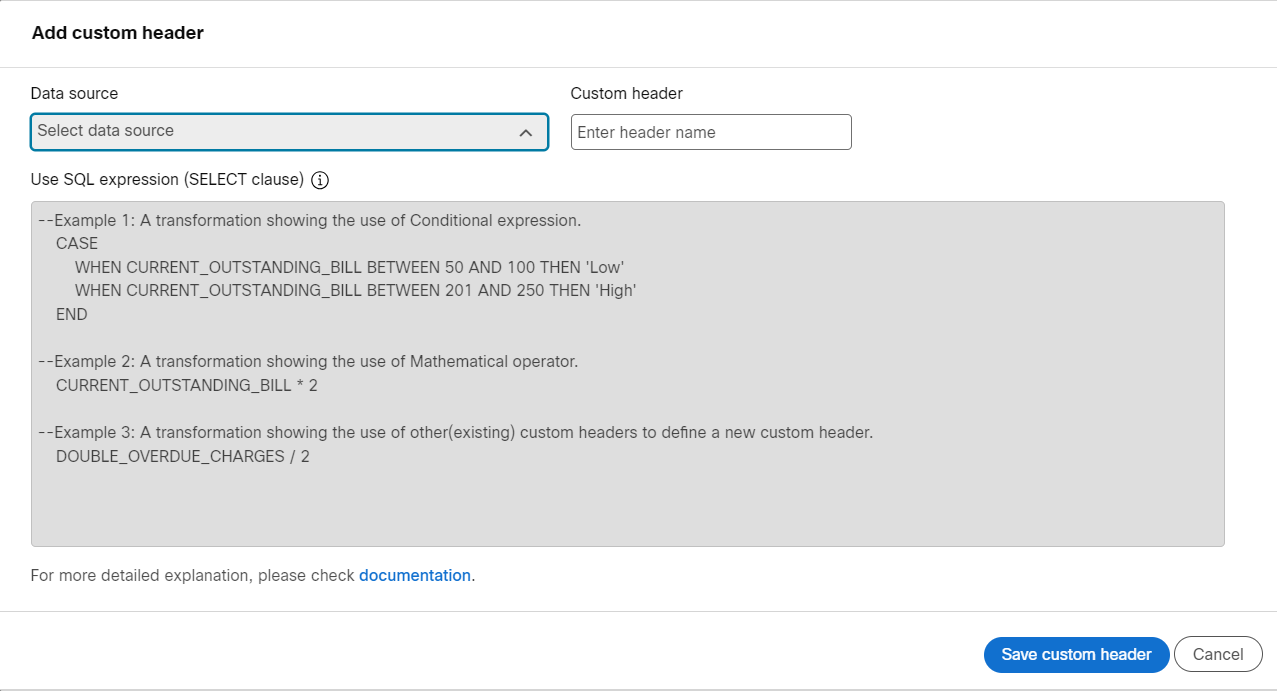
- (Optional) You can add a Custom header: This is an additional output header that you can derive from the existing headers. The Custom headers tab is not displayed for the sources selected under the profile. The Custom headers tab is displayed only for the sources selected under Datastores. Select the appropriate function from the drop-down. You can also write queries using SQL Expressions for complex expressions. For example, in the below snapshot, the FIRSTNAME_LASTNAME header will be derived by concatenating 2 different headers FIRSTNAME and LASTNAME.
It is mandatory to define a filter condition for the Custom header.
To learn, how to add a Custom header, click here.
- Click Next. The Configure segmentation query screen appears. You can create a new filter or select an already saved filter.
It is advised to create at least one filter condition using an indexed attribute. This will improve the performance of the query.
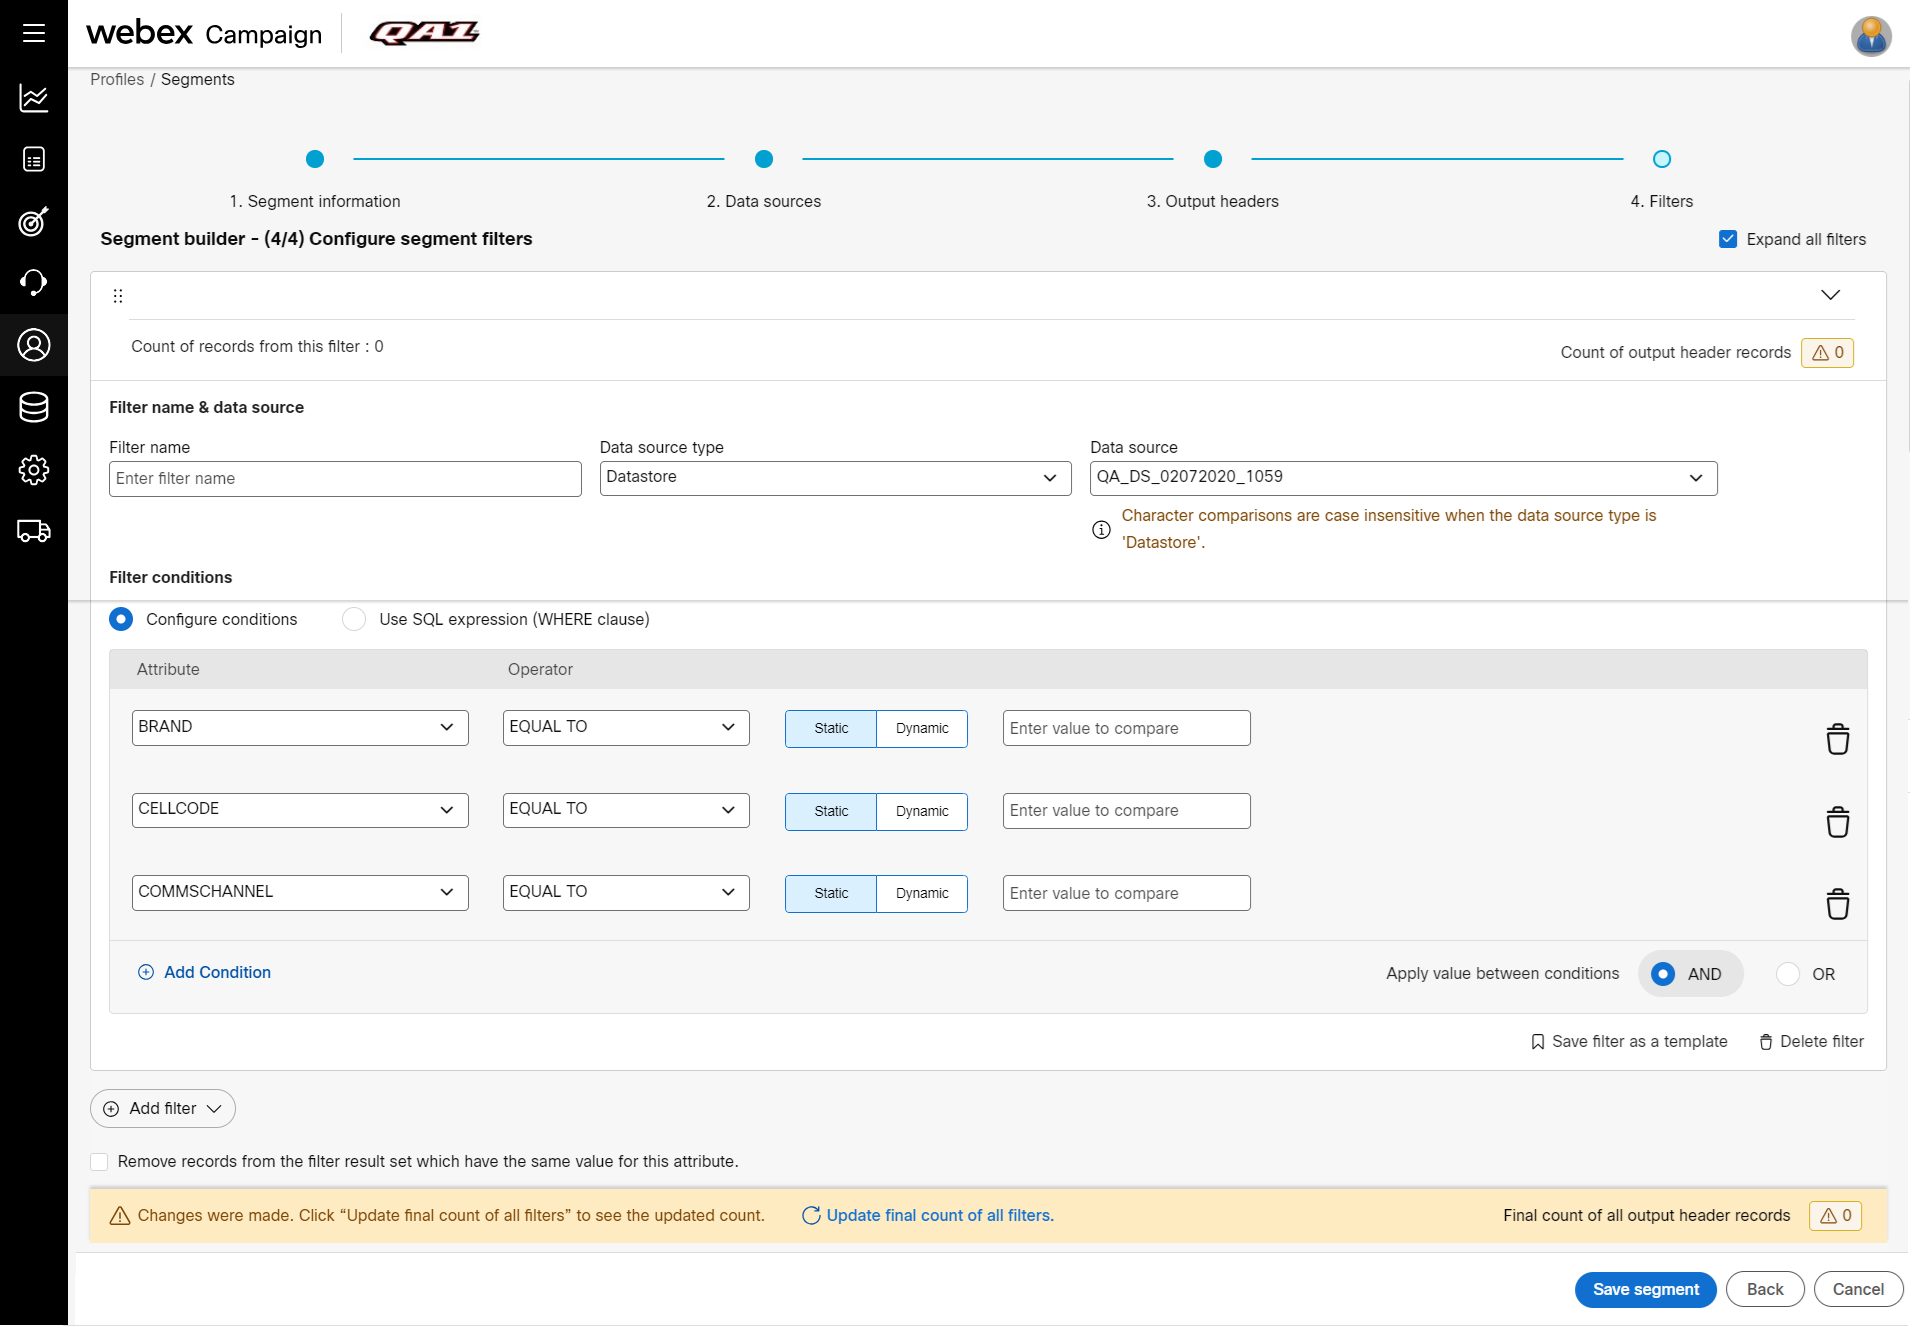
- To create a new filter, enter details for the following fields:
For a segment filter,
the data is case-sensitive when you query the data for Profile based data sources where the operator is Exact match. For example, EMAIL= "[email protected]". This query will return the results only if the CUSTOMERID is 123456789. Otherwise, it will return empty results. It is also case-sensitive for Datastore/Campaign Data data sources hosted on Amazon Web Services (AWS).
the data is case-insensitive when you query the data for Profile based data sources where the operator is a Broad match. For example, FIRSTNAME LIKE "John". This query will return results for the FIRSTNAME that contains John. It is also case-insensitive for Datastore/Campaign Data data sources hosted on Microsoft Azure.
You can contact your account manager to know if the Datastore is hosted on AWS or Microsoft Azure.
a. If you select the Data source as Profile or Datastore, the following options are applicable:
-
Filter name: Enter a name for the filter.
-
Data source type : Select a source from the Data Source Type drop-down.
-
Data source : Select the Profile or Datastore or Campaign data based on the source selected.
-
Filter conditions: Apply filter conditions.
-
Attribute: Select an attribute from the drop-down list box.
-
Operator: Select the required operator to perform conditional operations on the selected data from the drop-down list. The supported operators are EQUAL TO, NOT EQUAL TO, GREATER THAN, LESSTHAN, GREATERTHAN OR EQUAL TO, LESSTHAN OR EQUAL TO, IS NULL, IS NOT NULL, IN, NOT IN, BETWEEN, ABOVE AVERAGE, BELOW AVERAGE.
We have deprecated some options in the Segment filter screen that do not apply to a few operators to avoid incorrect use of those options.
The below table gives you an understanding of the values that are applicable for the respective operators on a DATE attribute.
Example Attribute Operator Applicable Value ( When a value is selected an indicative date label will be displayed) TRANSDATETIME EQUAL TO • Today
• Tomorrow
• Yesterday
• X-Days Ago
• X-Days From Today
• X-Hours Ago
• X-Hours From Now
• Specific DateTRANSDATETIME AFTER • Today
• Tomorrow
• X-Days From Today
• Specific DateTRANSDATETIME BEFORE • Today
• Tomorrow
• Yesterday
• X-Days Ago
• X-Days From Today
• Specific DateTRANSDATETIME GREATER THAN OR EQUAL TO • Today
• Tomorrow
• X-Days From Today
• Specific DateTRANSDATETIME LESS THAN OR EQUAL TO • Today
• Yesterday
• X-Days Ago
• X-Days From Today
• Specific DateTRANSDATETIME IS NULL NA TRANSDATETIME IS NOT NULL NA TRANSDATETIME IN • Last X-Days
• Future X-DaysTRANSDATETIME BETWEEN NA
-
-
Type of value: Select if the value is Static or Dynamic.
-
Enter value: Enter the value in the text field. If you select Dynamic, select the Attribute.
-
Apply value between conditions: Select the required value between conditions. The options are And , Or, and Build expression to write SQL expression. the Build Expression operator is applicable only if you select the Data Source as Datastore.
When you use IN operator, make sure you do not give spaces between the comma separated values. If you enter space in the comma separated values, the filter may not show the expected results,
When you write an expression, varchar datatype column values should be enclosed in double-quotes. For example, DEVICE_OS="ANDROID" or AGE > 18.
- Add condition: To add more conditions, click Add condition and define the condition.
If you add more conditions, you can apply And or OR conditions between the defined conditions.
The lookup option will be displayed only if it is enabled for the required column in the Feed ETL screen. When this option is enabled to a column, then the values of the column will be displayed while defining the filter conditions.
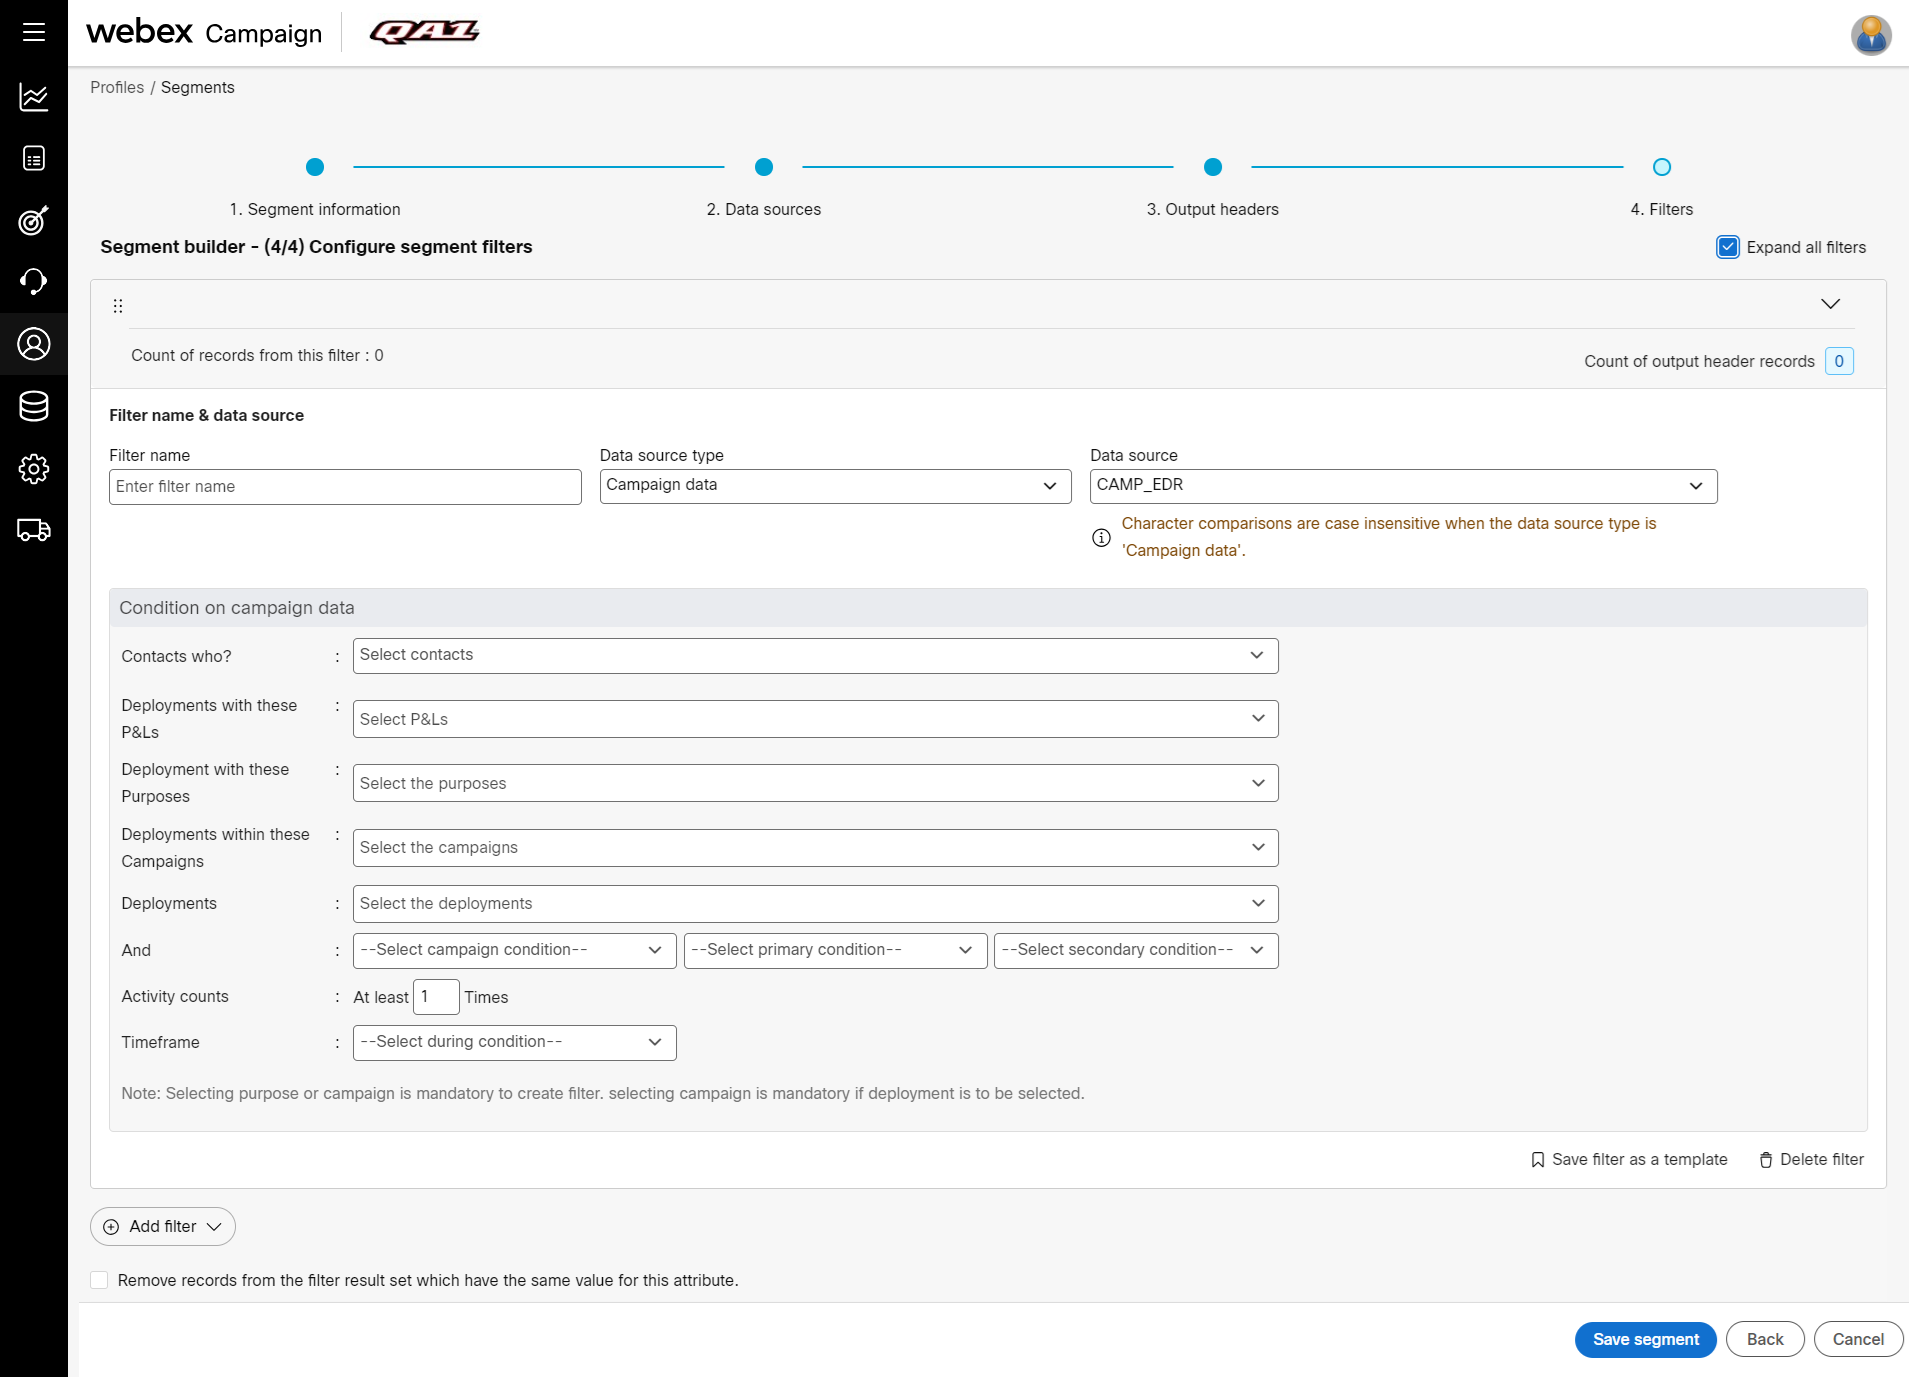
b. If you select Data source as Campaign data, the following options are applicable to add conditions:
- Contacts who?: Select the option Are part of.
- Deployments with these P&Ls: Select the required P&L from the drop-down.
- Deployment with these Purposes: Select the required purposes from the drop-down.
- Deployment with these Campaigns: Select the required campaigns from the drop-down.
- Deployments: Select the required deployments from the drop-down.
- And: Select the Campaign condition and Primary condition.
- Activity counts: Enter the count.
- Timeframe: Select the time frame.
When you select ‘Any campaigns’ as an option for Campaigns dropdown, the system automatically populates the value ‘All deployments’ in the Deployments dropdown; and other dropdowns are automatically customized accordingly.
When you select ‘Any campaigns’ as an option for Campaigns dropdown, please do not select any other value in the Campaigns dropdown. If you proceed to select any additional value, the system automatically updates to remove the additional values and displays an alert informing you accordingly.
When you select a specific campaign in Campaigns dropdown and if that campaign has deployments across multiple channels for the Campaign, then you may select ‘All’ in the Deployments dropdown to include all these deployments across multiple channels; or you may select specific deployments within that campaign.
The ‘Any campaigns’ and ‘All deployments’ values are ‘dynamic’ i.e., the actual list of campaigns and the actual list of deployments covered by these filters are automatically updated to include new campaigns and deployments that have been created after the segment-filter was originally configured by you.
- (Optional) To use this filter in the future, click Save filter as a template.
- Click Add filter to apply the filter on the query. You can add multiple filters. You can re-arrange the filters by dragging and dropping the filter header above or below the other filters. Click here to learn more about changing the sequence of filters and using multiple data sources.
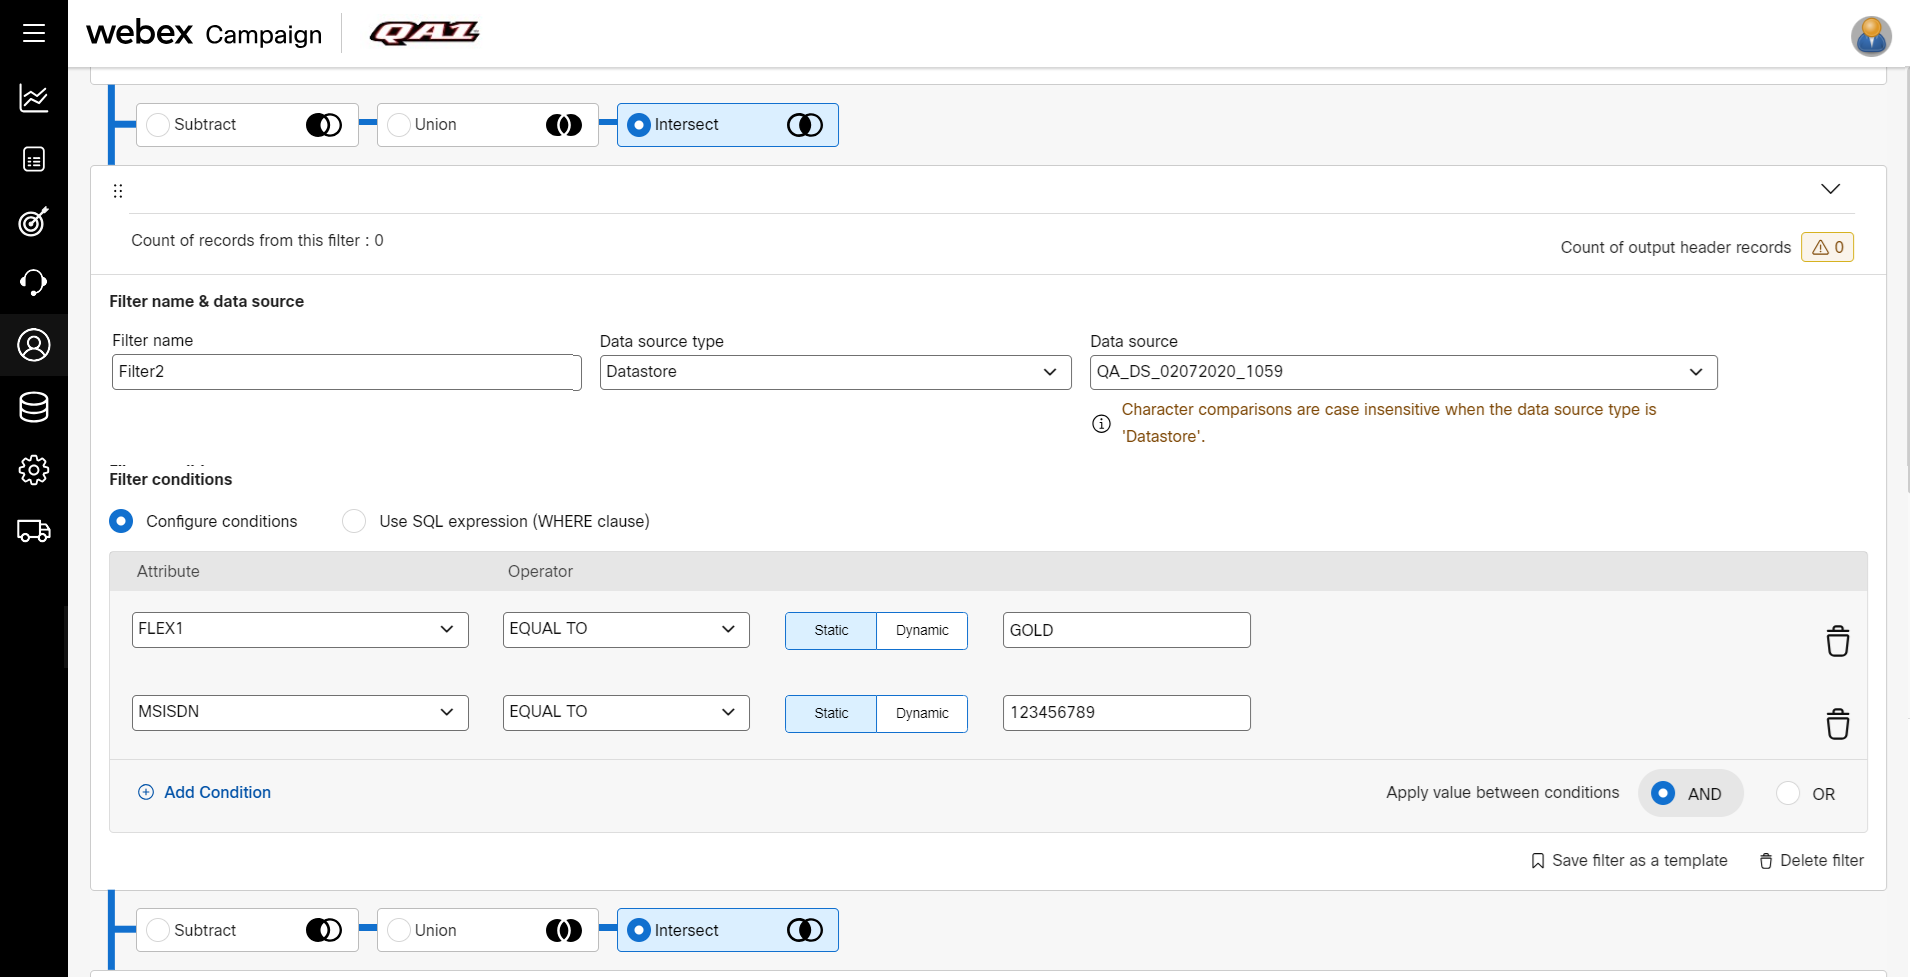
- If you define multiple filters, select the query criteria as required:
- Subtract: Use this option to subtract records from the second filter.
- Union: Use this option to include the records from the second filter.
- Intersect: Use this option to get unique records from both filters.
- To remove duplicate records, select the checkbox “Remove records from the filter result set which have the same value for the attribute and select the . Click Update final count of all filters, The query results get updated.
- Click Save segment to save the segment.
The segment will be saved for execution. You can run this query immediately or schedule it to run at a specific time. By using the visualize option you can visualize the data.
Tips to Define Custom Headers
You should have sound knowledge and understanding of SQL expressions. The Webex Campaign SQL Expression Editor support only expressions. If you write SQL statements, they will not get executed.
Use Custom headers to derive a custom header from other data headers. The Custom headers tab is not displayed for the sources selected under the profile. The Custom headers tab is displayed only for the sources selected under Datastores. You can also define a custom header using SQL expression.
Currently, there is no option to validate the expression you enter. You must save your expression and verify it against the results. In case, if the SQL expression is not rendering any results, verify the syntax and make appropriate changes till the query returns valid results.
To write aggregate functions such as sum, count, and so on, you can use the drop-downs to select appropriate functions and apply conditions.
To write complex functions such as changing the date from one format to another, you can use SQL Expression Editor. Once the SQL Expression is selected, the drop-downs will disappear from the screen.
For more information on supported SQL functions, refer to Redshift documentation.
As the SQL Expression Editor cannot verify the syntax, you have to make sure the syntax is correct.
To learn more about defining custom headers using SQL expressions editor, click here.
Updated over 1 year ago