Sender IDs

Webex Campaign allows the management of sender IDs, which are required for different channels of communication. The sender IDs configured here are assigned to a deployment during its creation.

Add a Sender ID for SMS and MMS Channels

A Shortcode/Longcode is a special number - significantly shorter than a standard telephone number that is used to send SMS and MMS messages. They are typically used with keywords for value-added services where a response is requested from the customer. The Shortcodes and Longcodes are applicable to SMS and MMS channels only.

Spoofing can be used for corporate branding messages and hiding the originating phone number. An alphanumeric ID is designated to identify the Originating Address (OA). This appears as a number/name on the recipient's mobile phone when an SMS or MMS is received.

📘

Apple handsets are unable to display spoofs shorter than 3 characters correctly.

  1. On the Sender IDs screen, click +Add new.
  1. On the Add sender ID screen, select the SMS channel from the drop-down list box.
  2. Enter details for the following fields.
  • Sender ID type: Select Sender ID as Spoof(Alphanumeric) or Shortcode/Longcode
  • Sender ID: Enter a Sender ID.
  • Description: Enter a meaningful description.
    The following additional options are applicable only for the SMS channel if you select Sender ID type as Shortcode/Longcode.
  • Router: Select a router to which you want to assign the Sender ID from the drop-down list box.
  • Invalid request message(English): Enter a message that is triggered when customers respond with an invalid keyword to the Shortcode.
  • Invalid request message (Unicode): Enter a message that is triggered when customers respond with an invalid keyword to the Shortcode in Unicode.
  1. Click + Create sender ID.

Add a Sender ID for the Email Channel

For the Email channel, a Sender ID could be a company or brand name. For example, demobank. The From email address should be configured in advance in the Webex Campaign Admin Console.

📘

The From email addresses must be routed by the Webex Campaign team before use.

  1. On the Sender IDs screen, click +Add new.
  2. On the Create Sender ID screen, select the Email channel from the drop-down and enter details for the following fields.
  • Sender ID: Enter a Sender ID. For example a brand or company name.
  • From email address: Select the Email ID of the person or company you wish. The email recipients will receive the emails from this address.
  • Default reply-to email address: By default, From email address will be shown as the Default reply-to email address. However, this field is editable, and you can enter a valid email address of the person or company you want recipients to reply to. This Email ID will be applied to all 'Sender IDs' using the same From email address.
  • Default reply-to name: Enter a valid name of the person or company you want recipients to reply to. This Email Name will be applied to all 'Sender IDs' using the same From email address.
  • Description: Enter a meaning description.
  1. Click + Create sender ID.

Now the Sender ID is ready to be used in Email Deployments.


Add a Sender ID for USSD and Voice Channels

  1. On the Sender IDs list screen, click +Add new.
  2. On the Create Sender ID screen, select the USSD or Voice channel from the drop-down and enter details for the following fields.
  • Sender ID: Enter a Sender ID.
  • Description: Enter a meaning description.
  1. Click + Create sender ID.

Now the Sender ID is ready to be used in USSD and Voice Deployments.


Edit a Sender ID

  1. On the Sender IDs list screen, click the ellipses icon of the required Sender ID.
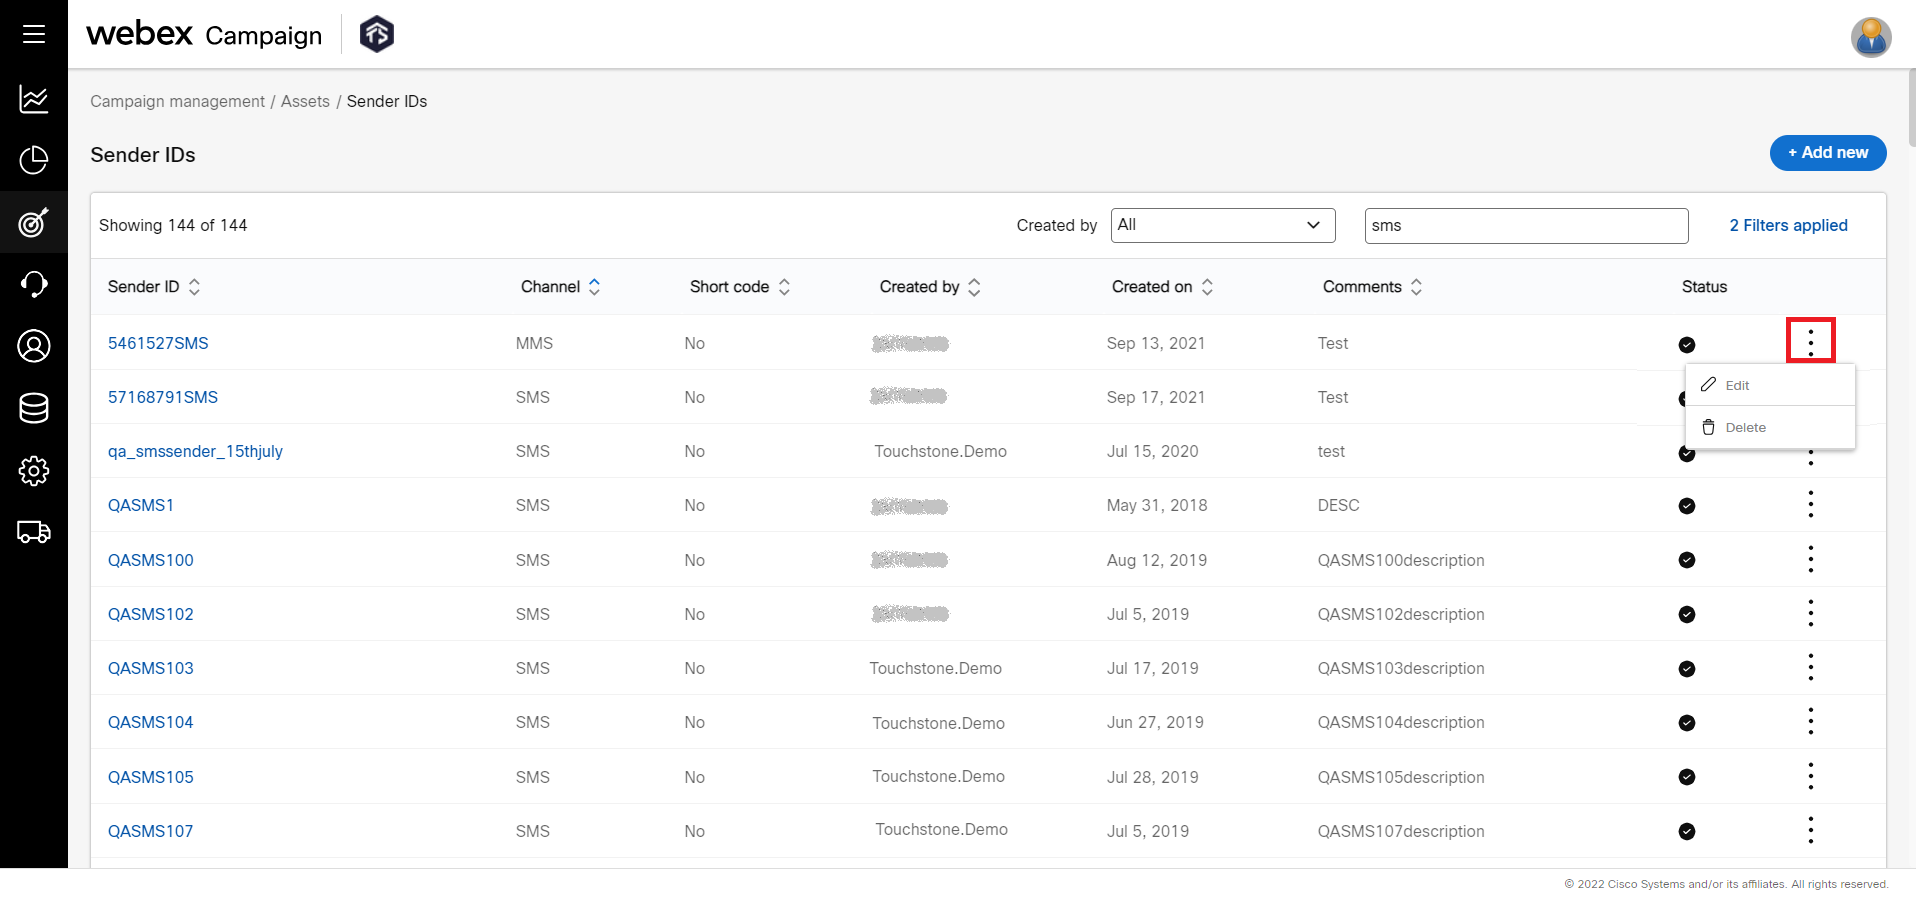
  1. Click Edit. The Edit Sender ID screen appears. You can only edit the Sender ID and Description.
  2. Make any required changes and click Update.

Delete a Sender ID

  1. On the Sender IDs list screen, click the ellipses icon of the required Sender ID.
  1. Click Delete.
  2. Click OK on the confirmation message.