

Add a New Datastore from a File
This feature allows you to add a new datastore and load the data from a file. You can configure to flush the existing data from the datastore before loading new data.
You cannot make any changes to the system-generated datastores such as CAMP_EDR and CAMP_OPTOUT_DATA on the ‘Datastores list’ screen.
The datastore creation is a two-step process.
Step 1: Add a New Datastore schema from a File
Step 2: Import data into a Datastore
Step 1: Add a New Datastore schema from a File
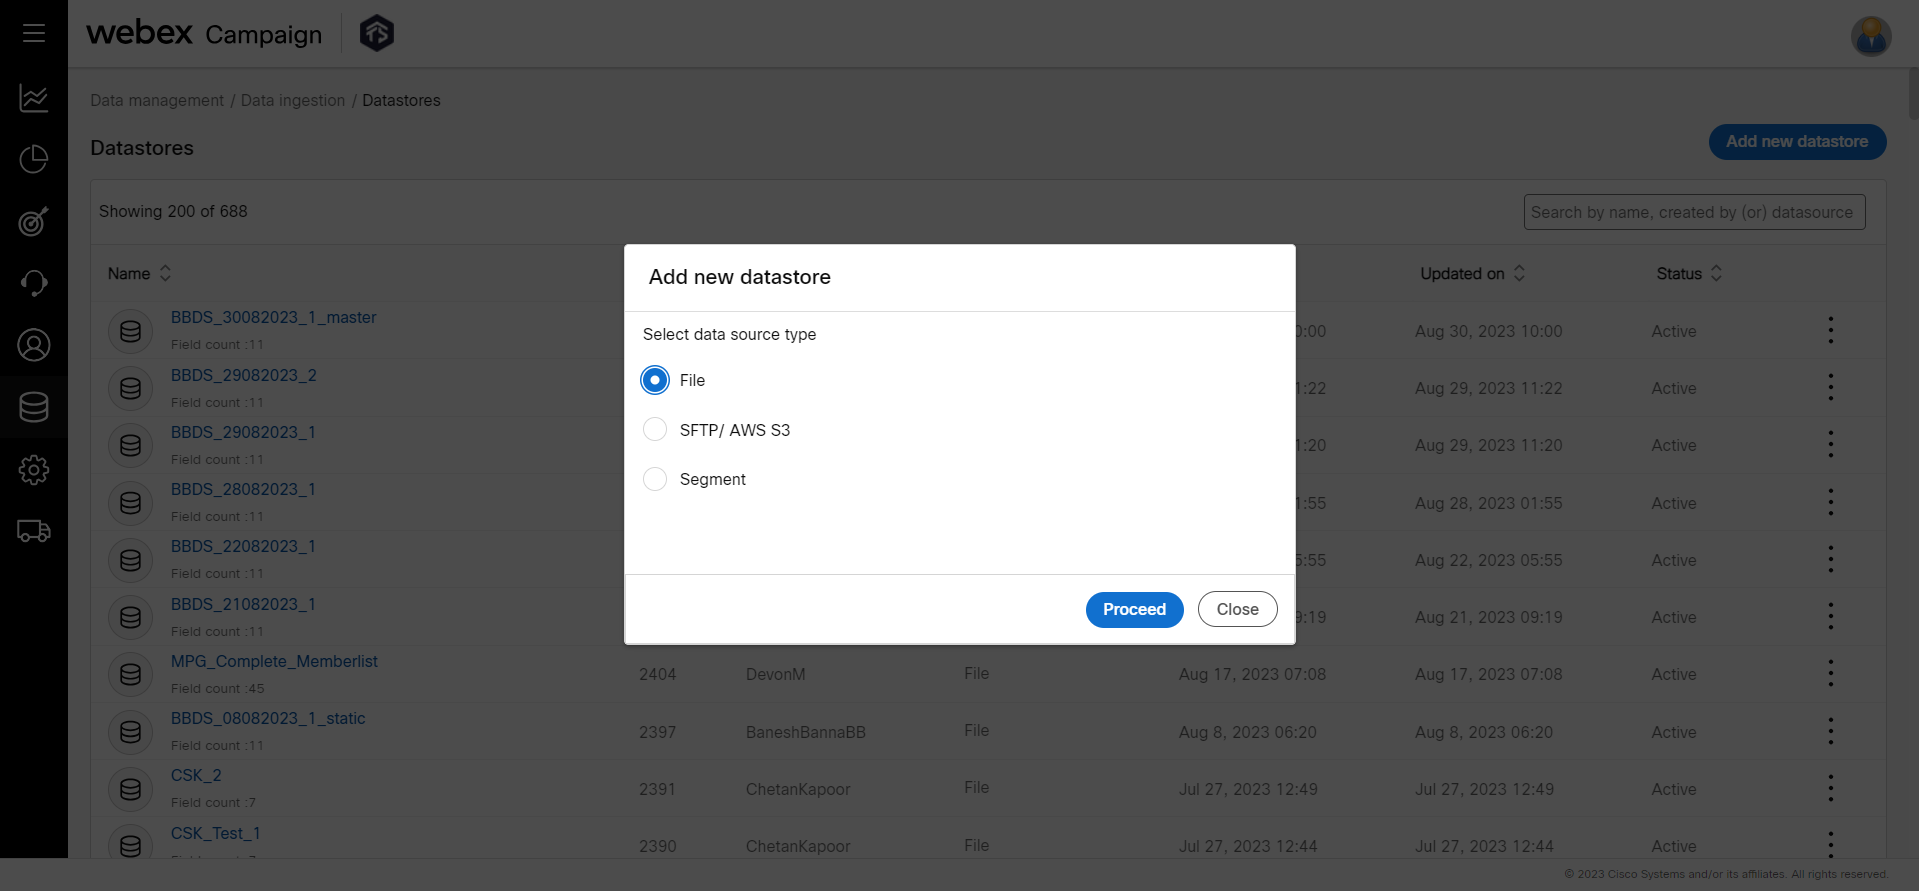
- Navigate to Data management > Data ingestions > Datastores list screen. Click Add new datastore.
- Select "File" and click Proceed. The Datastore creation screen appears.
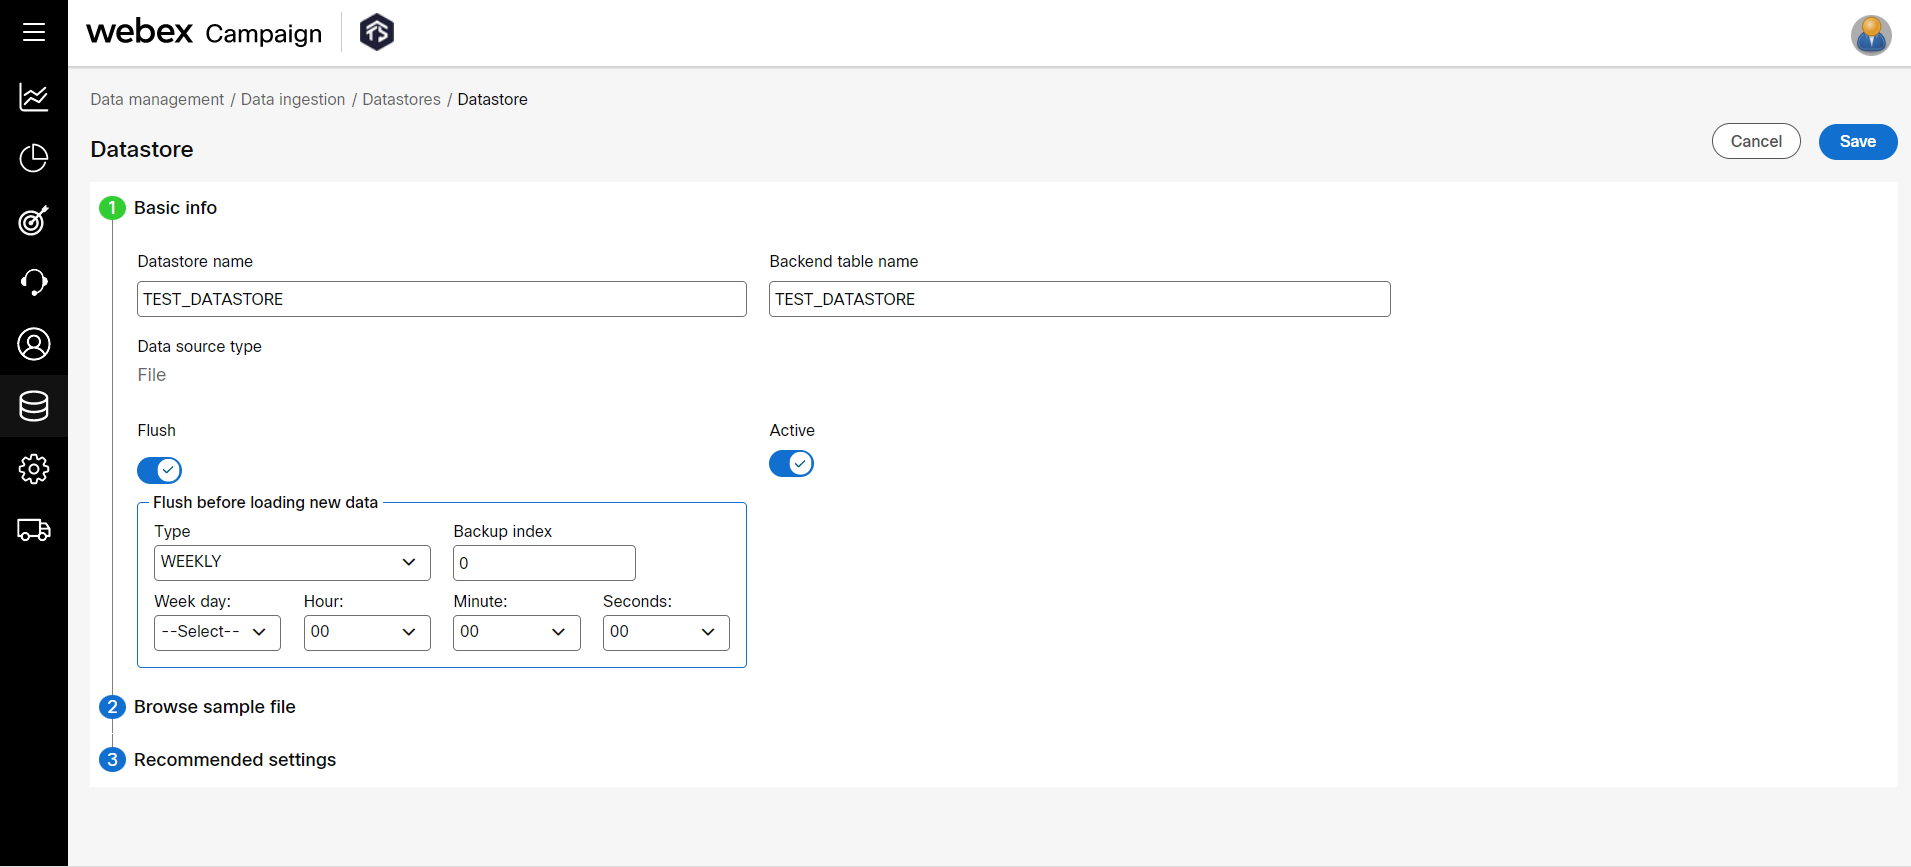
- In the Basic Information accordion, enter details for the following fields:
- Datastore name: Enter a name to identify the datastore on the Webex Campaign UI.
- Backend table name: It is also possible to save the datastore with a different name on the UI and in the database. That means the same datastore can be saved with another name in the database. Ideally, the datastore name is exactly the same on the UI and in the database. Enter a name for the datastore if you wish to store the datastore with a different name in the database.
- Active: Set the status to ON to make the datastore active.
- Flush: Set to ‘ON’, to flush the data before loading. Select the Flush type from the drop-down such as Hourly, Weekly, Daily, or Weekly. Enter the Backup index. This option is used to back up the data before deleting it from the system. For example, if you enter the backup index value as 2, then the system will back up the last 2 data imports.
- In the Browse sample file accordion, enter details for the following fields:
- First line header: Set the status to ON if the file to be uploaded has its first line as the header.
- Select file for upload: Click Choose file and select a sample file from your computer to upload the file. The supported file formats are .txt or .csv.

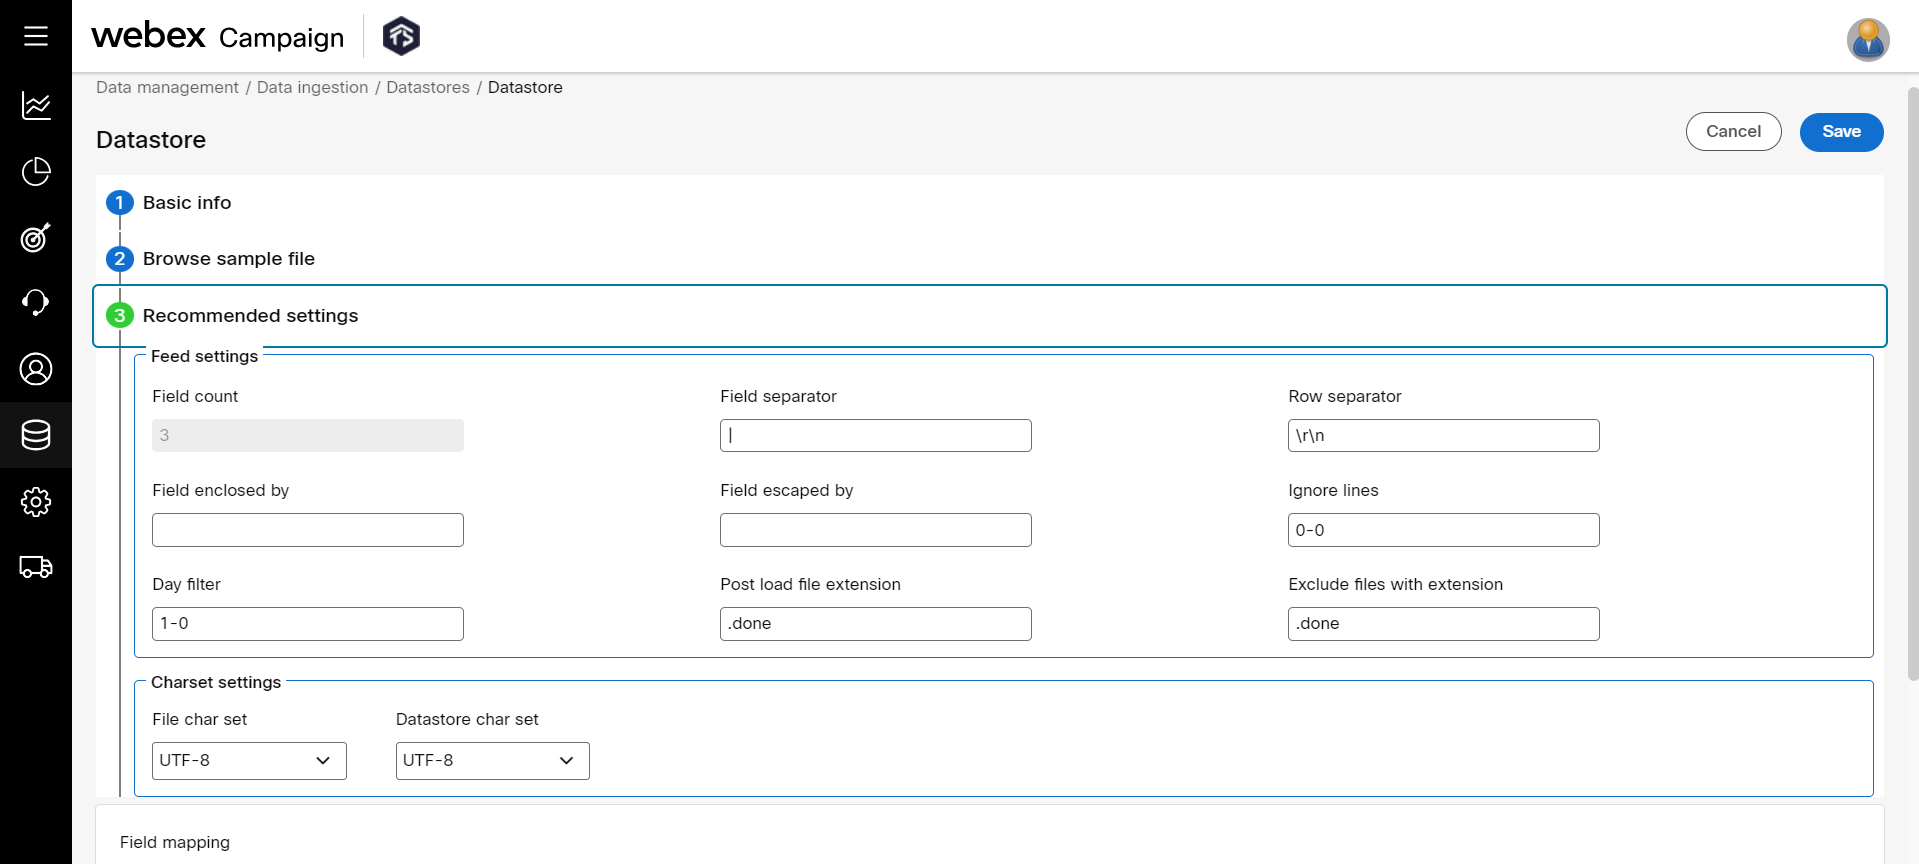
- (Optional) In the Recommended settings accordion, fields are populated automatically based on the selected input file. You can proceed with the recommended settings or change the settings as required.
- Field count: This field is updated automatically when the file is uploaded. It displays the number of headers that exist in the input file.
- Field separator: This field is updated automatically when the file is uploaded. It specifies the field separator (a comma or pipe) to parse the input file.
- Row separator: This field is updated automatically when the file is uploaded. It displays the row separator for the input file. The default option is \r\n. You can enter the row separator as identified in the input file if it is not updated by the system from the sample input file.
- Field enclosed by: To include a text field that is separated by a key. For example, if the input file has a field as sample1, sample2, "sample3", 'sample4'. To include a field that is enclosed in " ", enter ". It indicates a field that is enclosed in " " must be included while loading the data.
- Field escaped by: To exclude a text field that is separated by a key. For example, if the input file has a field as sample1, sample2, "sample3", 'sample4'. To exclude a field that is enclosed in ' '(single quote), enter ' (single quote). It indicates that a field that is enclosed in ' ' (single quote) must be excluded while loading the data.
- Ignore lines: Enter the line numbers separated by ‘-’ to be ignored while loading the data into the datastore. For example, if the input file has 500 records and if you configure ignore lines as 2-300, the top 2 lines and bottom 300 lines are ignored. If you enter 10-0, then only the top 10 lines are ignored. If you enter 0-10, then the bottom 10 lines are ignored.
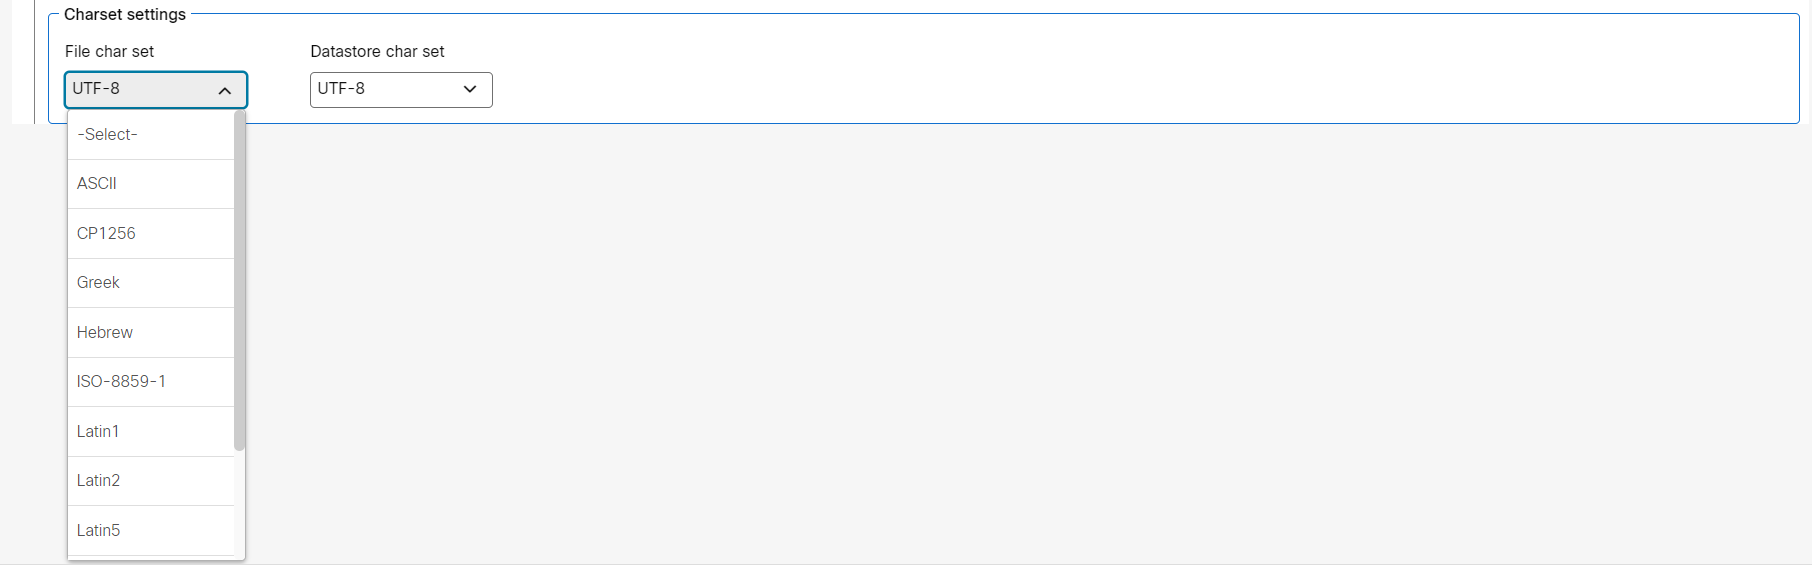
Charset settings
- File char set: Select the charset of the input file. The available charsets are ASCII, CP1256, Greek, ISO-8859-1, Hebrew, Latin1, Latin2, Latin5, Latin7, UTF-16, and UTF-8.
- Datastore char set: Select the charset to be used to create the data in the data store. The available charsets are ASCII, CP1256, Greek, ISO-8859-1, Hebrew, Latin1, Latin2, Latin5, Latin7, UTF-16, and UTF-8.
- The field mapping view represents the fields of the datastore. You can view all the columns in a single view.
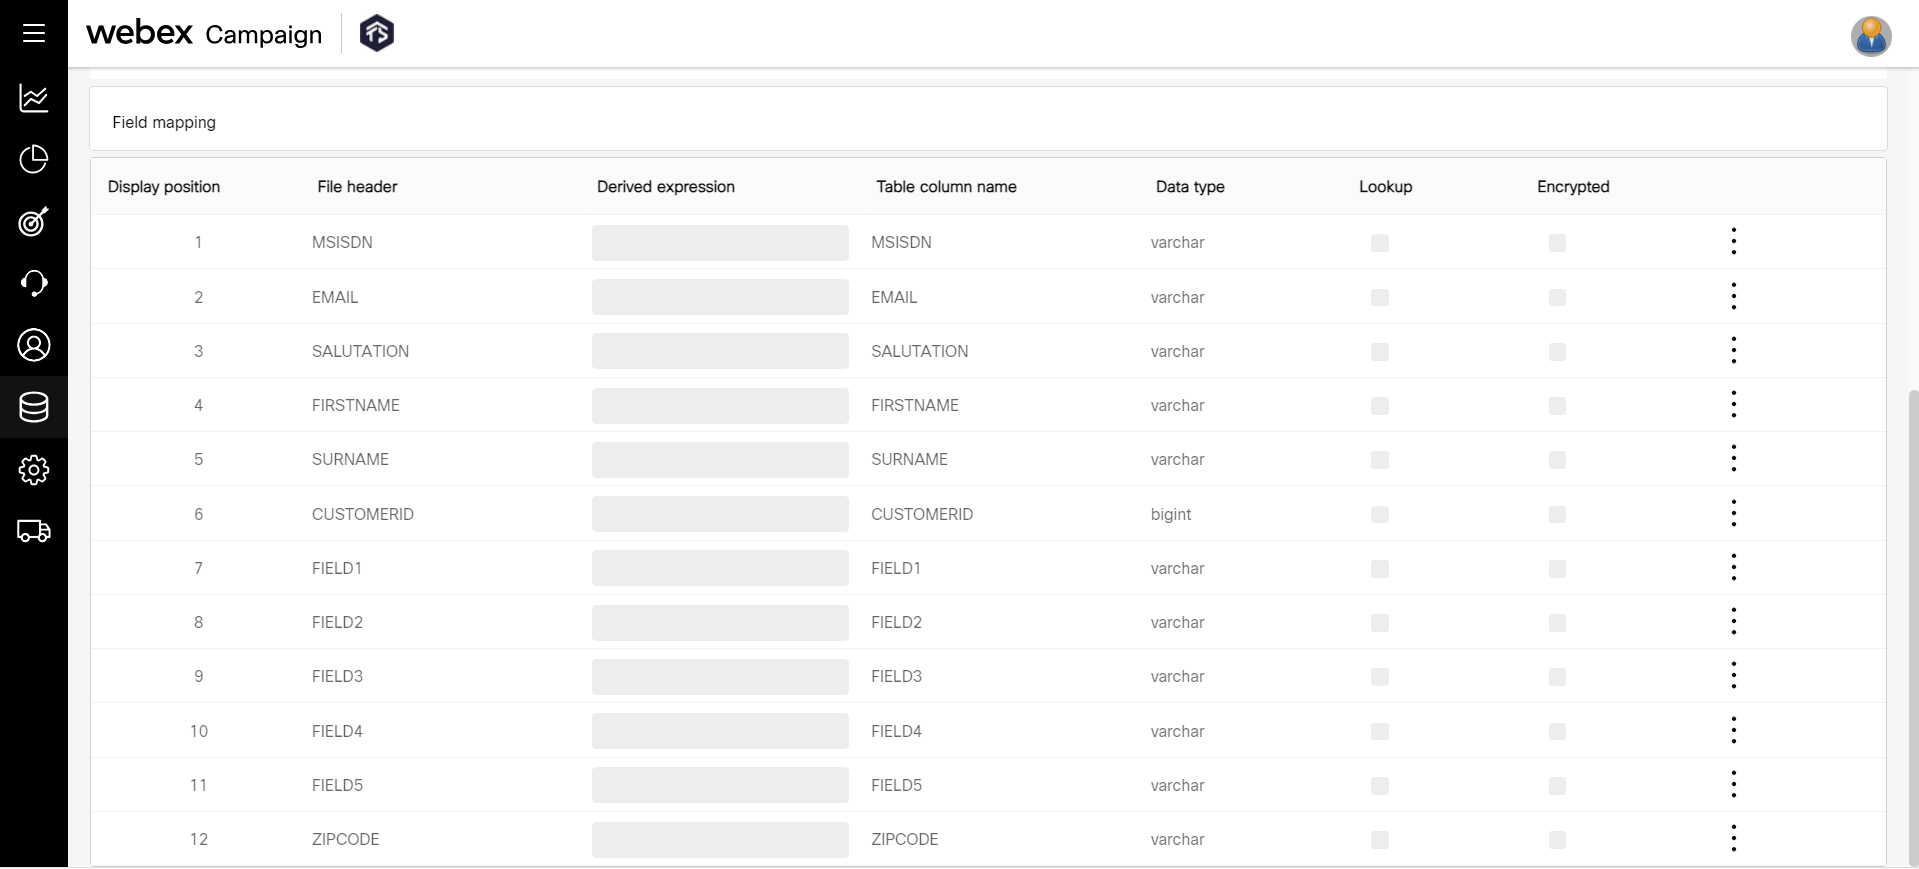
- Click Save.
The datastore schema will be created. Now the data can be imported into this datastore.
After creating the datastore schema you might have to add a new column or edit a column. Instead of deleting the datastore schema, you can insert a new column by clicking the ellipses icon. To know how to add a header in a Datastore, click here.
Step 2: Import Data into a Datastore
From Step 1, we understand how to create a datastore schema. Once the schema is created, we have to import the data into the datastore.
Follow these steps to import the data into a datastore.
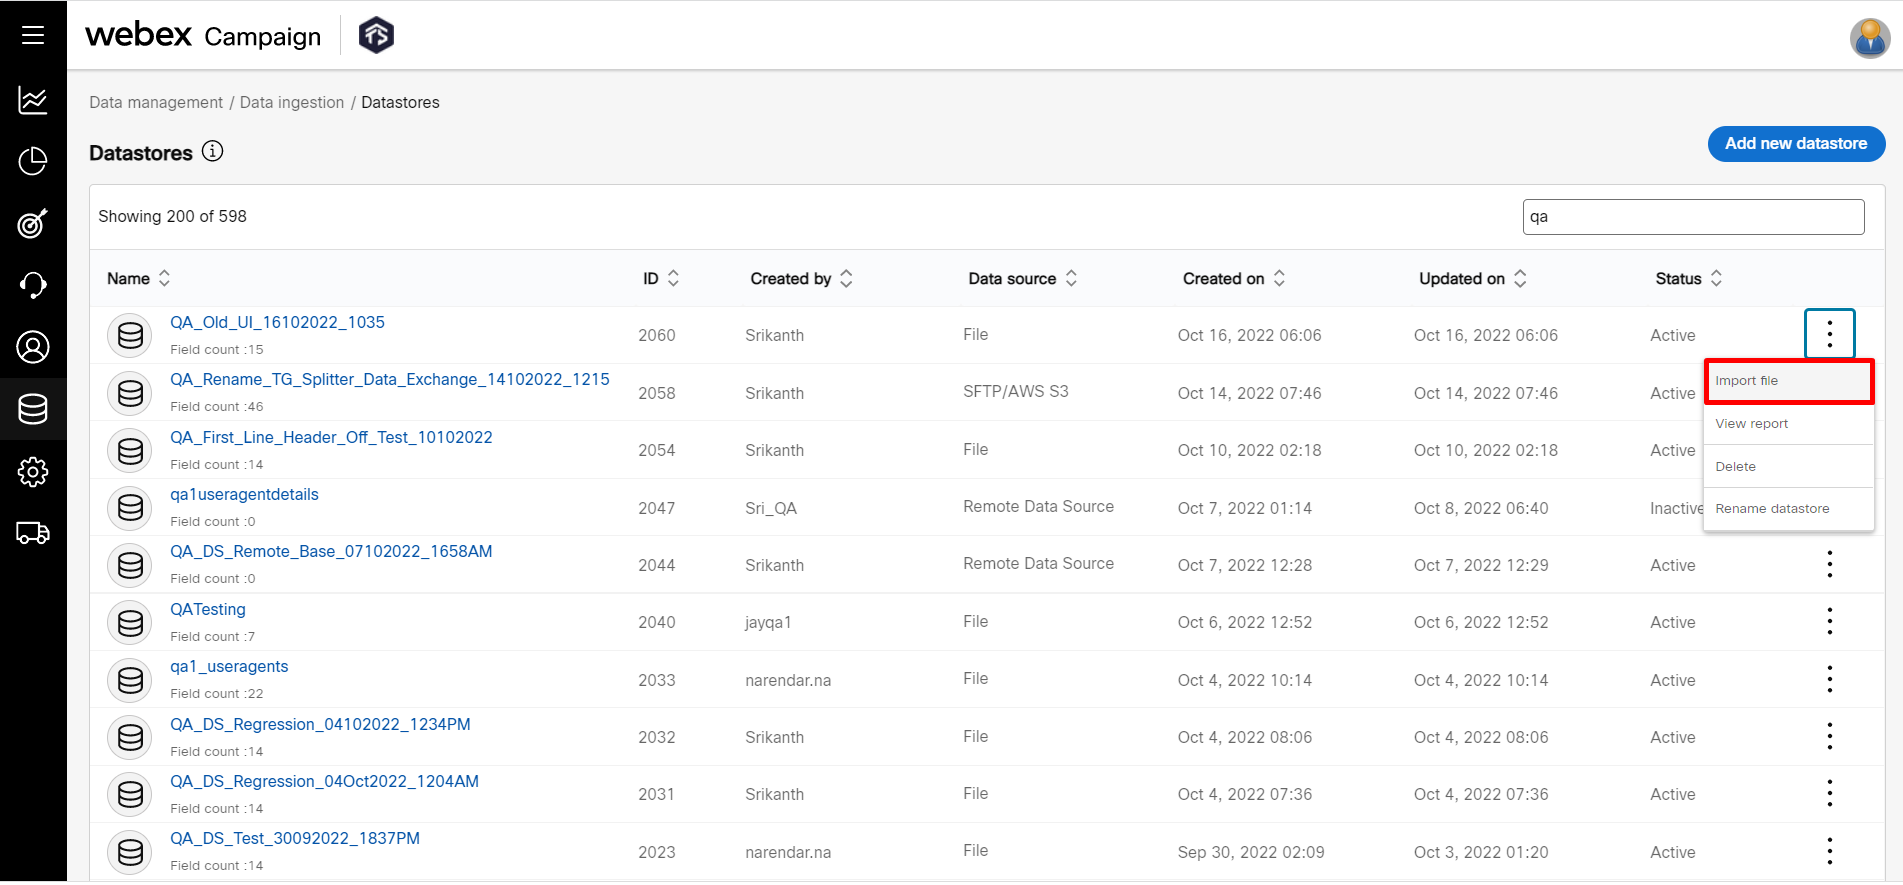
- Click on the ellipses icon of the required datastore schema and click Import file.
- On the Import file screen, click Choose file and select the file. You can choose a file size of up to 1 GB and a maximum of 10,000 rows.
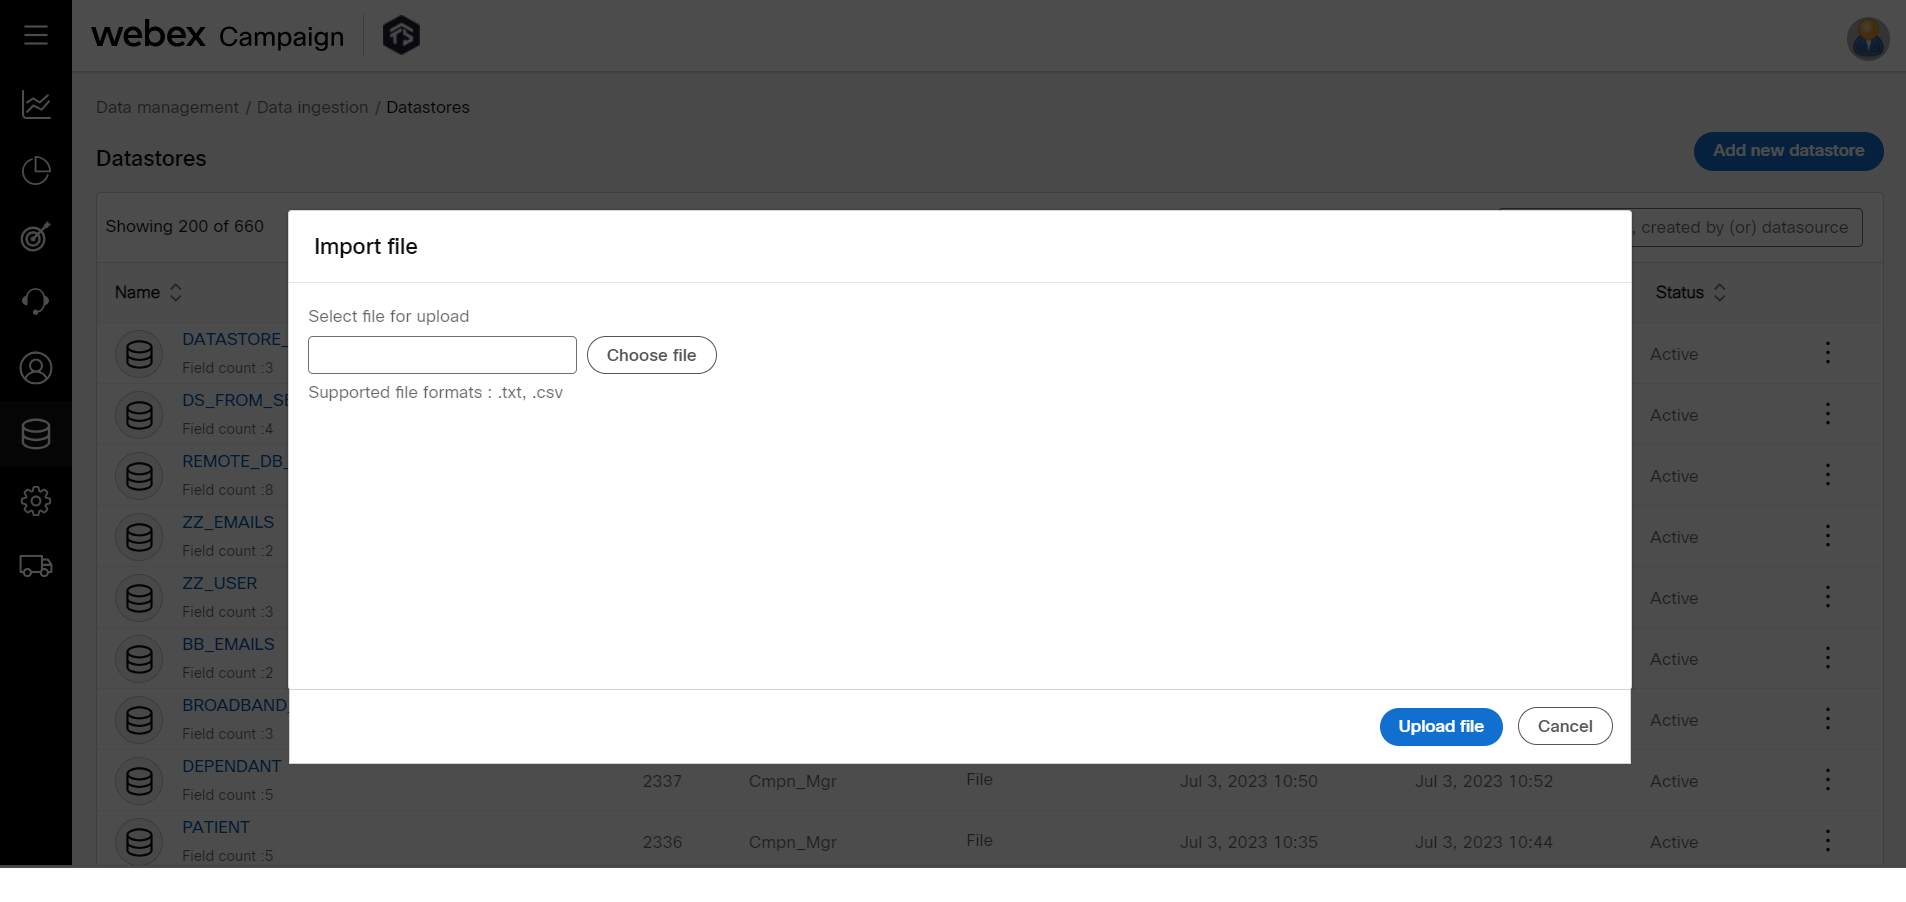
- Click Upload file.
A confirmation message will be displayed as "File has been accepted. The final status of the datastore load will be available in the datastore load report soon."
You can View the Datastore Load Report for the respective datastore to check if the data has been loaded successfully.
Updated over 1 year ago