Step 2: Creating an In-App Deployment
A deployment is a set of instructions to process a campaign under the parent campaign.
To create a deployment:
- Navigate to Campaign management > Campaign List screen and click on the campaign you created earlier that is My_First_Campaign.
- Click Create deployment on the campaign summary screen that appears.
- Select the deployment type as Workflow deployment.
- Select the type of promotion as Simple promotion.
- Select the channel as In-App and select a target group whose headers should be used. The actual target group should contain the same headers as you select in this step.
- Click Create.

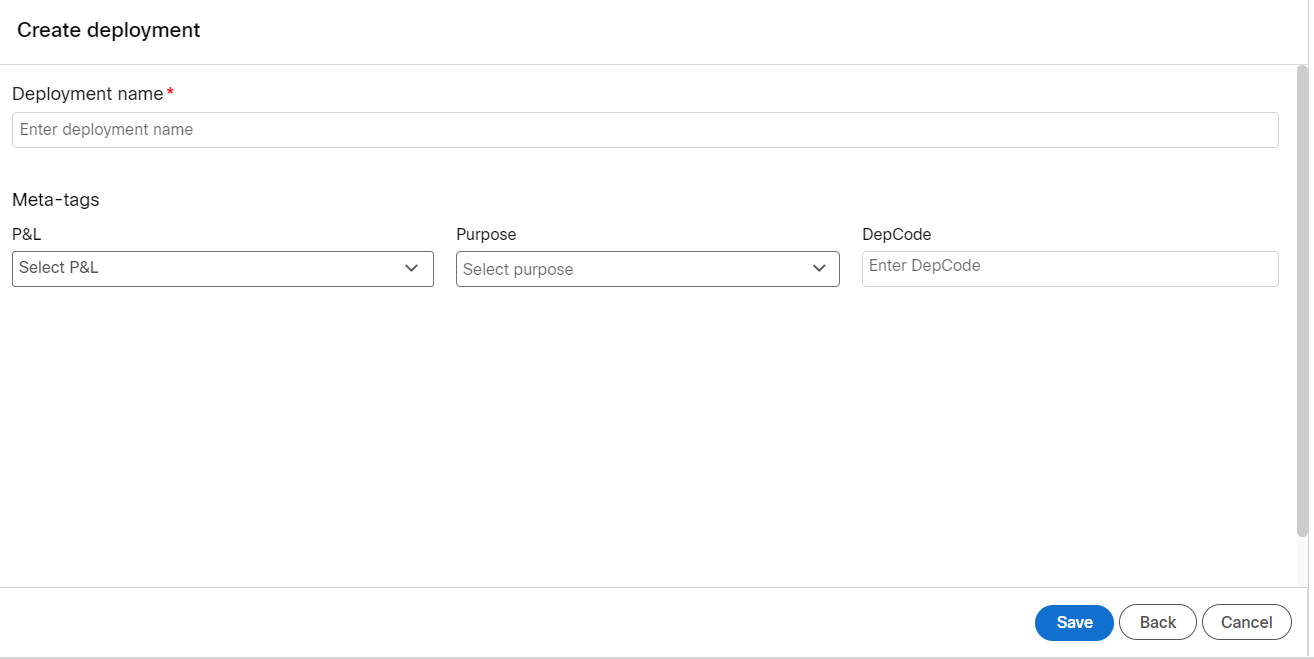
- The Create deployment screen appears. Enter a name for the deployment such as My_First_Inapp_Deployment.
- Select P&L and Purpose for the deployment.

- Click Save.
As you notice this is a shell deployment and cannot be activated. The details of this deployment will be added in Webex Connect > Flow Builder screen. We have to create an External Action channel deployment and configure the flow details and then activate the deployment.

Updated 12 months ago