

Apps
Navigation: Campaigns > Assets > Apps
The App Push channel needs to be configured for the tenant that requires the integration of Webex Connect SDK into the app. The supported Operating Systems are iOS and Android. The app profile represents multiple app instances the user may have installed the same application on multiple devices of the same organization. The configuration is tenant-specific and allows not just grouping installations of the same application on multiple devices, but also matching different apps back to the same customer profile. This will enable users to target customers on a wider, more complex, and more personalized level. The profile attributes can be added while the creation of the App profile or later.
Bulk promotional deployments for App Push notifications can be achieved using either customer or device profile data.
Adding Apps is a 3 step process.
- Step1: Contact your account manager and raise a request to add an app to Webex Connect.
- Step2: Import the app into Webex Campaign from Webex Connect.
- Step3: Configure the app for Deep links, Interactive buttons, Sounds, and Android notifications.
Step1: Add an app to Webex Connect
The interface for adding an app is designed in Webex Connect. You cannot directly add an app to Webex Connect. You can contact your account manager and raise a request to add an app.
Step2: Import an App into Webex Campaign
Once the app is added to Webex Connect, it can be Imported to Webex Campaign. You can only import an app in Webex Campaign. To edit or delete an app can only be done in Webex Connect.
- On the Apps screen, click + Import apps.
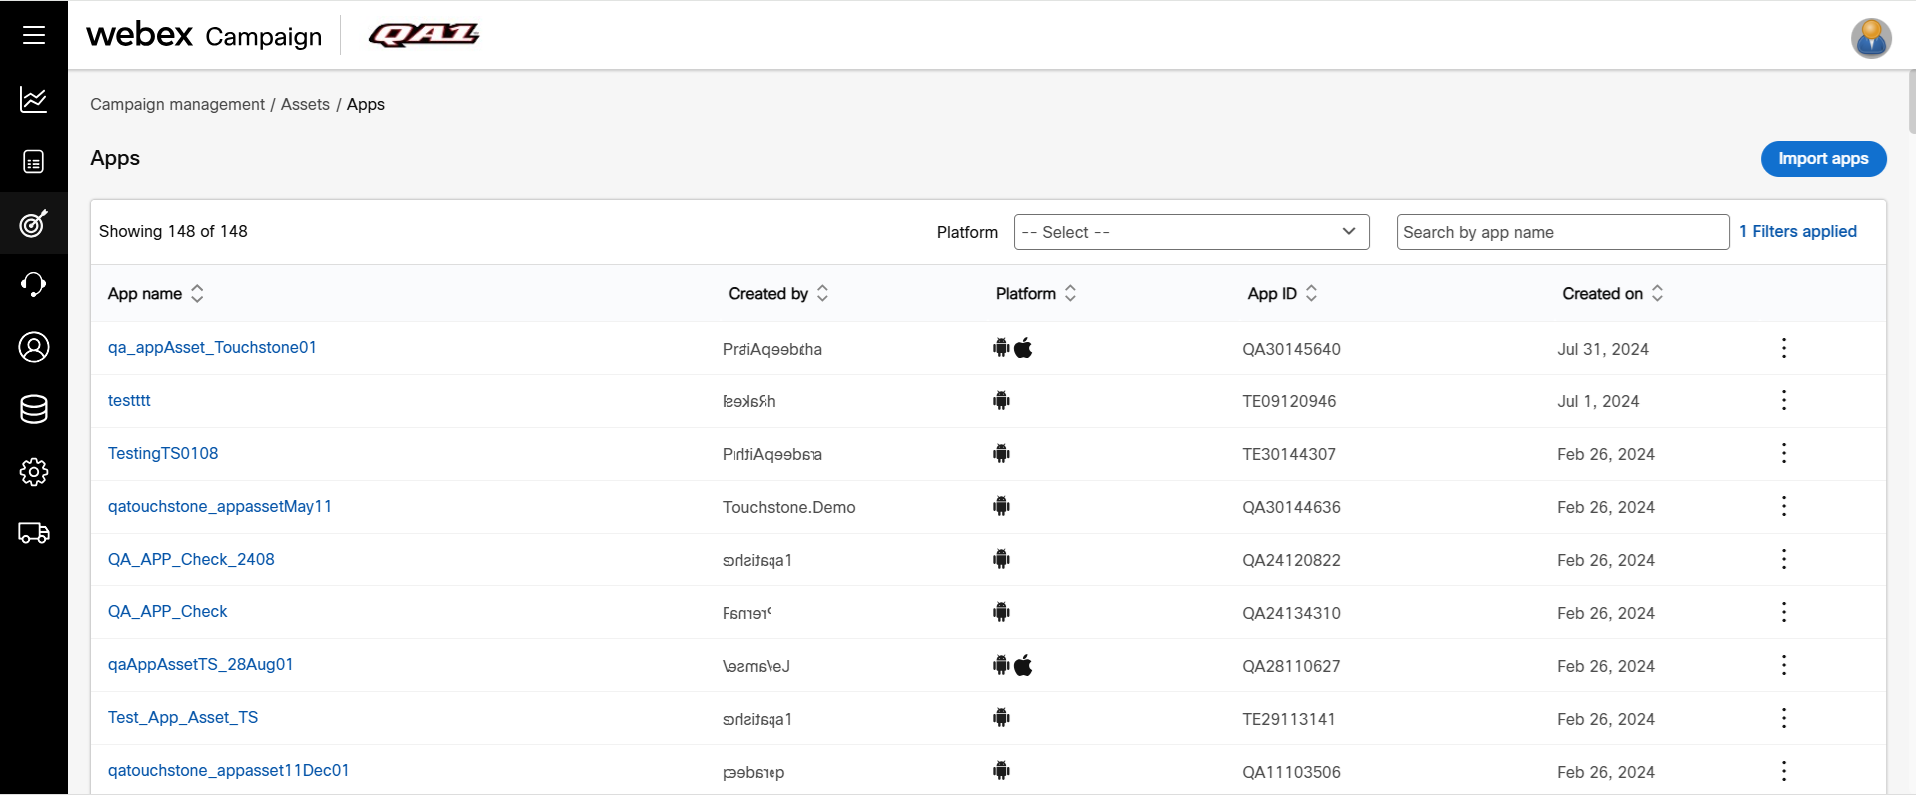
- On the Import apps screen, select the required apps and click Apply.

The App will be imported into Webex Campaign.
Step3: Configure the app
Once the app is imported, you can configure the app for Deep Links, Interactive buttons, Sounds, and Android Notifications
- On the App list screen, click the ellipses icon of the app that you want to configure.
- Configure the following:
- Interactive notifications: If enabled, you can configure interactive notifications for the deployment.
- Rich push notifications: If enabled, you can configure rich push notifications for the deployment.

- Click Configuration accordion and configure the following:
◘ Deep links: Click +Add new and enter Deep Link Name, Identifier, Description. Click Parameters to add a dynamic parameter. A deep link can be a configured as dynamic deep link based on user parameters. For example, IMI123://product/{{Parameter “rechargeAmount”}}. and configure parameters. Click +Add new to add more deep links.
◘ Interactive buttons: Configure interactive buttons as required.
◘ Sounds: Click +Add new and enter Sound name, Identifier, and Description. Click +Add new to add more sounds.
◘ Android notification categories: Click +Add new and enter a Category name, Identifier, and Description. Click +Add new to add more categories.

- Click Update.
The app can be used in an App Push deployment.
Updated 8 months ago