Creating a Landing Page using HTML Editor
Follow these options to create a landing page using HTML editor.
Webex Campaign supports both HTTP and HTTPS URL links. If you have created HTTP URL links and want to migrate to the HTTPS URL links, please contact our support team.
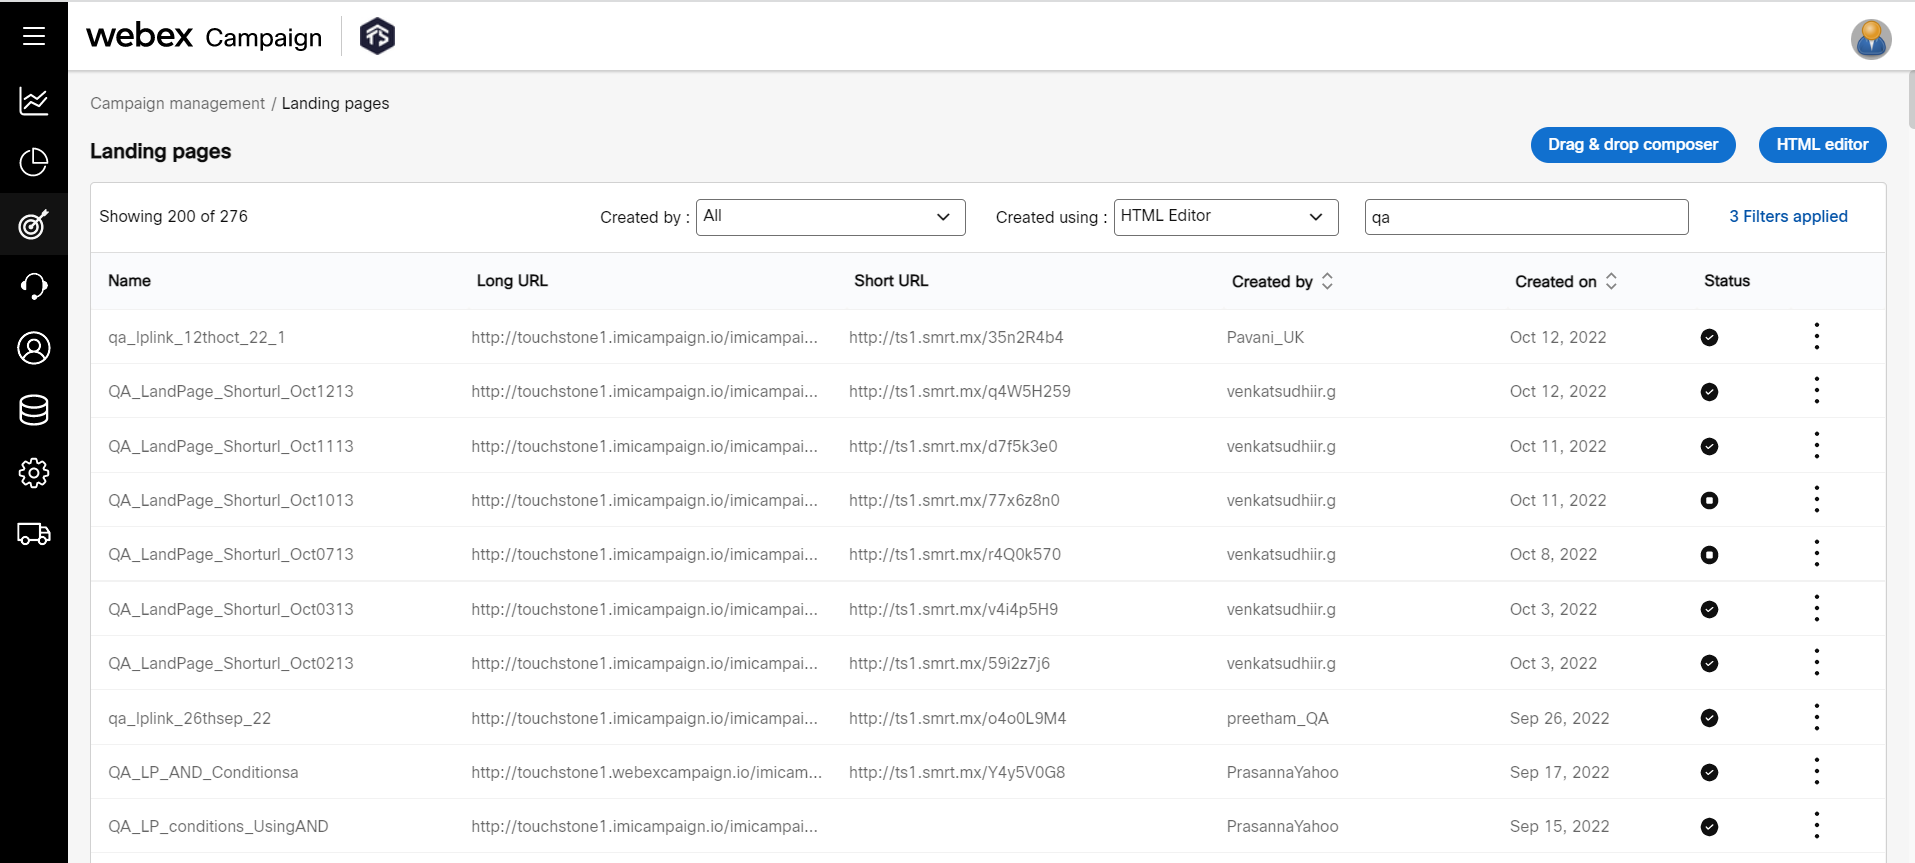
- On the Landing Page list screen, click HTML editor. The Create Landing page screen appears.

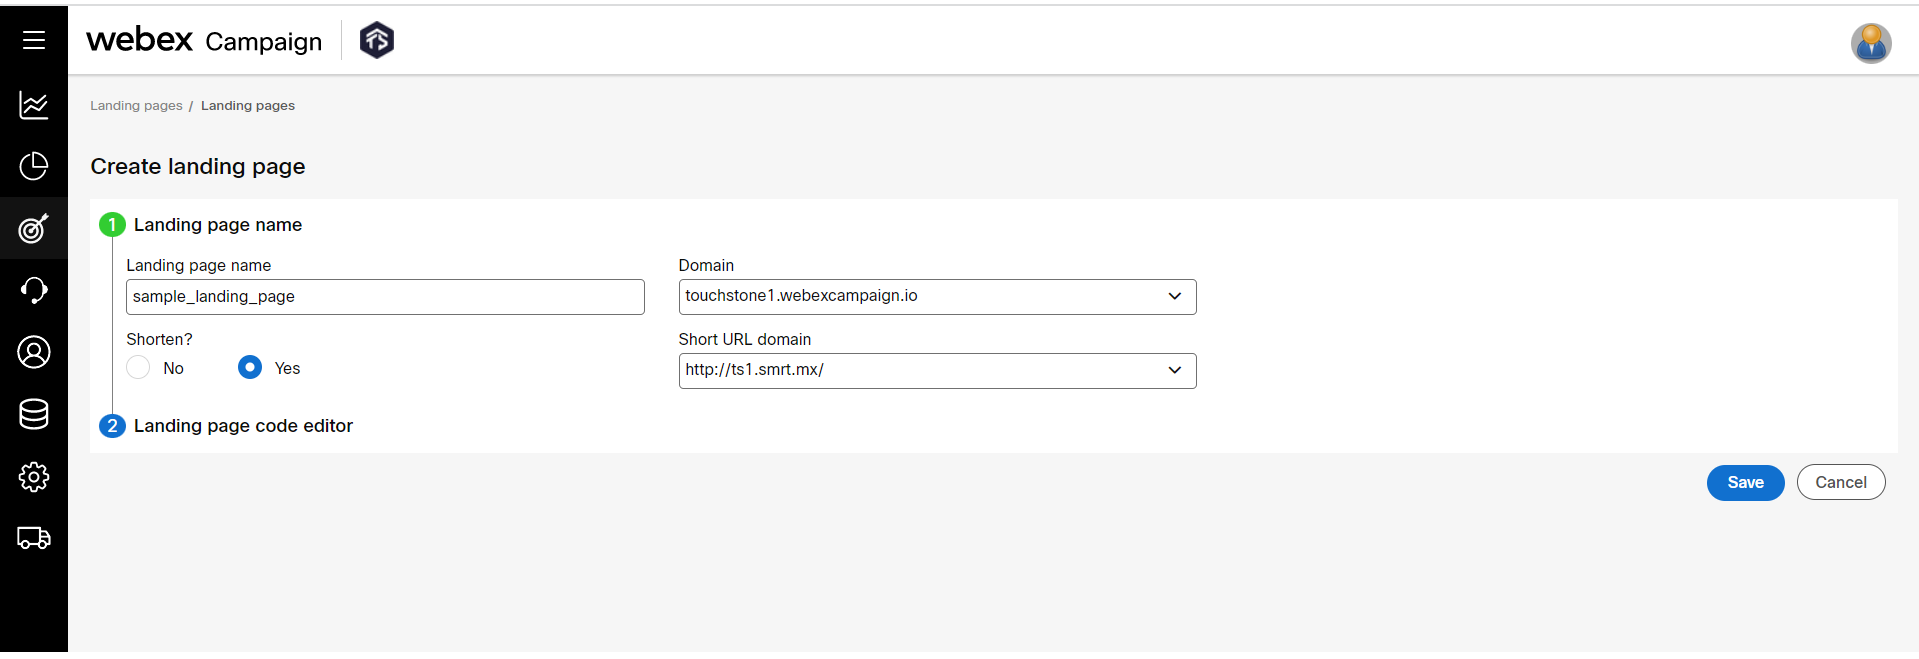
- Enter details for the following fields:
Basic Information
- Landing page name: Enter a name for the Landing page.
- Domain: Select the domain from the drop-down list box. The domain is pre-configured for a tenant.
- Shorten?: To shorten the landing page URL, proceed with option Yes and then select the Short URL domain from the drop-down list box. If you do not want to shorten the URL, click No.

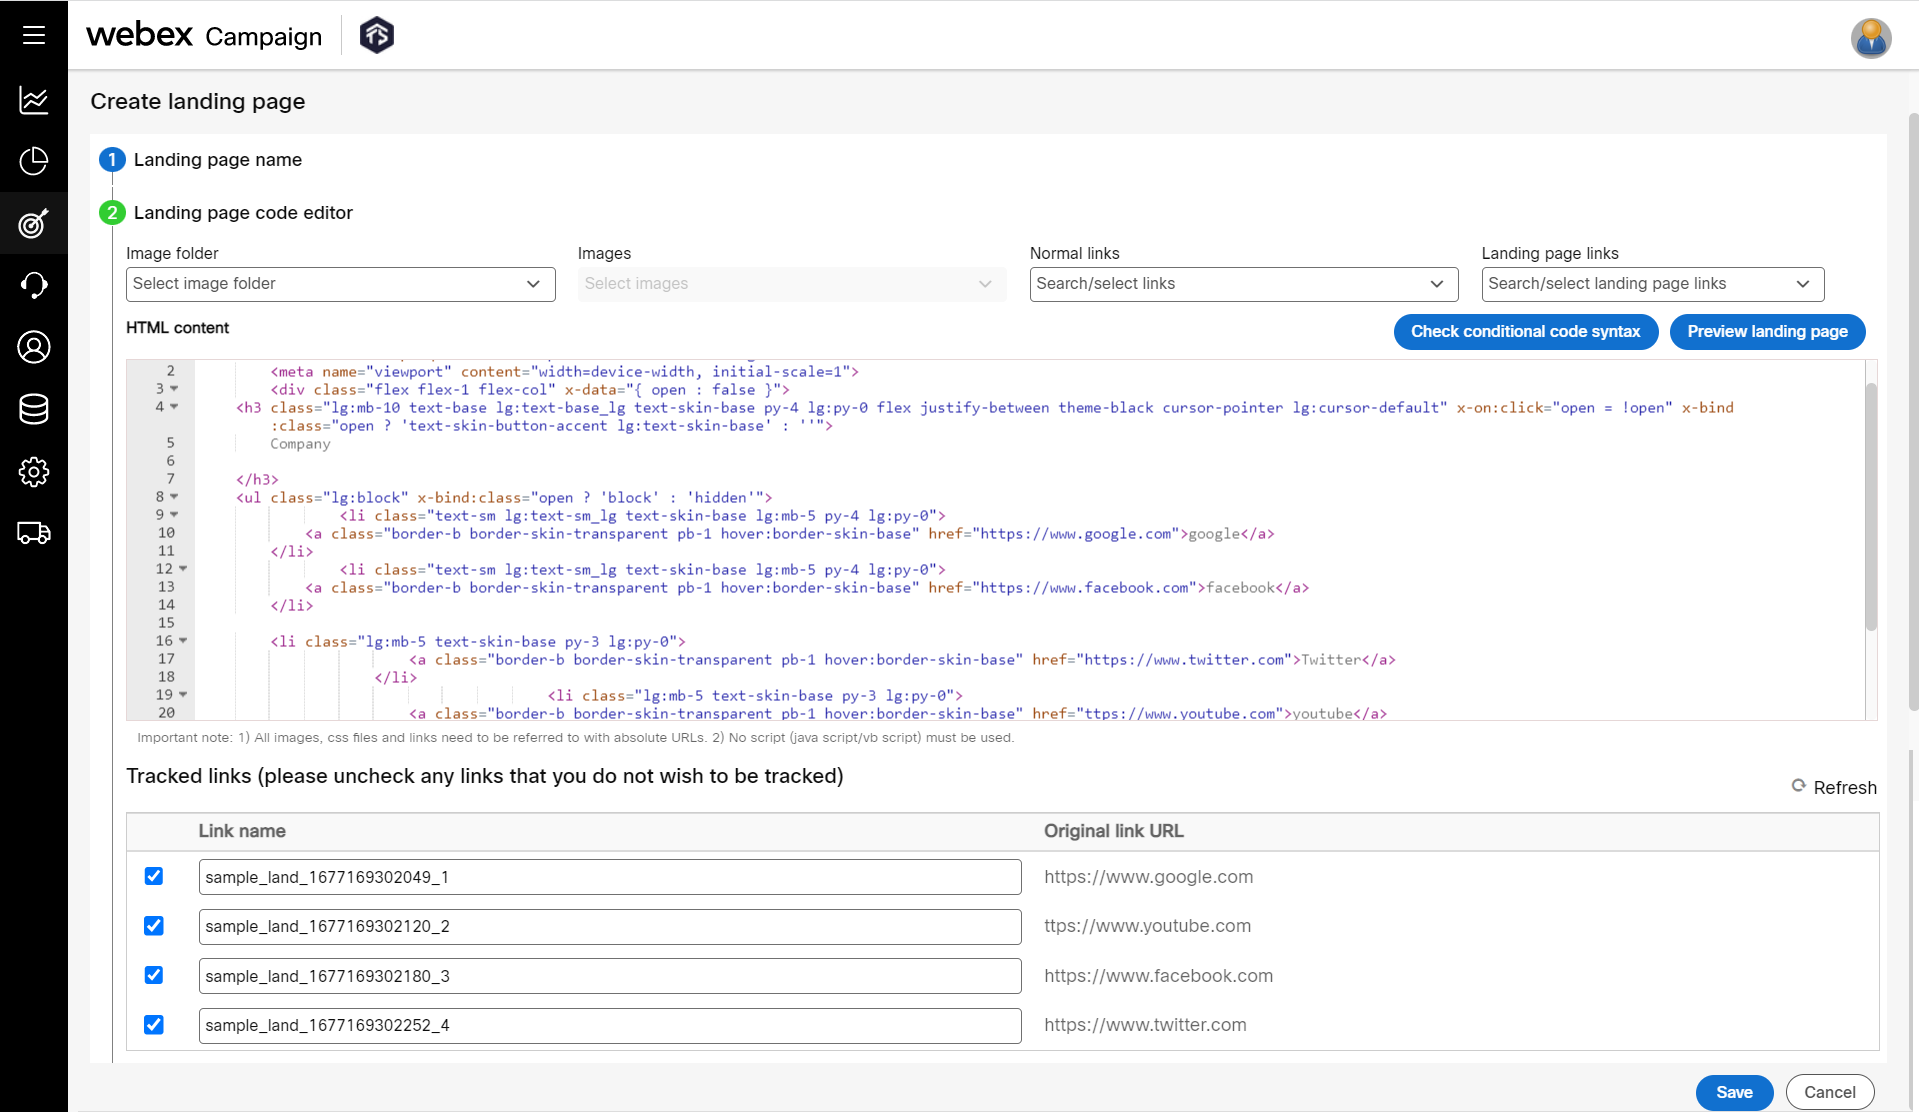
- Click on the Landing page composer accordion and copy the HTML source code of a landing page and paste it into the HTML content box.
If your code contains the "script" tag, then please make sure to remove the wording "type="text/javascript" or type="javascript". If your code contains the keyword "javascript", then your landing page code will not work as expected.
- (Optional) You can also write HTML code for the landing page and use the below options to insert images and link assets. These assets should already be added to the Webex Campaign.
- To insert an image, move the cursor to the required location in the code, click Images drop-down list box and select the required image.
- To insert links, move the cursor to the required location in the code, click Links drop-down list box and select the required link.

-
(Optional) By default, all links are set to be tracked. If you want to prevent a specific link from being tracked, you can deselect the checkbox associated with that link.
-
(Optional) Click on the Check conditional code syntax to identify any errors in the conditional code syntax. This is useful only if you have used the conditions in the HTML code.
Important considerations when using this feature:
When you click on the button ‘Check conditional code syntax’, the system will scan the version of the HTML code as it exists at that point and identify any errors in the conditional code syntax.
This feature does not currently identify conditional syntax errors in the subject line or in the text content; it is currently limited to checking only the HTML content.
This feature will only highlight syntax errors in the conditional syntax (e.g., #IF_3…#ELSEIF_3…. #ELSE_3… #ENDIF_3). It is not designed to identify syntax errors in the standard HTML code itself. For that purpose, you will need to use a 3rd party tool to help you create syntactically correct HTML code.
This feature will only highlight one syntactical error at a time within the conditional code. After it has found the first error, it will show a pop-up alert as shown in the above screenshot. After correcting that error, you will need to click on the ‘Check conditional code syntax’ button again to check whether there’s any other error. If another error is found, then you will need to repeat the process after correcting the highlighted error.
-
(Optional) After the landing page is composed, click Preview landing page to preview the landing page. The preview opens as a popup. Click Close to close the preview.
-
Click Save.
After a landing page is created, you can copy the landing page link by clicking on the Long URL or Short URL on the Landing page list screen.
Updated about 1 year ago